Italian Canestrelli Lemon Butter Cookies
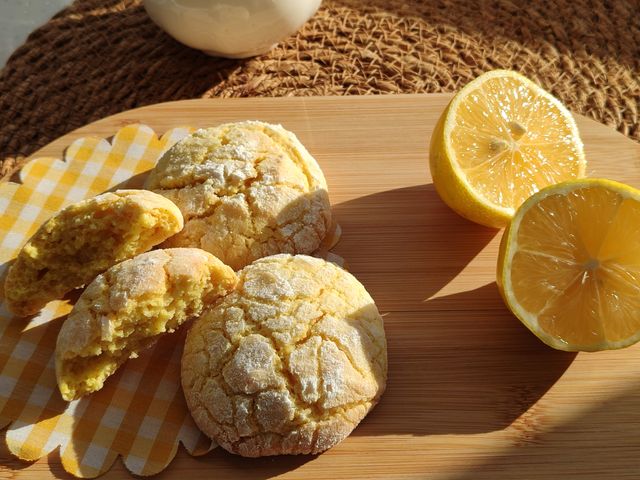
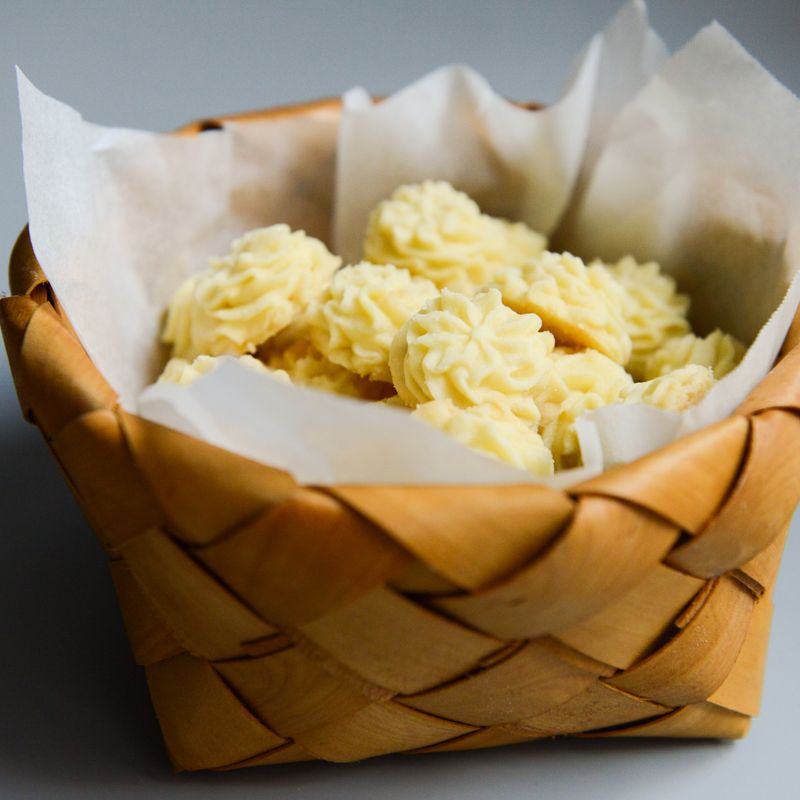
Delicate Italian butter cookies infused with bright lemon zest, pressed through a canestrelli mold to create their signature ridged pattern. These melt-in-your-mouth treats are buttery, tender, and lightly crisp at the edges—perfect for coffee or tea. The simple dough relies on quality butter and fresh lemon for elegant flavor.
Steps
Before you start
- Remove butter from the fridge 1–2 hours ahead so it's soft and creamy at room temperature
- Preheat your oven to 325°F (160°C) about 15 minutes before baking
- Line two large baking sheets with parchment paper
- Have a canestrelli mold or cookie press ready
Cream butter and sugar
- Add the softened butter and granulated sugar to a stand mixer bowl (or use a hand mixer).
- Beat on medium speed for 3–4 minutes, scraping down the sides occasionally, until the mixture is pale, fluffy, and noticeably lighter in color.
- This incorporates air and ensures tender cookies.
+ Show details− Hide details
Ready when: Mixture is pale and fluffy, increased in volume
Tip: Do not skip or rush this step; proper creaming makes the cookies tender and light.
Add yolks and flavorings
- With the mixer still running on medium, add the egg yolks one at a time, beating well after each addition.
- Add the lemon zest, vanilla extract, and lemon extract (if using).
- Mix for 1–2 minutes until the zest is evenly distributed and the mixture is well combined.
- The dough should look pale and slightly increased in volume.
+ Show details− Hide details
Ready when: Mixture is pale, well combined, and lemon zest is evenly distributed
Tip: Add yolks slowly to prevent the dough from becoming grainy or separating.
Mix dry ingredients
- In a separate medium bowl, whisk together the flour, cornstarch, and salt.
- This combines the dry ingredients evenly and helps distribute the salt.
+ Show details− Hide details
Ready when: Flour, cornstarch, and salt are evenly combined
Tip: Whisk together rather than stirring for better incorporation and to break up any lumps.
Fold in dry ingredients
- Add the flour mixture to the wet ingredients.
- With the mixer on low speed, blend just until the flour is incorporated and no dry streaks remain, about 1 minute.
- Do not overmix.
- The dough should be smooth, soft, and hold together when pinched.
+ Show details− Hide details
Ready when: Dough is smooth and no dry flour remains visible
Tip: Stop mixing as soon as the flour is incorporated to keep the cookies tender; overmixing develops gluten and makes them tough.
Chill the dough
- Transfer the dough to a small bowl or plastic wrap and chill in the refrigerator for at least 30 minutes (or up to 2 hours).
- This firms up the butter and makes the dough easier to press through the canestrelli mold without spreading.
+ Show details− Hide details
Ready when: Dough is firm enough to hold its shape when pressed
Tip: If the dough becomes too hard, let it sit at room temperature for 5 minutes to soften slightly before pressing.
Shape cookies with mold
- Remove the dough from the refrigerator.
- Fill the canestrelli mold with dough (slightly less than full—about three-quarters full) and press firmly onto a parchment-lined baking sheet.
- Release gently by pressing the trigger or lever.
- Space cookies about 2 inches (5 cm) apart.
- If the dough becomes too soft while working, refrigerate it for 10 minutes.
- Aim to make 24 cookies.
+ Show details− Hide details
Ready when: All dough has been shaped into ridged cookies on the baking sheets
Tip: If the mold is sticking or the cookies are spreading, chill the dough and baking sheets for 10 minutes before continuing.
Bake the cookiesOven 325°F / 165°C
- Place the baking sheets in a preheated 325°F (160°C) oven.
- Bake for 11–13 minutes, until the edges are very lightly golden but the centers still look pale and slightly underdone.
- The cookies will continue to bake as they cool.
- Remove from the oven when they look just set at the edges with barely any color on the tops.
+ Show details− Hide details
Ready when: Edges are very pale golden; centers look just set and pale
Tip: Bake at a low temperature to keep the cookies tender; overbaking will make them hard and dry. Watch closely in the last minute—they bake quickly.
Cool on sheets and racks
- Let the cookies cool on the baking sheets for 5 minutes.
- This allows them to set gently and firm up enough to transfer without breaking.
- Using a thin spatula, carefully transfer each cookie to a cooling rack.
- Let them cool completely for at least 20 minutes.
- As they cool, they will firm up and develop a tender-crisp texture.
+ Show details− Hide details
Ready when: Cookies are cooled completely, pale, and firm to the touch
Tip: Handle warm cookies gently; they will continue to firm up as they cool. Do not rush transferring them to the rack or they may crack.
Good to know
Tips
- These cookies are best enjoyed the day they are baked, when they have the ideal tender-crisp texture. After a few days they will soften, but can be refreshed briefly in a 300°F (150°C) oven for 3–4 minutes.
- If you don't have a canestrelli mold or cookie press, you can shape the dough by hand into small balls (about the size of a walnut) and gently flatten them with the tines of a fork dipped in water for the traditional ridged look.
- Fresh, high-quality butter is essential; it makes a noticeable difference in both flavor and texture. Avoid margarine or spreadable butters.
- Room-temperature egg yolks incorporate more smoothly and create a lighter, fluffier dough. Remove them from the fridge about 10 minutes before mixing.
Make ahead
Dough can be made up to 2 days ahead, covered and refrigerated. Shaped unbaked cookies can be frozen for up to 1 month; bake directly from frozen, adding 1–2 minutes to the baking time.
Storage & reheating
Room temperature in an airtight container for up to 5 days. Refrigerate for up to 1 week. Freeze baked cookies in a freezer-safe container for up to 3 months. Thaw at room temperature for about 30 minutes before serving.
Substitutions
- lemon extract → Omit the lemon extract and use 1 additional tablespoon of fresh lemon zest. This intensifies the fresh lemon flavor and works well if you prefer a more pronounced citrus taste without any extract flavor.
- cornstarch → Use 1/3 cup (40 g) of cake flour or finely milled pastry flour instead of cornstarch. This creates an even more delicate, tender crumb. The ratio of starch to flour will be slightly different, but still yields excellent results.
- fresh lemon → Use 1 tablespoon of orange zest plus 1 tablespoon of lemon zest for a citrus blend. This adds complexity and a slightly different flavor profile while keeping the bright citrus character.
- vanilla extract → Replace vanilla extract with 1/2 teaspoon of rum extract or 1/2 teaspoon of almond extract. Almond extract is traditional in some Italian butter cookies and pairs well with lemon; rum adds a subtle warmth.