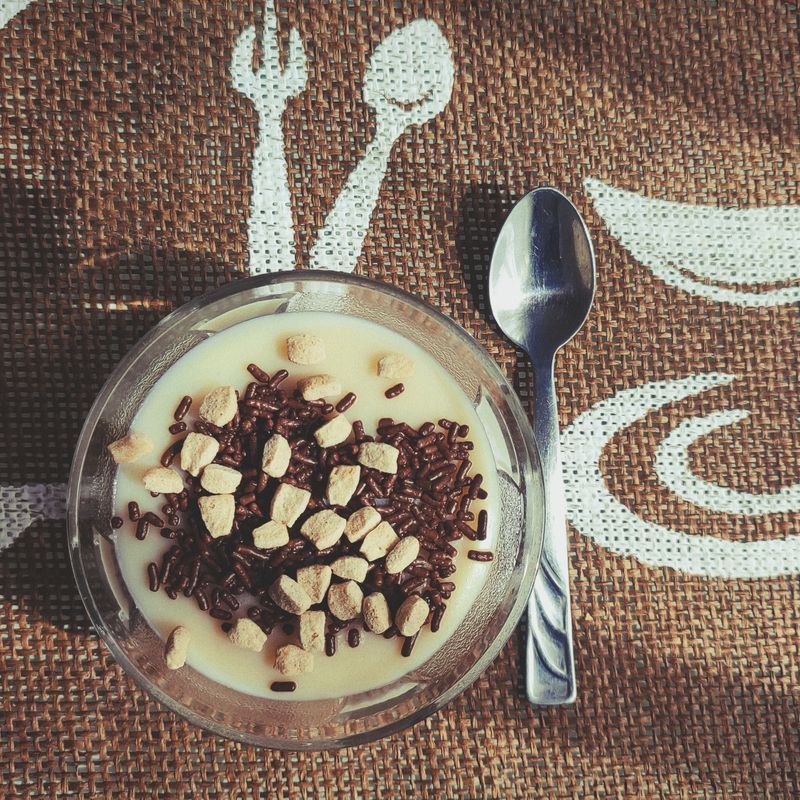
Homemade Vanilla Pudding
Silky, creamy stovetop vanilla pudding thickened with cornstarch and enriched with egg yolks, butter and real vanilla. Ready in about 20 minutes of cooking, then chilled until set.
- Prep
- 10 min
- Cook
- 10 min
- Wait
- 4 hr 5 min
- Total
- 4 hr 25 min
- Makes
- 4 servings (about ½ cup / 120 ml each)
Steps
Before you start
- Pudding needs at least 4 hours to chill and set fully, so start well ahead of serving.
- Measure everything before you turn on the heat; once cooking starts, you must whisk constantly.
- Set a fine-mesh strainer over a medium bowl near the stove for straining the finished pudding.
- Cut the butter into small pieces so it melts in quickly at the end.
Set up your station
- Place a fine-mesh strainer over a medium heatproof bowl and set it beside the stove.
- Have the butter pieces and vanilla measured and ready.
- Arrange 4 ramekins on a small tray.
+ Show details− Hide details
Ready when: Strainer, bowl, butter and vanilla are all within arm's reach.
Tip: Pudding goes from thin to thick quickly, so you won't have time to hunt for tools mid-cook.
Whisk dry mixture
- In the saucepan (off the heat), whisk together the sugar, cornstarch and salt until evenly combined with no cornstarch lumps.
+ Show details− Hide details
Ready when: Mixture looks uniform and powdery.
Tip: Mixing the cornstarch with sugar first keeps it from clumping when the liquid goes in.
Make the slurry
- Pour in about ½ cup (120 ml) of the cold milk and whisk until completely smooth.
- Add the egg yolks and whisk until fully blended and pale yellow.
- Whisk in the remaining 1½ cups (360 ml) milk.
+ Show details− Hide details
Ready when: Liquid is smooth, uniformly yellow, with no streaks of yolk or lumps at the bottom.
Tip: Adding the milk in two stages makes a lump-free base.
Cook while whisking
- Set the pan over medium heat.
- Whisk constantly, reaching into the corners and across the bottom, for 6 to 8 minutes.
- The mixture will stay thin at first, then begin to thicken and show a few slow bubbles.
+ Show details− Hide details
Ready when: Pudding is thick enough to leave a trail when the whisk is dragged through, and a few large bubbles slowly burp at the surface.
Tip: If the bottom starts to catch or you see scrambled bits, lower the heat and whisk faster; you will strain these out later.
Boil briefly
- Once large bubbles break the surface, keep whisking and cook for exactly 1 minute more to fully activate the cornstarch and cook out any starchy taste.
+ Show details− Hide details
Ready when: Pudding is thick like soft mayonnaise and coats the back of a spoon; a finger drawn through it leaves a clean line.
Tip: Undercooked cornstarch pudding can thin out again as it sits, so don't skip this minute.
Add butter and vanilla
- Remove the pan from the heat.
- Whisk in the butter pieces until melted, then stir in the vanilla extract.
+ Show details− Hide details
Ready when: Butter has fully melted and the pudding looks glossy.
Tip: Adding vanilla off the heat preserves its flavor.
Strain the pudding
- Immediately pour the hot pudding through the fine-mesh strainer into the bowl, pressing it through with a rubber spatula.
- Scrape the underside of the strainer into the bowl.
+ Show details− Hide details
Ready when: Pudding in the bowl is perfectly smooth and glossy.
Tip: Straining guarantees a silky texture even if a few bits of egg cooked.
Portion and cover
- Divide the pudding among the 4 ramekins, about ½ cup (120 ml) each.
- Press a piece of plastic wrap directly onto the surface of each pudding, touching it completely.
+ Show details− Hide details
Ready when: No air gap between the plastic and the pudding surface.
Tip: Contact wrap prevents a rubbery skin from forming.
Cool and chill
- Let the puddings cool at room temperature for 15 minutes, then refrigerate for at least 4 hours until fully cold and set.
- Serve straight from the fridge.
+ Show details− Hide details
Ready when: Pudding is cold throughout and holds its shape when scooped with a spoon.
Tip: Don't stir before serving; stirring thins the set texture.
Good to know
Tips
- Use a heavy-bottomed saucepan and keep the heat at medium to avoid scorching the bottom.
- Whisk constantly, especially in the corners where the pudding sets first.
- Always strain, even if the pudding looks smooth; it is a cheap insurance for silkiness.
- Top with whipped cream, fresh berries or a pinch of nutmeg just before serving.
Make ahead
"Pudding can be made up to 2 days ahead; keep covered with plastic wrap pressed on the surface in the refrigerator."
Storage & reheating
"Room temperature: no more than 2 hours. Refrigerator: covered with plastic touching the surface, up to 3 days. Freezer: not recommended, as the texture turns watery and grainy. Serve cold; do not reheat."
Substitutions
- whole milk → 2 cups (480 ml) 2% milk, or 1¾ cups (420 ml) whole milk plus ¼ cup (60 ml) heavy cream for extra richness. Lower-fat milk gives a lighter, slightly less creamy pudding.
- pure vanilla extract → 1 vanilla bean, seeds scraped (heat with the milk) or 2 teaspoons vanilla bean paste. Bean seeds add visible flecks and deeper flavor.
- unsalted butter → Omit, or use 1 tablespoon (15 ml) heavy cream. The pudding will be slightly less rich but still set properly.
- cornstarch → 3 tablespoons (24 g) arrowroot or 4 tablespoons (32 g) all-purpose flour. Flour needs an extra 2 minutes of cooking and gives a slightly less glossy result; arrowroot can turn slimy if overcooked.
More puddings & custards
See all →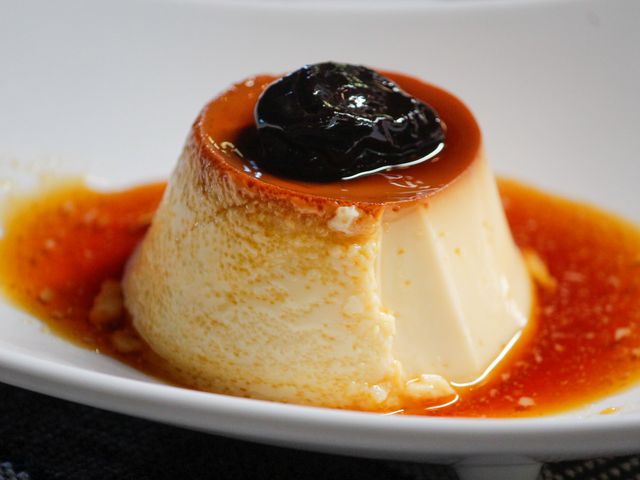

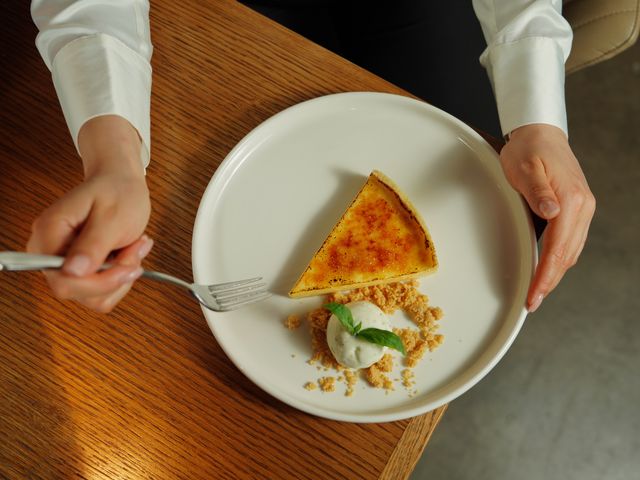

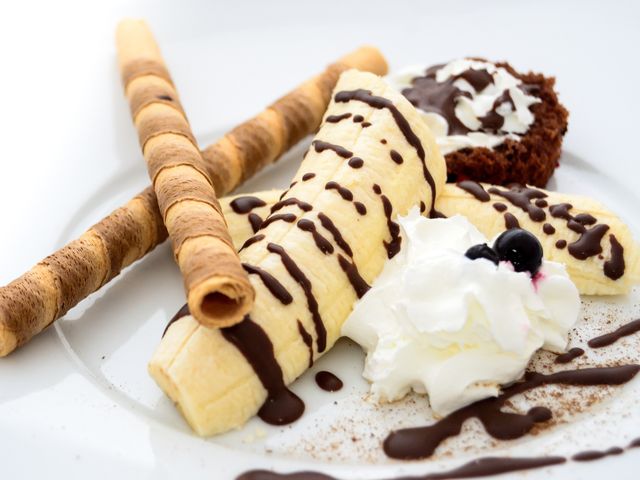
Find more like this
- Meal
- Dessert
- Main ingredient
- Eggs
- Method
- Stovetop
- Quick & Easy
- EasyMake Ahead