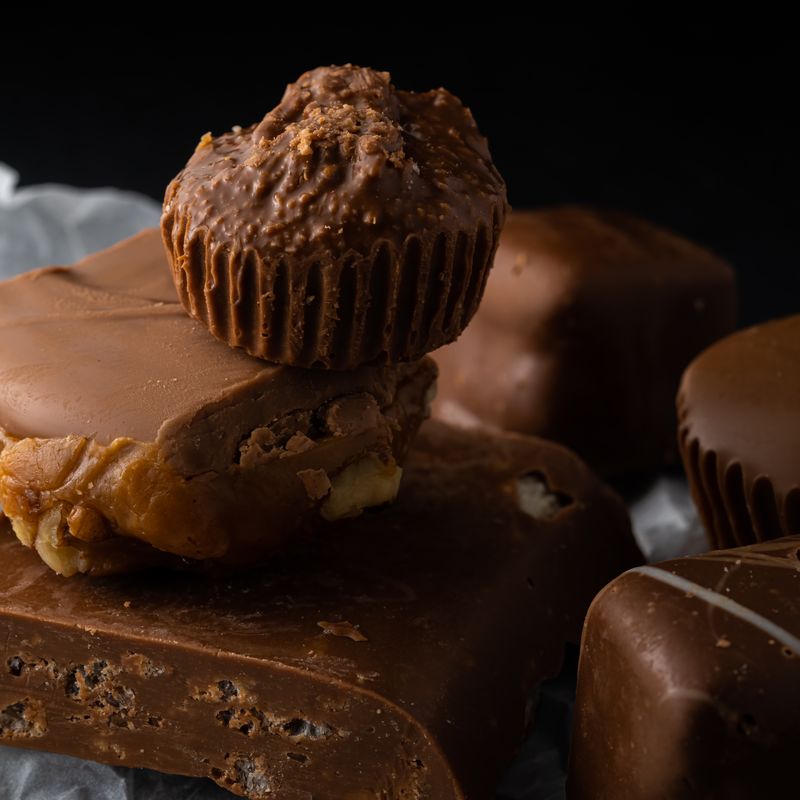
Homemade Fudge Pops
Rich, creamy chocolate pops with a dense, fudgy bite. A quick stovetop pudding-style base made with cocoa, cornstarch and melted chocolate chips freezes into smooth pops that don't turn icy.
- Prep
- 10 min
- Cook
- 8 min
- Wait
- 6 hr 15 min
- Total
- 6 hr 33 min
- Makes
- 8 pops (3-ounce / 90 ml molds)
Steps
Before you start
- Plan ahead: the pops need about 6 hours to freeze solid, so make them in the morning or the day before.
- Check that your popsicle molds hold about 3 ounces (90 ml) each. The recipe makes about 2⅔ cups (640 ml) of base, so 8 molds is right.
- Sift or whisk the cocoa powder to break up lumps, since lumps are hard to remove once the milk is added.
- Keep a bowl of hot water handy to unmold the pops later.
Mix dry ingredients
- In a 3-quart (2.8 L) heavy-bottomed saucepan, off the heat, whisk together the sugar, cocoa powder, cornstarch and salt until evenly combined and no streaks of cornstarch remain.
+ Show details− Hide details
Ready when: The mixture is uniformly dark brown with no white streaks.
Tip: Whisking the dry ingredients first keeps the cornstarch from clumping when the milk goes in.
Make a smooth paste
- Pour in about ½ cup (120 ml) of the cold milk and whisk vigorously until you have a thick, smooth paste with no dry pockets.
- Then whisk in the remaining 1½ cups (360 ml) milk and the heavy cream.
+ Show details− Hide details
Ready when: The liquid looks uniform and glossy with no lumps at the bottom of the pan.
Tip: Scrape the corners of the pan with the whisk, where cocoa likes to hide.
Cook until thickened
- Set the pan over medium heat.
- Whisk constantly, reaching the corners, as the mixture warms.
- After 5 to 7 minutes it will begin to bubble at the edges and thicken.
- Let it bubble gently for 1 minute while whisking.
+ Show details− Hide details
Ready when: The mixture coats the back of a spoon and a finger drawn across leaves a clear line. It should look like thin pudding.
Tip: Don't walk away. Milk with cornstarch scorches quickly on the bottom.
Melt in chocolate
- Remove the pan from the heat.
- Add the chocolate chips and vanilla.
- Let them sit for 30 seconds, then whisk until the chips are fully melted and the base is silky and glossy.
+ Show details− Hide details
Ready when: No visible chip pieces remain, and the base is smooth and shiny.
Tip: If you see small lumps or bits of skin, pour the base through a fine-mesh sieve.
Cool the base
- Pour the base into a spouted measuring cup.
- Let it cool for 20 minutes, stirring once or twice, until just warm or room temperature.
+ Show details− Hide details
Ready when: The base feels barely warm when you touch the side of the cup.
Tip: Press plastic wrap onto the surface if you want to prevent a skin from forming.
Fill the molds
- Stir the base once more, then pour it into 8 molds (3 oz / 90 ml each), filling to about ¼ inch (6 mm) below the rim to allow for expansion.
- Tap the molds on the counter to release air bubbles.
+ Show details− Hide details
Ready when: Each mold is nearly full with a level surface and no visible bubbles.
Tip: A small funnel makes filling narrow molds much less messy.
Insert sticks and freeze
- Snap on the mold lid and insert the sticks.
- If your molds have no lid, freeze for 1 hour, then insert the sticks so they stand upright.
- Freeze for at least 6 hours.
+ Show details− Hide details
Ready when: The pops are completely rigid, and a stick doesn't wiggle when you tug it gently.
Tip: Stand the molds level in the freezer so the pops freeze straight.
Unmold and serve
- Dip the molds in a tall cup or bowl of hot water for 10 to 15 seconds, without letting water reach the top.
- Wiggle each pop and pull it gently by the stick.
+ Show details− Hide details
Ready when: The pop slides out easily with a glossy surface.
Tip: If a pop resists, dip it for another 5 seconds rather than pulling harder, or the stick may come out.
Good to know
Tips
- Whisk constantly while the base heats and thickens to prevent scorching and lumps.
- Cool the base before filling, since a hot base can warp thin plastic molds.
- For a fudgier texture, don't skip the cornstarch. It prevents large ice crystals.
- Add a pinch of flaky salt or crushed peanuts at the tip of each mold before filling for fun variations.
Make ahead
"Make the base up to 2 days ahead: cool it, cover with plastic wrap pressed on the surface, and refrigerate. Stir well before filling the molds. The pops can be frozen up to 2 weeks before serving."
Storage & reheating
"Freezer: unmold the pops, wrap each one in parchment or plastic wrap, and store in an airtight container or freezer bag for up to 2 weeks. Do not store at room temperature. Pops can be eaten straight from the freezer after 1 minute on the counter to soften slightly."
Substitutions
- heavy cream → additional whole milk (½ cup / 120 ml). The pops will be a bit icier and less rich.
- semisweet chocolate chips → chopped bittersweet chocolate (85 g). Gives a deeper, less sweet flavor. Chop finely so it melts quickly.
- whole milk → unsweetened oat milk or full-fat canned coconut milk (thinned). Works for a dairy-free version if you also swap the cream for coconut cream and use dairy-free chips.
- pure vanilla extract → ½ teaspoon instant espresso powder. Deepens the chocolate flavor.
More frozen desserts
See all →


Find more like this
- Meal
- Dessert
- Cuisine
- American
- Method
- Stovetop
- Quick & Easy
- EasyMake AheadFreezer Friendly
- Season
- Summer