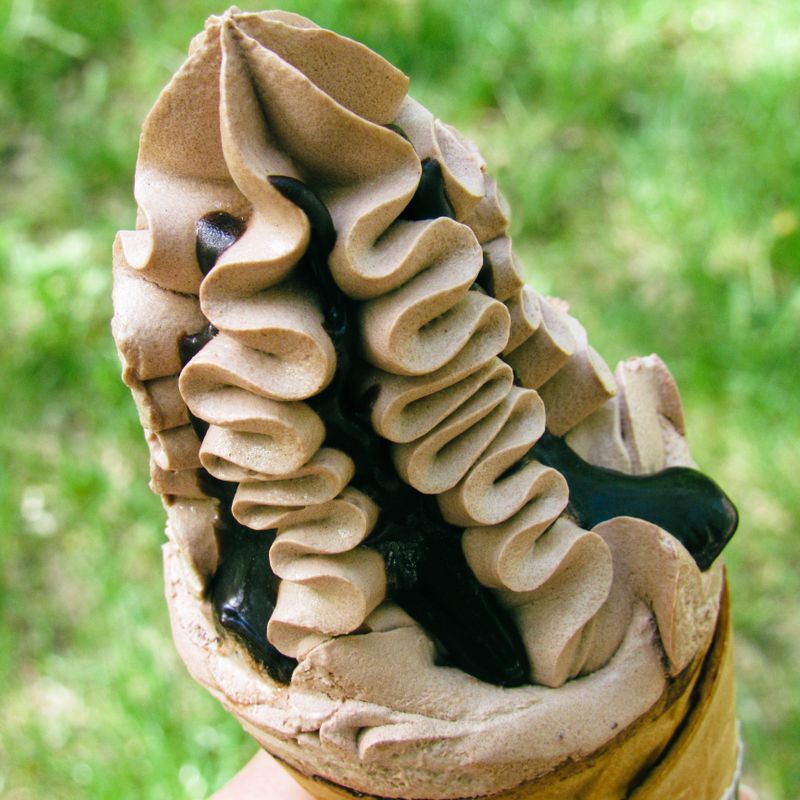
No-Churn Chocolate Ice Cream
Rich, scoopable chocolate ice cream with no machine needed. Cocoa is dissolved in warm condensed milk for deep flavor, then folded into softly whipped cream and frozen until creamy and dense.
- Prep
- 20 min
- Cook
- 3 min
- Wait
- 6 hr 16 min
- Total
- 6 hr 39 min
- Makes
- About 1.5 quarts (1.4 L), 8 servings of ¾ cup each
Steps
Before you start
- Chill the heavy cream, the mixing bowl and the whisk or beaters for at least 30 minutes. Cold cream whips higher.
- Clear a flat spot in your freezer for the loaf pan. Plan on at least 6 hours of freezing, ideally overnight.
- Use unsweetened cocoa powder, either Dutch-process or natural. Do not use sweetened hot cocoa mix.
- Spoon the cocoa into the measuring cup and level it, or weigh it, so the flavor is balanced.
Chill the tools
- Place the large mixing bowl and whisk or beaters in the freezer for 15 to 30 minutes.
- Line the 9×5-inch (23×13 cm) loaf pan with plastic wrap or parchment, leaving a little overhang, if you want to lift the ice cream out later.
+ Show details− Hide details
Ready when: Bowl feels very cold to the touch
Tip: Skip the lining if you plan to scoop straight from the pan.
Warm the chocolate base
- In a small saucepan, whisk together the condensed milk, sifted cocoa powder, salt and espresso powder if using, until no dry streaks remain.
- Set over low heat and cook, stirring constantly with a spatula, for 2 to 3 minutes, until the mixture is glossy, smooth and just warm to the touch, with tiny bubbles at the edge.
+ Show details− Hide details
Ready when: Smooth, glossy, thick like fudge sauce, with no cocoa lumps
Tip: Do not let it boil or it can scorch and turn grainy.
Cool the base
- Scrape the chocolate mixture into a medium bowl and stir in the vanilla.
- Let it cool at room temperature for 10 minutes, stirring once or twice, until it is no longer warm when you touch the bottom of the bowl.
+ Show details− Hide details
Ready when: Room temperature or slightly cool to the touch
Tip: Warm base will melt the cream and give you a soupy, icy result.
Whip the cream
- Pour the cold cream into the chilled bowl.
- Beat on medium-high speed for 2 to 4 minutes, until the cream holds stiff peaks: when you lift the beaters, the peak stands upright and does not slump.
- Stop as soon as you reach this point.
+ Show details− Hide details
Ready when: Stiff peaks that hold their shape, cream looks thick and fluffy, not yellow or grainy
Tip: Over-whipped cream turns grainy and buttery. If that starts, stir in a splash of cold cream by hand.
Lighten the base
- Add about one-quarter of the whipped cream to the cooled chocolate base.
- Stir it in firmly with a spatula until fully blended and the base loosens to a thick pudding texture.
+ Show details− Hide details
Ready when: Mixture is smooth with no dense chocolate streaks
Tip: This sacrificial portion makes the next folding step gentler and keeps more air in.
Fold together
- Add the lightened chocolate mixture to the remaining whipped cream.
- Fold gently with a spatula, cutting down the middle, sweeping along the bottom and turning over the top, rotating the bowl as you go.
- Stop when the mixture is a uniform, mousse-like brown with no white streaks, about 1 to 2 minutes.
+ Show details− Hide details
Ready when: Uniform, fluffy chocolate mousse with no white streaks
Tip: Fold, do not stir, or you will push out the air that keeps the ice cream light.
Fill the pan
- Scrape the mixture into the prepared loaf pan or container.
- Smooth the top with the spatula.
- Press a piece of plastic wrap or parchment directly onto the surface, then cover with the lid or foil.
+ Show details− Hide details
Ready when: Surface is level and covered with no air gaps
Tip: Contact wrap on the surface prevents ice crystals and freezer odors.
Freeze until firm
- Freeze on a level shelf for at least 6 hours, or overnight, until the ice cream is firm throughout.
- A spoon pressed into the center should meet firm resistance with no soft spots.
+ Show details− Hide details
Ready when: Firm all the way through, no liquid in the center
Tip: Do not stir during freezing; stirring is unnecessary and collapses the air.
Scoop and serve
- Let the ice cream sit at room temperature for 5 to 10 minutes to soften slightly.
- Dip the scoop in hot water, wipe dry, and scoop into chilled bowls.
+ Show details− Hide details
Ready when: Scoop glides through with light pressure
Tip: Return leftovers to the freezer promptly and re-cover the surface.
Good to know
Tips
- Cold cream, a cold bowl and a cooled chocolate base are the three keys to a light, creamy texture.
- Whip to stiff peaks, not soft. The extra structure holds the air during freezing.
- For mix-ins, fold in up to 1 cup (150 g) chopped chocolate, brownie pieces or toasted nuts at the end of step 6.
- A metal loaf pan chills faster than glass or plastic, giving smaller ice crystals.
Make ahead
Make up to 5 days ahead; the texture is best within the first week. Keep the surface covered tightly with plastic wrap.
Storage & reheating
Freezer: up to 2 weeks in an airtight container with plastic wrap pressed on the surface (best texture within 1 week). Not suitable for room temperature or refrigerator storage. To serve, let it stand at room temperature for 5 to 10 minutes.
Substitutions
- unsweetened cocoa powder → Dutch-process or natural cocoa, interchangeable. Dutch-process gives a darker, smoother flavor; natural is slightly fruitier and sharper. Do not use hot cocoa mix.
- pure vanilla extract → 1 teaspoon vanilla bean paste. Use half the amount for similar flavor with visible specks.
- instant espresso powder → Omit. The ice cream will still be rich, just slightly less deep in chocolate flavor.
- heavy whipping cream (36% fat or higher) → Whipping cream (30–35% fat). Works but the result is a little less rich and may be slightly icier.