
Ginger-Turmeric Mung Beans with Coconut
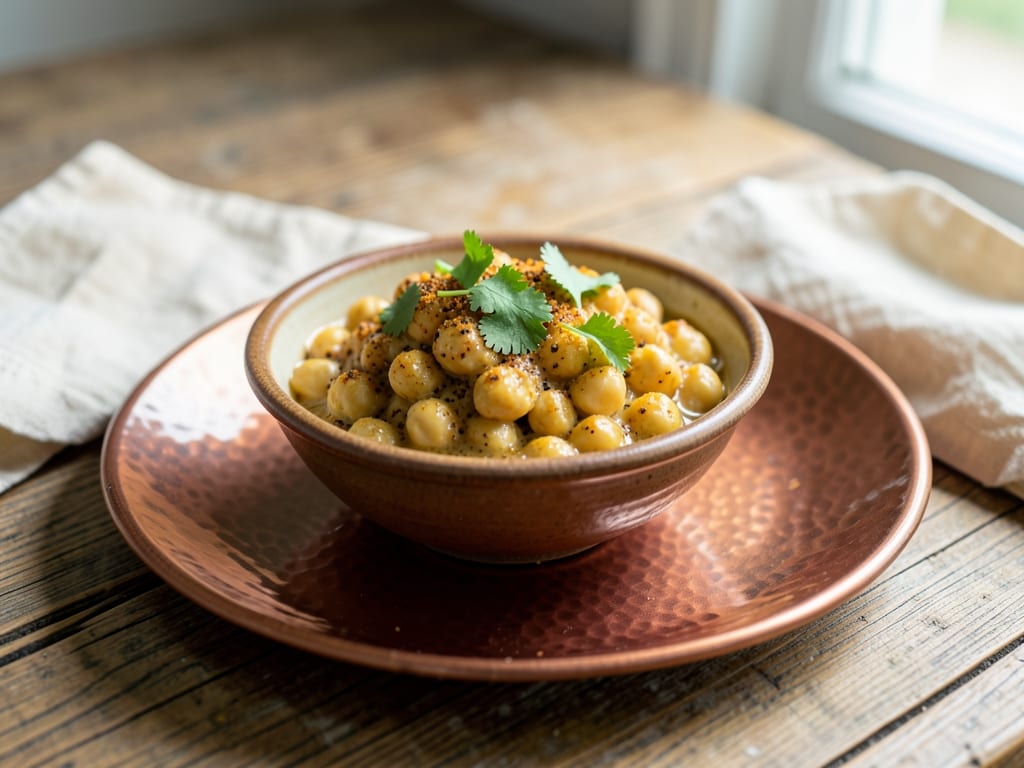
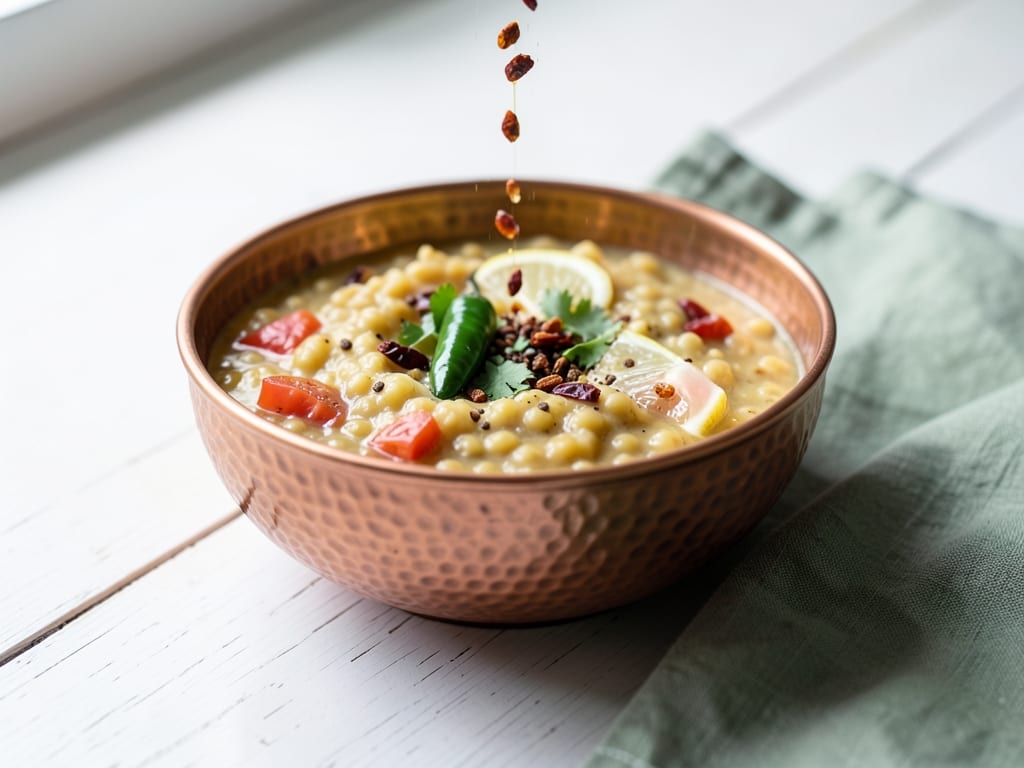
A fragrant, creamy mung bean side dish infused with warming ginger, earthy turmeric, and rich coconut milk. Cooked quickly in a pressure cooker, the beans absorb aromatic spices and emerge tender with a silky consistency. Finished with fresh curry leaves and a touch of ghee for a restaurant-quality Indian accompaniment.
- Prep
- 15 min
- Cook
- 25 min
- Wait
- 10 min
- Total
- 50 min
- Makes
- 4 servings (about 2 cups total)
Steps
Before you start
- Rinse mung beans thoroughly under cold water until water runs clear
- Have all spices and aromatics measured and ready
- Ensure pressure cooker is in good working condition and seals properly
Heat ghee and bloom spices
- Pour 2 tablespoons ghee into the pressure cooker (without the lid).
- Set to medium heat.
- Once ghee shimmers, add 1 teaspoon cumin seeds.
- Toast for 30–45 seconds until fragrant and you hear them crackle slightly.
+ Show details− Hide details
Ready when: Cumin seeds crackle and turn slightly darker
Tip: Don't let the cumin burn—it will taste bitter. Work quickly.
Sauté aromatics
- Add the diced onion to the toasted cumin.
- Stir frequently for 3–4 minutes until the onion turns translucent and softens.
- Add the minced garlic and minced ginger, stirring constantly for 1 minute until fragrant but not brown.
+ Show details− Hide details
Ready when: Onion is soft and translucent; garlic and ginger are fragrant
Tip: Lower heat if spices begin to brown—they'll turn acrid.
Add turmeric and green chili
- Sprinkle the 1 teaspoon turmeric powder over the aromatics and stir constantly for 30 seconds to coat everything.
- If using fresh green chili, add the minced pepper and stir for another 30 seconds.
- The mixture should smell warm and earthy.
+ Show details− Hide details
Ready when: Turmeric powder coats the mixture evenly; no raw-turmeric smell remains
Tip: Keep stirring so the turmeric doesn't stick to the pot bottom.
Add beans and liquid
- Pour in the rinsed mung beans (1.5 cups / 300 g) and the 4 cups water.
- Stir well to distribute the beans evenly and incorporate all the spiced ghee.
- The mixture should look loose and soupy at this point.
+ Show details− Hide details
Ready when: Beans are fully submerged and mixed with the liquid
Tip: Stir the bottom of the pot to prevent any spice mixture from sticking.
Close cooker and pressurize
- Place the pressure cooker lid on securely and ensure the sealing ring is in place.
- Set the heat to medium-high.
- Allow the cooker to build pressure.
- You will hear a hiss and see steam escaping from the vent for 2–3 minutes.
- Once the pressure indicator pin rises fully (check your cooker's manual for the exact signal), reduce the heat to medium-low to maintain steady pressure.
+ Show details− Hide details
Ready when: Pressure indicator pin rises fully and cooker stops venting
Tip: Do not move the cooker or open the vent valve during pressurization.
Cook under pressure
- Once at full pressure, cook for 12 minutes on medium-low heat.
- The cooker should maintain a gentle, steady hiss—loud or excessive venting means the heat is too high.
- Set a timer so you don't lose track of the time.
+ Show details− Hide details
Ready when: Timer reaches 12 minutes
Tip: Maintain consistent heat. If the hiss grows loud or rapid, the heat is too high and pressure may over-build.
Release pressure naturally
- Remove the cooker from heat.
- Do not open the lid.
- Allow it to sit undisturbed for 10 minutes.
- During this time, the pressure will gradually decrease and the indicator pin will lower.
- Once the pin drops completely and you hear no more hissing, the cooker has fully depressurized.
+ Show details− Hide details
Ready when: Pressure indicator pin is completely lowered and no steam escapes
Tip: Never force the lid open. Wait for the pin to drop on its own.
Open cooker and check beans
- Carefully open the lid, tilting it away from you to let steam escape safely.
- The mung beans should be very soft and have begun to break down.
- The consistency should be porridge-like, not soupy.
- If there is excess liquid on top, you can leave it to reabsorb as the mixture cools slightly.
- Stir gently with a wooden spoon.
+ Show details− Hide details
Ready when: Beans are very soft and partially broken down; liquid is mostly absorbed
Tip: If the mixture is still very watery, return it to medium heat uncovered for 2–3 minutes to evaporate excess moisture.
Add coconut milk and season
- Pour in the 0.75 cup coconut milk and stir gently to incorporate.
- Add salt and black pepper to taste—start with 3/4 teaspoon salt and adjust.
- The mixture should be creamy and rich.
- If using fresh lime juice, add 1 tablespoon and stir well.
- Taste and adjust seasoning as needed.
+ Show details− Hide details
Ready when: Coconut milk is fully blended and the mixture is creamy throughout
Tip: Add lime juice last if using it—it brightens the flavors and prevents the ginger from becoming too heavy.
Finish with curry leaves and cilantro
- Heat the cooker briefly over medium heat for 1 minute to warm the coconut milk through.
- Add the 12 fresh curry leaves, stirring gently so they release their fragrance.
- Remove from heat.
- Finish with fresh chopped cilantro (about 3 tablespoons) if desired.
- The curry leaves should glisten on the surface.
+ Show details− Hide details
Ready when: Curry leaves are fragrant and distributed throughout the dish; cilantro is visible on top
Tip: Add curry leaves just before serving to preserve their aroma—overheating will make them bitter.
Good to know
Tips
- Do not skip rinsing the mung beans—this prevents excess starch and foam during cooking.
- Turmeric stains everything, so be careful with your cutting board and cloths.
- For a brothier consistency, add 1/2 cup more water to the cooker. For a thicker dhal-like texture, reduce the water to 3.5 cups.
- Serve with basmati rice, flatbread (roti or naan), or as a side to roasted vegetables or curry.
Make ahead
Mung beans can be cooked up to 3 days ahead and stored in an airtight container in the refrigerator. Reheat gently on the stovetop over medium heat with a splash of water to restore creaminess. Do not freeze, as the coconut milk may separate. Add fresh cilantro and curry leaves only at serving time for best flavor.
Storage & reheating
Room temperature (if serving within 1 hour): Keep covered. Refrigerator: Store in an airtight container for up to 3 days. Reheat on stovetop over medium heat with 2–3 tablespoons water, stirring frequently, for 3–5 minutes until warmed through. Do not freeze.
Substitutions
- ghee (clarified butter) or coconut oil → coconut oil or unsalted butter. Coconut oil echoes the coconut milk flavor. Butter works but will brown slightly with the spices.
- full-fat coconut milk (canned or fresh) → heavy cream or Greek yogurt (stir in at the very end, off heat). Cream adds richness. Yogurt adds tang but curdles if overheated.
- cumin seeds → ground cumin (1/2 teaspoon, added with turmeric). Less aromatic but still flavorful. Whole seeds provide a textural contrast.
- fresh curry leaves → 1 tablespoon chopped fresh cilantro mixed with a pinch of dried curry powder (added at the end). Fresh curry leaves are distinctive; this is an approximation if unavailable.
More bean sides
See all →


Find more like this
- Meal
- Dinner
- Cuisine
- Indian
- Method
- Instant Pot
- Quick & Easy
- Easy