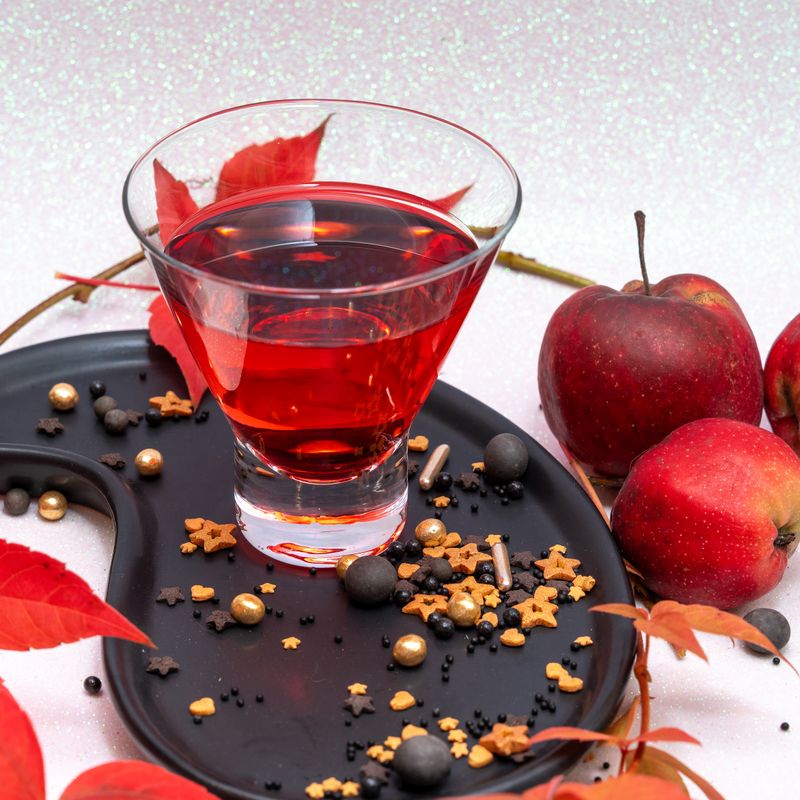
French Calvados and Apple Cider Scones
Tender, buttery scones infused with apple cider, Calvados apple brandy, and studded with tart apple pieces and warm cinnamon. These French-inspired scones are perfect for an elegant breakfast or tea service, with a subtle boozy depth that complements the natural sweetness of the apples.
Steps
Before you start
- Chill a 9-inch (23 cm) round mixing bowl and a box grater in the freezer for 15 minutes
- Cut butter into ½-inch (1.25 cm) cubes and chill until ready to use
- Preheat your oven to 400°F (200°C) 15 minutes before baking
- Line a baking sheet with parchment paper
Combine dry ingredients
- In a large chilled mixing bowl, whisk together the flour (2.5 cups / 310 g), baking powder (2.5 tsp / 12 g), salt (0.75 tsp / 4 g), and cinnamon (1 tsp / 2.5 g).
- Make sure the cinnamon is evenly distributed with no lumps.
+ Show details− Hide details
Ready when: Mixture is light and uniform in color
Tip: Keep the mixing bowl cold throughout; a warm bowl will melt the butter before you want it to.
Cut in the butter
- Add the cold butter cubes (6 oz / 170 g) to the flour mixture.
- Using a pastry cutter or the tines of a fork, cut the butter into the flour until the mixture resembles coarse breadcrumbs with some pea-sized butter pieces still visible.
- Work quickly to keep everything cold.
- This should take 2–3 minutes.
+ Show details− Hide details
Ready when: Mixture resembles breadcrumbs with pea-sized butter pieces visible
Tip: Overmixing or letting the butter warm will produce dense scones. Keep your hands and tools cold.
Infuse the liquid
- In a small saucepan, gently warm the apple cider (0.5 cup / 120 ml) over medium-low heat until it just begins to steam—do not boil.
- Remove from heat and stir in the Calvados (2 tbsp / 30 ml).
- Let cool to room temperature, about 5 minutes.
- You want this mixture cool but not cold when you add it to the dough.
+ Show details− Hide details
Ready when: Liquid is steaming and Calvados is incorporated
Tip: Warming the cider slightly helps release the apple flavors; the Calvados adds subtle depth without overpowering.
Add grated apple and egg
- Make a well in the center of the flour mixture.
- Add the coarsely grated cold apple (1 large / 200 g) and the room-temperature egg yolk (1 whole / 20 g) to the well.
- Pour the cooled apple cider–Calvados mixture into the well.
+ Show details− Hide details
Ready when: Ingredients are in the well, ready to mix
Tip: Grating the apple while cold keeps it from discoloring and adds a pleasant texture; don't squeeze out the liquid.
Bring the dough together
- Using a fork or your fingertips, gently mix the wet ingredients into the flour mixture with a light, folding motion.
- Mix until just combined—the dough should be shaggy and slightly moist but not sticky.
- Avoid overworking; stop as soon as no dry flour remains.
- This takes 1–2 minutes.
+ Show details− Hide details
Ready when: Dough is shaggy and moist with no dry flour visible
Tip: Overworking develops gluten and produces tough, dense scones. A slightly rough, lumpy dough is ideal.
Chill the dough
- Turn the dough out onto a lightly floured work surface.
- Gently form it into a ball without kneading—handle it as little as possible.
- Wrap in plastic wrap and refrigerate for 20 minutes.
- This resting period allows the flour to fully hydrate and helps keep the scones tender.
+ Show details− Hide details
Ready when: Dough is firm and cold
Tip: Chilling is essential for scones; it keeps the butter from spreading too quickly and creates a better crumb.
Roll and cut the scones
- Remove the dough from the refrigerator.
- On a lightly floured surface, gently pat the dough into a ¾-inch (2 cm) thick round, about 9 inches (23 cm) in diameter.
- Using a 2-inch (5 cm) round biscuit cutter, cut out 12 scones, pressing straight down without twisting—twisting seals the edges and prevents proper rise.
- Place the scones 1.5 inches (4 cm) apart on a parchment-lined baking sheet.
- Gather scraps gently and re-pat if making additional scones, but keep them separate from the first batch.
+ Show details− Hide details
Ready when: 12 scones are cut and arranged on baking sheet
Tip: Press the cutter straight down and lift straight up; twisting prevents the scones from rising evenly.
Brush with egg wash and sugar
- If using coarse sugar, brush the top of each scone lightly with a tiny dab of water or leftover egg yolk (use sparingly—just to help the sugar stick), then sprinkle with coarse sanding sugar (1 tbsp / 12 g total, about ¼ tsp per scone).
- This step is optional but adds a pleasant crunch and visual appeal.
+ Show details− Hide details
Ready when: Each scone is topped with a small amount of coarse sugar
Tip: Use restraint with the sugar—too much will be overwhelming and not bake evenly.
Bake the sconesOven 400°F / 205°C
- Bake at 400°F (200°C) for 14–16 minutes, until the tops are light golden brown and the scones are set but still tender to the touch.
- The edges will be slightly darker than the tops.
- If using an instant-read thermometer, the internal temperature should reach 200–205°F (93–96°C).
+ Show details− Hide details
Ready when: Tops are light golden brown; internal temperature reaches 200–205°F (93–96°C); scones are set but still tender
Tip: Don't overbake—scones that are too dark tend to be dry. They should feel slightly yielding when pressed gently.
Cool briefly
- Let the scones cool on the baking sheet for 5 minutes, then transfer to a wire cooling rack.
- Serve warm or at room temperature within a few hours of baking.
- They are best enjoyed fresh on the day of baking.
+ Show details− Hide details
Ready when: Scones are set enough to move without breaking
Tip: A brief cooling allows the structure to set without making them tough; serving them warm brings out the apple and cinnamon flavor.
Good to know
Tips
- Keep all ingredients and equipment as cold as possible. Chill your mixing bowl and grater in the freezer for 15 minutes before starting—cold dough leads to flaky scones.
- Don't skip the 20-minute chill after mixing. This rests the dough, allows the flour to hydrate fully, and keeps the butter from spreading too quickly, resulting in tender, well-risen scones.
- The grated apple adds moisture and flavor. Don't squeeze it—the natural juices are part of the liquid component and help bind the dough.
- Scones are best served warm, within a few hours of baking. The apple flavor is most pronounced when they are still slightly warm, and the texture is at its most tender.
Make ahead
Prepare and chill the dough up to 8 hours ahead. After cutting, wrap the shaped scones tightly and freeze for up to 3 months. Bake directly from the freezer, adding 2–3 minutes to the baking time.
Storage & reheating
Room temperature in an airtight container for up to 2 days. Refrigerate for up to 4 days. Freeze baked scones in an airtight container for up to 3 months. Reheat gently in a 300°F (150°C) oven for 8–10 minutes, or wrap in a damp paper towel and microwave for 15–20 seconds.
Substitutions
- Calvados apple brandy → Cognac, Armagnac, or apple juice concentrate. Calvados is traditional and best, but these alternatives work well. Use apple juice concentrate (1 tbsp / 15 ml) for a non-alcoholic version.
- Granny Smith apple, cold → Pink Lady, Honeycrisp, or Braeburn apple. Choose tart to medium-sweet varieties; Red Delicious or Gala will make the scones too sweet.
- apple cider, cold → Fresh apple juice or unfiltered cider. Use the same amount. Avoid bottled apple juice cocktail; fresh or pure cider gives better flavor.
- coarse sanding sugar or pearl sugar → Turbinado sugar or demerara sugar. These coarser sugars work beautifully; regular granulated sugar will dissolve too quickly.
More scones & biscuits
See all →


Find more like this
- Meal
- Breakfast
- Cuisine
- French
- Diet
- Vegetarian
- Method
- Oven