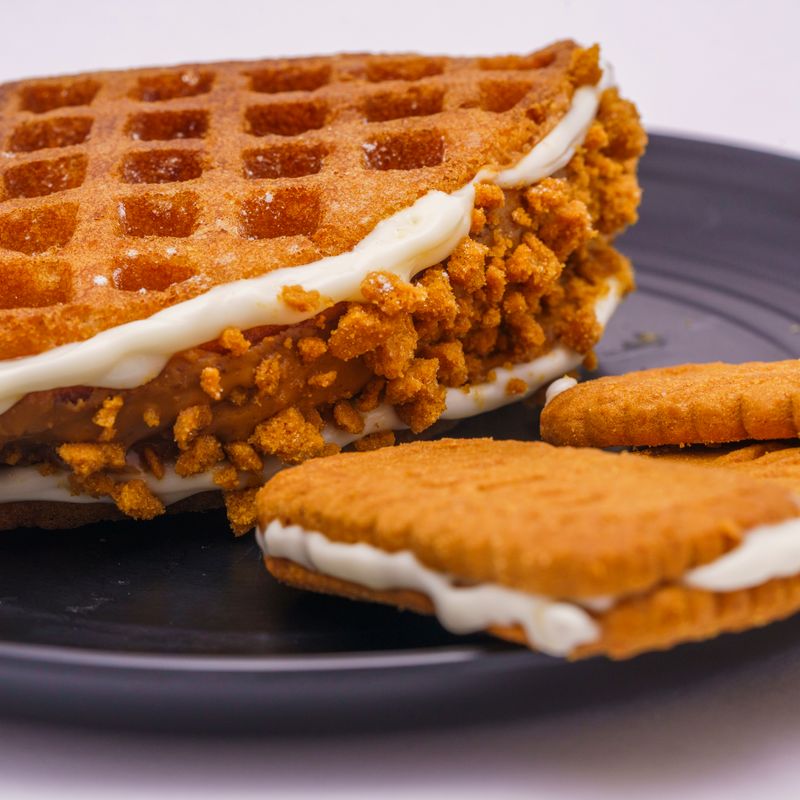
Crispy Buttermilk Waffles
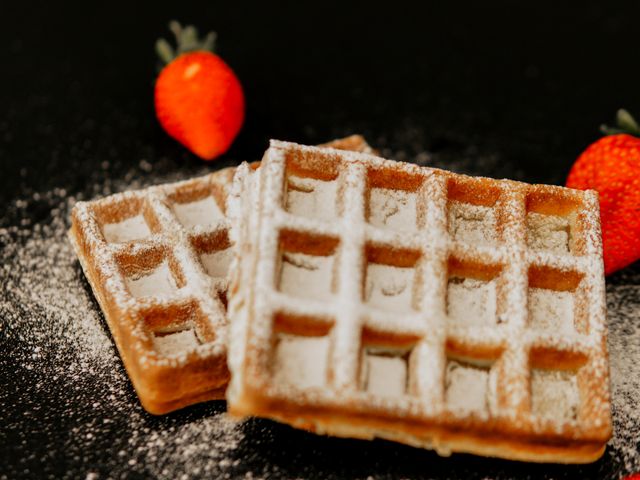
Golden, shatteringly crisp waffles with a tender, tangy interior. A little cornstarch and a short batter rest give the crunch, and buttermilk with baking soda gives the lift and flavor.
- Prep
- 15 min
- Cook
- 20 min
- Wait
- 10 min
- Total
- 45 min
- Makes
- 8 four-inch (10 cm) waffle squares, or about 4 large Belgian-style waffles
Steps
Before you start
- Take the buttermilk and eggs out of the fridge 20–30 minutes ahead. Cold buttermilk will make the melted butter clump.
- Preheat the waffle iron fully, until its ready light comes on. Waffle irons vary, so check your manual for the batter amount.
- Preheat the oven to 200°F (95°C) with a wire rack set on a baking sheet to keep finished waffles crisp.
- Don't overmix. Lumps in the batter are fine.
Heat oven and ironOven 200°F / 95°C
- Heat the oven to 200°F (95°C) and set a wire rack on a baking sheet inside.
- Plug in the waffle iron and heat it on a medium-high setting (or the setting for a medium-golden waffle).
+ Show details− Hide details
Ready when: The iron's ready light is on.
Tip: Use the rack, not a flat plate. Trapped steam makes waffles soggy.
Whisk dry ingredients
- In a large bowl, whisk the flour, cornstarch, sugar, baking powder, baking soda and salt for 20 seconds, until evenly combined with no streaks of baking soda.
+ Show details− Hide details
Ready when: The mixture looks uniform in color.
Mix wet ingredients
- In a medium bowl, whisk the buttermilk, eggs and vanilla until smooth.
- Slowly drizzle in the cooled melted butter while whisking, so it blends in without clumping.
+ Show details− Hide details
Ready when: The liquid is smooth with no visible butter pools.
Tip: If the butter is hot, it can scramble the eggs. Let it cool for 5 minutes first.
Combine the batter
- Pour the wet mixture into the dry ingredients.
- Fold with a spatula for about 15 strokes, until the flour is just moistened.
- The batter will be thick but pourable, with a few small lumps.
+ Show details− Hide details
Ready when: No dry flour pockets remain. Small lumps are fine.
Tip: Overmixing develops gluten and makes tough, chewy waffles.
Rest the batter
- Let the batter rest for 10 minutes.
- It will thicken slightly and become bubbly as the baking soda reacts with the buttermilk.
+ Show details− Hide details
Ready when: Small bubbles dot the surface.
Grease the iron
- Lightly brush the top and bottom grids of the hot waffle iron with oil, or spray them.
- Even on nonstick irons, grease the first waffle for easier release and better browning.
+ Show details− Hide details
Ready when: The grids have a thin, even sheen.
Tip: Too much oil will pool and make spotty, greasy waffles. Use a thin film.
Cook first waffle
- Pour in the amount of batter your iron needs.
- As a guide, use about ½ cup (120 ml) for a standard square iron and ¾–1 cup (180–240 ml) for a Belgian iron.
- Spread the batter to just short of the edges and close the lid.
- Don't open it early.
- Cook 4–6 minutes.
+ Show details− Hide details
Ready when: Steam slows to a thin wisp, the waffle is deep golden brown and releases easily when lifted with a fork.
Tip: Opening the lid early tears the waffle. If it resists, give it another 30 seconds.
Keep warm and repeatOven 200°F / 95°C
- Move the waffle to the rack in the oven in a single layer.
- Re-grease the iron lightly every 2–3 waffles and repeat with the remaining batter, for 8 square waffles or about 4 Belgian waffles.
+ Show details− Hide details
Ready when: Each waffle is deep golden with a crisp, dry surface that rings slightly when tapped.
Tip: Don't stack the waffles. Stacking traps steam and softens the crust.
Serve immediately
- Serve the waffles hot, topped with butter and warm maple syrup if you like.
Good to know
Tips
- Waffle irons vary, so check your first waffle and adjust the batter amount and time to suit your iron.
- Cornstarch and the 10-minute rest are the keys to the crisp crust.
- Don't pack the flour into the cup. Spoon and level it, or weigh it, for light waffles.
- Wait until steam nearly stops before opening the iron, as that signals the waffle is crisp inside.
Make ahead
Whisk the dry ingredients up to 1 week ahead and store them airtight. Mix the finished batter up to 12 hours ahead and refrigerate it covered. Whisk gently and let it sit 15 minutes before cooking. The waffles will be slightly less puffy. Or cook the waffles fully and freeze them.
Storage & reheating
Room temperature: Best eaten within 15 minutes of cooking. Refrigerator: Cool completely on a rack, then store airtight up to 3 days. Freezer: Freeze in a single layer until firm, then bag for up to 2 months. Reheat from fridge or frozen in a toaster or a 375°F (190°C) oven for 5–8 minutes until hot and crisp. Don't microwave them.
Substitutions
- buttermilk → 1¾ tablespoons lemon juice or white vinegar stirred into 2 cups (480 ml) whole milk. Let stand 5–10 minutes until slightly curdled. The flavor will be a little milder than real buttermilk.
- unsalted butter → neutral oil, such as canola, in the same amount. Gives very crisp waffles but less buttery flavor.
- cornstarch → additional all-purpose flour (2 tablespoons / 16 g). Waffles will still be good but slightly less crisp.
- all-purpose flour → 1 cup (125 g) all-purpose flour and 1 cup (120 g) whole wheat flour. This gives a nuttier, slightly denser waffle.
More pancakes & waffles
See all →


Find more like this
- Meal
- Breakfast
- Cuisine
- American
- Diet
- VegetarianHalal
- Quick & Easy
- Easy