Tres Leches Popsicles
Creamy, rich popsicles inspired by classic tres leches cake. Made by blending sweetened condensed milk, evaporated milk, and heavy cream into a luscious frozen treat. These no-bake popsicles are smooth, indulgent, and perfect for hot summer days or a make-ahead dessert.
Steps
Before you start
- Have your 8-cavity popsicle molds and sticks ready and clean
- Ensure the freezer has flat, level space with at least 6–8 hours available before serving
- Optional: chill the cans of milk in the refrigerator before opening for smoother mixing
- Read through the timing—most of the time is passive freezing
Combine the three milks
- Open both cans and pour the sweetened condensed milk and evaporated milk into a large mixing bowl.
- Stir with a whisk or fork until well combined, about 1 minute, ensuring no streaks of unmixed milk remain.
+ Show details− Hide details
Ready when: Milks are fully combined with no streaks visible
Whisk in cream and vanilla
- Add the heavy cream and vanilla extract to the milk mixture.
- Whisk vigorously for about 1 minute until the mixture is smooth, creamy, and completely uniform.
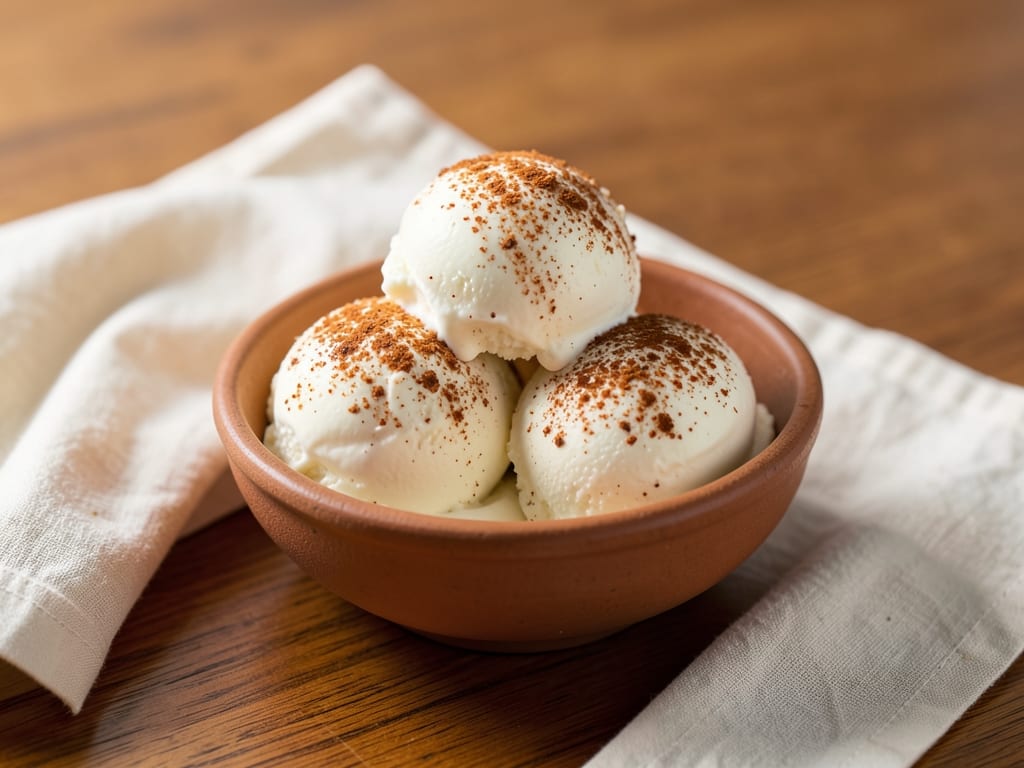
- If desired, add a small pinch of ground cinnamon to echo the warm spice found in traditional tres leches cakes.
+ Show details− Hide details
Ready when: Mixture is smooth, creamy, and uniform throughout
Tip: Whisking incorporates air and ensures vanilla is evenly distributed, creating a lighter texture.
Fill popsicle molds
- Carefully pour the mixture into the 8-cavity popsicle molds, filling each cavity to about ½ inch from the top.
- Leaving a small gap prevents overflow as the mixture expands slightly when freezing.
- Use a small pitcher or measuring cup for controlled, even pouring.
+ Show details− Hide details
Ready when: All 8 molds are evenly filled to about ½ inch from the top
Tip: Use a small pitcher or funnel to pour without spilling or creating air pockets that can cause uneven freezing.
Insert popsicle sticks
- Carefully insert popsicle sticks into the center of each filled cavity.
- The sticks should stand straight and upright without touching the bottom or sides of the molds.
- Some molds have built-in stick holders—follow the manufacturer's instructions if applicable.
- Ensure each stick is centered.
+ Show details− Hide details
Ready when: All sticks are centered, upright, and secure in each mold
Tip: If your molds don't have stick holders, consider waiting 2–3 hours until the mixture is partially frozen before inserting sticks. This prevents them from tilting or falling as the liquid freezes.
Freeze popsicles overnight
- Place the filled molds on a flat, level surface in the freezer.
- Freeze for at least 6 hours, or preferably overnight (8–10 hours), until the popsicles are completely solid and rock-hard.
- When ready, gently pull on a stick—it should not move at all.
+ Show details− Hide details
Ready when: Popsicles are rock-hard and sticks don't wiggle or move when pulled gently
Tip: For the easiest removal, freeze for a full 24 hours if you have time. Complete freezing ensures clean release and prevents tearing.
Remove from molds and serve
- Run the outside of the molds under warm (not hot) water for 15–20 seconds to loosen the popsicles slightly.
- Gently pull the sticks to release each popsicle from its mold.
- If any stick, run under water for a few more seconds and try again.
- Serve immediately while very cold, or return to the freezer on a parchment-lined baking sheet.
+ Show details− Hide details
Ready when: Popsicles release cleanly and easily from molds
Tip: Use warm water, not hot—hot water will partially melt the popsicles and create a sticky, compromised texture.
Good to know
Tips
- For the easiest release from molds, lightly coat the insides with neutral oil before filling, or use silicone molds which naturally release popsicles without sticking.
- For a striped or layered effect, freeze ⅓ of the mixture for 2–3 hours, then carefully pour in the remaining ⅔ and freeze another 4–5 hours before inserting sticks.
- These popsicles melt faster than water-based popsicles due to higher fat content, so serve immediately after unmolding and eat quickly.
- Dip the popsicle tops in melted white chocolate, dark chocolate, or crushed cookies just before serving for an elegant finish.
Make ahead
Yes! These popsicles are ideal for advance preparation. Freeze up to 2 weeks ahead. Once unmolded, store in an airtight freezer bag or container to prevent freezer burn and absorbing other odors.
Storage & reheating
Freezer: up to 2 weeks in an airtight container or freezer bag. Once frozen solid, popsicles require no special handling—just return unmolded ones to a freezer bag. Thawed popsicles: eat immediately; they do not keep well once thawed as the mixture will separate. Reheat: not applicable; serve directly from the freezer.
Substitutions
- evaporated milk → 1 can (12 oz / 354 ml) canned coconut milk. Creates a tropical, coconutty variation; reduce heavy cream to ¼ cup for better texture balance and to prevent overly soft popsicles.
- vanilla extract → 1–2 tbsp coffee liqueur (Kahlúa), dark rum, or brandy. For an adult version with deeper flavor; omit the cinnamon if using coffee liqueur.
- heavy cream → ½ cup plain Greek yogurt (full-fat). Creates a tangier, slightly less rich version; don't whisk as vigorously to avoid overworking the yogurt.
- sweetened condensed milk → ½ cup dulce de leche mixed with ½ cup whole milk. Intensifies caramel notes; reduce the cinnamon to avoid overpowering the dulce de leche flavor.