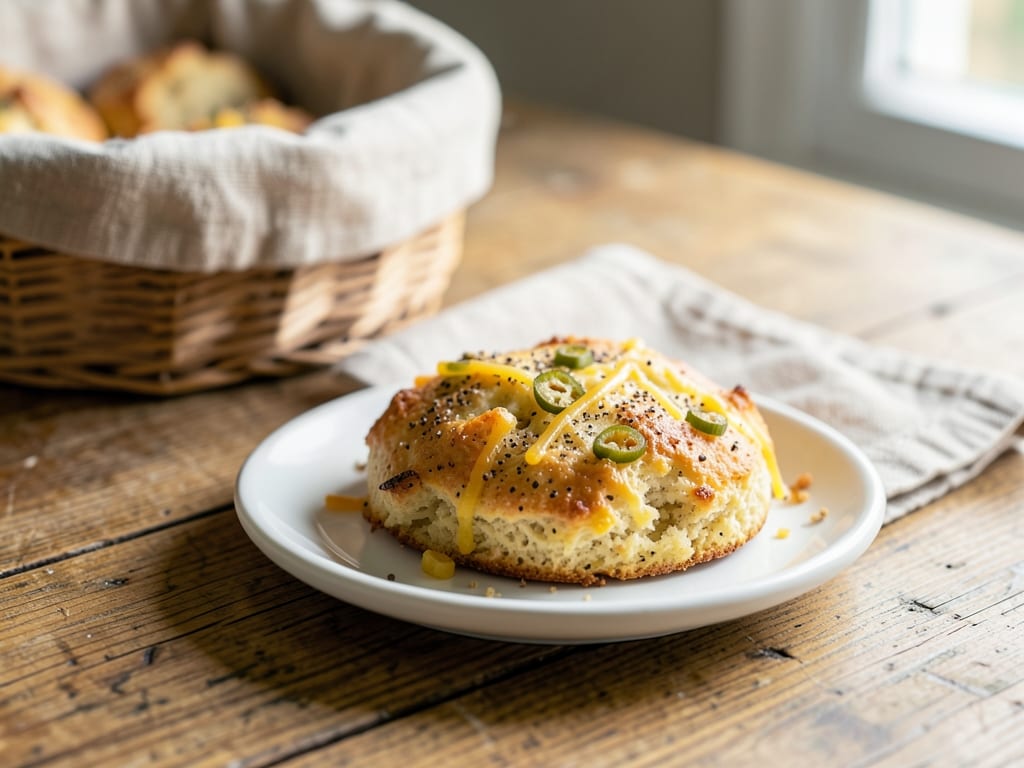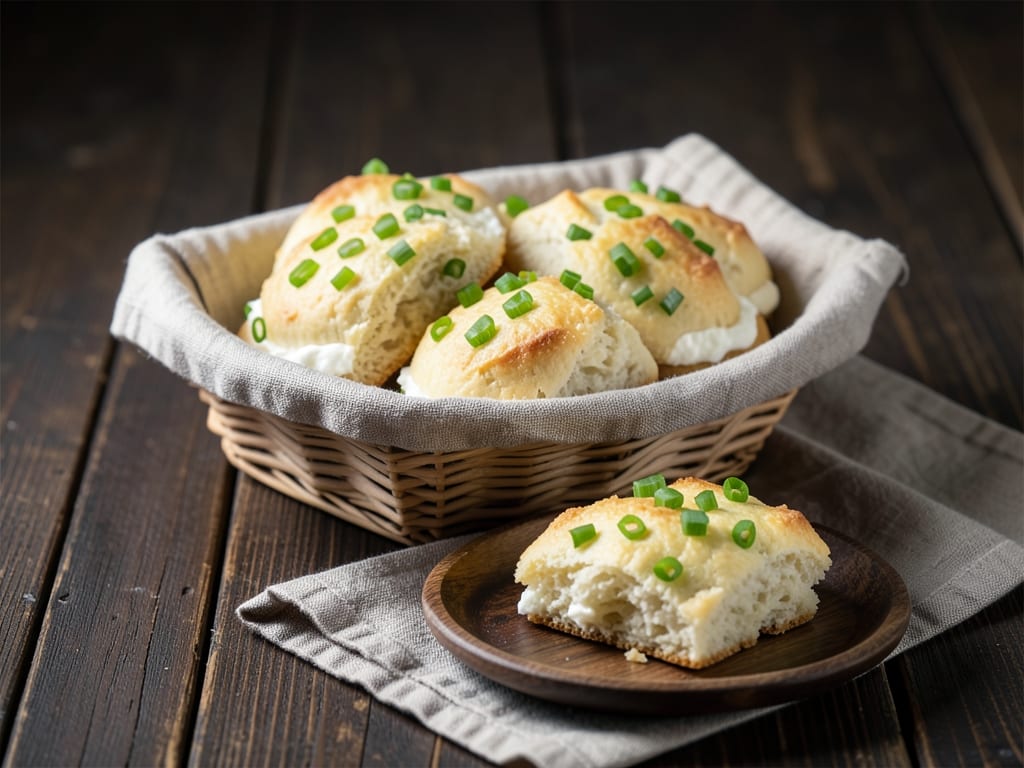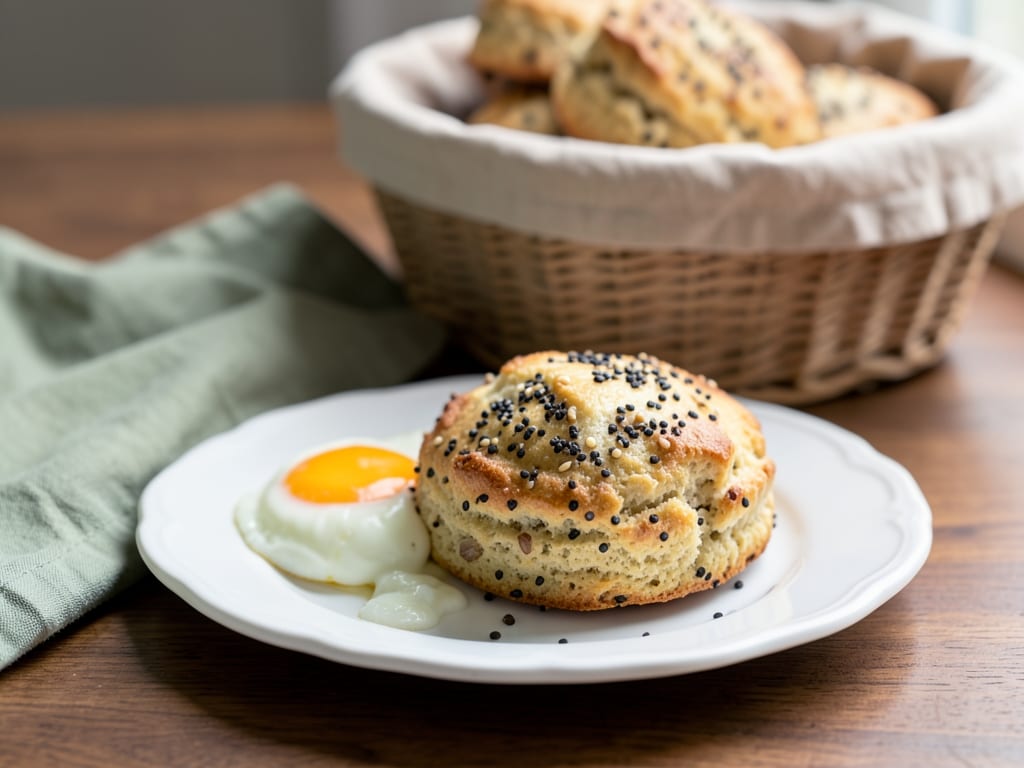
Sourdough Potato and Chive Biscuits
Tender, flaky biscuits infused with the tang of active sourdough starter and the creamy richness of mashed potatoes, brightened with fresh chives. These savory biscuits are perfect for breakfast, alongside soups and stews, or split and filled with cheese and bacon.
Steps
Before you start
- Preheat your oven to 400°F (200°C)
- Use sourdough starter that's active and bubbly (at peak or just past peak activity)
- Have cold butter and cold buttermilk ready—temperature matters for flaky biscuits
- Cool mashed potatoes to room temperature before mixing
Mix dry ingredients
- In a large mixing bowl, whisk together the flour, baking powder, salt, and black pepper.
- Make sure there are no lumps and the ingredients are evenly distributed throughout.
+ Show details− Hide details
Ready when: Ingredients are evenly combined and no lumps remain
Tip: Sift the dry ingredients if you have a sifter for the lightest, most tender biscuits
Cut in cold butter
- Add the cold butter cubes to the flour mixture.
- Using a pastry cutter, two knives, or your fingertips, quickly cut the butter into the flour until the mixture resembles coarse breadcrumbs with some pea-sized pieces of butter still visible.
- Work as quickly as possible to keep the butter cold.
+ Show details− Hide details
Ready when: Mixture resembles coarse breadcrumbs with visible pea-sized butter pieces throughout
Tip: Keep your hands, tools, and bowl cold; if the mixture becomes warm or greasy, refrigerate for 10 minutes before continuing
Mix wet ingredients
- In a separate small bowl, whisk together the active sourdough starter, cooled mashed potatoes, and cold buttermilk until smooth and well combined.
- Stir in the finely chopped chives until evenly distributed.
+ Show details− Hide details
Ready when: Mixture is smooth and chives are evenly distributed
Combine into dough
- Make a well in the center of the dry ingredients and pour in the wet mixture all at once.
- Using a wooden spoon or your hands, gently fold and mix until just combined.
- The dough should look slightly shaggy and sticky, with no visible dry flour; some small lumps are fine.
- Do not overmix.
+ Show details− Hide details
Ready when: Dough just comes together; no dry flour remains and texture is shaggy
Tip: Overmixing develops gluten and creates tough, dense biscuits—stop mixing as soon as no dry flour is visible
Knead gently
- Lightly flour a work surface and turn the dough out onto it.
- Using the heel of your hand, knead gently 3–4 times until the dough comes together and holds its shape.
- It should still feel slightly sticky but cohesive.
+ Show details− Hide details
Ready when: Dough holds together and is no longer falling apart
Tip: Resist the urge to knead further; gentle handling and minimal flour keep the biscuits tender
Pat out dough
- Pat the dough into a roughly ¾-inch (2 cm) thick round, about 8 inches (20 cm) in diameter.
- Use light dusting of flour to prevent sticking, but avoid pressing too hard or working in too much extra flour.
+ Show details− Hide details
Ready when: Dough is even thickness, roughly circular, and holds its shape
Cut biscuit rounds
- Using a 2-inch (5 cm) biscuit cutter, cut rounds from the dough.
- Press straight down without twisting—twisting seals the edges and prevents even rising.
- Gather the scraps gently, re-pat them out, and cut additional rounds until you have 12 biscuits total.
+ Show details− Hide details
Ready when: You have 12 round biscuits cut and ready to transfer
Tip: Don't twist the cutter; pressing straight down helps the biscuits rise tall and evenly
Arrange on baking sheet
- Transfer the biscuit rounds to a parchment-lined baking sheet, spacing them about 2 inches (5 cm) apart to allow good air circulation and browning.
- (They can touch very slightly if you prefer them to bake together, but spacing yields crispier sides.)
+ Show details− Hide details
Ready when: All biscuits are arranged and spaced evenly on the parchment
Rest before baking
- Let the arranged biscuits rest on the counter for 10 minutes.
- This allows the gluten to relax and the baking powder to begin its leavening action.
+ Show details− Hide details
Tip: Don't skip this rest; it helps the biscuits rise evenly and stay tender
Brush and bakeOven 400°F / 205°C
- Lightly brush the tops of the biscuits with the melted butter.
- Place the baking sheet in your preheated 400°F (200°C) oven and bake for 14–16 minutes, until the tops are deep golden brown and the biscuits feel firm when gently pressed.
+ Show details− Hide details
Ready when: Tops are deep golden brown; biscuits feel firm and spring back lightly when pressed
Tip: For extra rich flavor, brush the hot biscuits again with melted butter right after they come out of the oven
Cool
- Let the biscuits cool on the baking sheet for 2–3 minutes, then transfer to a wire rack.
- Serve warm or at room temperature.
+ Show details− Hide details
Ready when: Biscuits are cool enough to transfer without breaking
Good to know
Tips
- Active sourdough starter is essential to both flavor and texture—use starter that's at peak activity (bubbly, doubled, and just starting to recede) for best results
- Keep all ingredients cold: cold butter, cold buttermilk, and even a chilled bowl create the flakiest, most tender biscuits
- Serve warm from the oven with softened butter and a spread, or split and fill with scrambled eggs and cheese for breakfast, or sharp cheddar and crispy bacon for lunch
- For a glossy, golden finish, brush the biscuits with an egg wash (1 large egg beaten with 1 tablespoon water) instead of melted butter before baking
Make ahead
The dough can be prepared through step 8, covered with plastic wrap, and refrigerated for up to 8 hours. Bake directly from the refrigerator, adding 2–3 minutes to the baking time. For longer storage, freeze unbaked biscuits on the baking sheet until solid, then transfer to a freezer bag for up to 1 month; bake from frozen, adding 3–4 minutes to the baking time.
Storage & reheating
Room temperature: up to 1 day in an airtight container. Refrigerator: up to 3 days in an airtight container. Freezer: up to 2 months (wrap individually in plastic wrap, then in a freezer bag). Reheat: Wrap in foil and warm in a 350°F (175°C) oven for 8–10 minutes until heated through.
Substitutions
- active sourdough starter → ½ cup plain Greek yogurt mixed with 1 tablespoon fresh lemon juice (combine and let sit 10 minutes). The tang will be less pronounced, but the biscuits will still be tender and flavorful
- fresh chives → Fresh dill, scallion greens, or flat-leaf parsley, finely chopped. Each herb brings a different flavor profile; use the same amount
- mashed potatoes → Mashed cauliflower or pumpkin puree (use the same amount). The vegetable base and flavor will change, but the texture will remain tender and light
- buttermilk → Regular whole milk mixed with 1 tablespoon fresh lemon juice or white vinegar; let sit 5 minutes before using. This creates a makeshift buttermilk with similar acidity