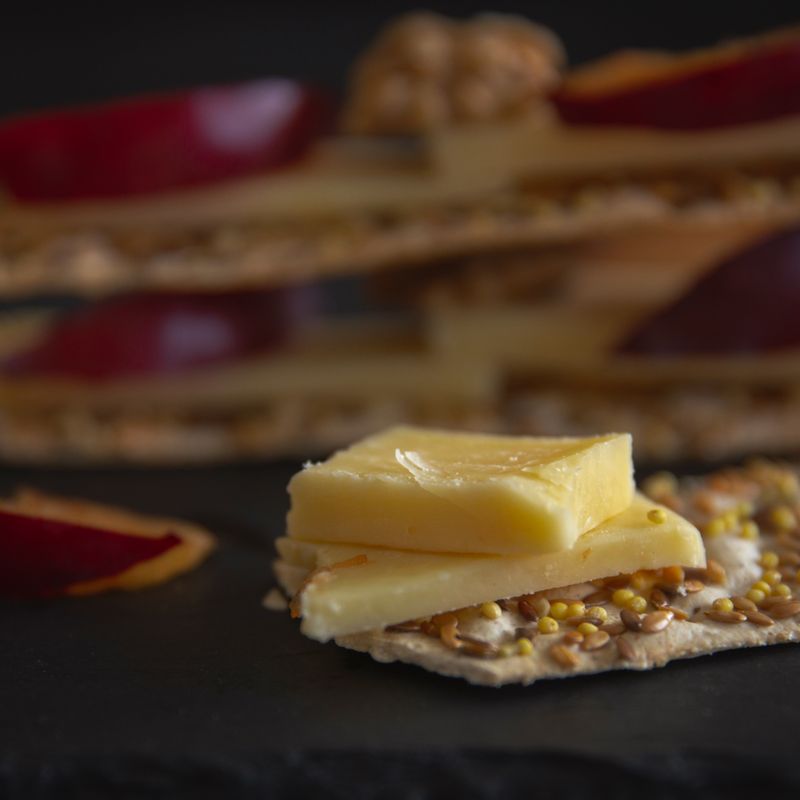
Sourdough Party Bacon Cheddar Crackers
Crispy, cheese-forward crackers studded with bacon bits, made using sourdough discard. Perfect for parties, snacking, or serving with dips and spreads. The tangy sourdough provides subtle depth, while sharp cheddar and crispy bacon deliver savory umami. These stay crispy for days and can be made well ahead, making them ideal for entertaining.
- Prep
- 30 min
- Cook
- 15 min
- Wait
- 40 min
- Total
- 1 hr 25 min
- Makes
- 32–40 crackers
Steps
Before you start
- Have softened butter and room-temperature sourdough discard ready before starting
- Cook bacon until very crispy and completely cool it before crumbling—any moisture will prevent crispness
- Position oven racks in the center; plan to preheat while dough chills
Cook the bacon
- In a 12-inch (30 cm) skillet over medium heat, cook 6 oz (170 g) bacon, turning occasionally, until very crispy and dark brown, about 8–10 minutes.
- The bacon should be almost brittle—there should be no soft or chewy spots.
- Transfer to paper towels to drain, let cool slightly for about 2 minutes, then crumble into small bite-sized pieces.
- You should have about ¾ to 1 cup of crumbled bacon.
+ Show details− Hide details
Ready when: Bacon is very crispy, dark brown, and nearly brittle
Tip: Any remaining moisture in the bacon will make the final crackers chewy instead of crispy, so render it completely
Mix cheese and bacon dough
- In a medium bowl, combine 1 cup (240 g) room-temperature sourdough discard and 4 tablespoons (57 g) softened unsalted butter.
- Stir with a wooden spoon for about 1–2 minutes until mostly incorporated and smooth.
- Add 1 cup (113 g) grated sharp cheddar and the cooled, crumbled bacon.
- Mix well using the spoon, breaking up any clumps of cheese and ensuring the bacon is evenly distributed throughout.
- Season with ¼ teaspoon sea salt and ¼ teaspoon black pepper, tasting and adjusting to your preference.
- If desired, add ¼ teaspoon paprika for a subtle smokiness and warm color.
- If the dough feels very sticky and wet, add 1 to 2 tablespoons (8–16 g) all-purpose flour, a little at a time, stirring until it comes together into a soft, cohesive dough.
- It should hold together when pressed but not feel dry or stiff.
+ Show details− Hide details
Ready when: All ingredients are thoroughly mixed with cheese and bacon evenly distributed
Tip: Use softened (not melted) butter—it blends in more easily and creates a better texture than cold or liquid butter
Chill dough
- Cover the bowl with plastic wrap or a plate and refrigerate for 30 minutes.
- This firms up the dough significantly, making it much easier to roll out and cut without it tearing, sticking to the parchment, or falling apart.
- This step is important for success, so don't skip or rush it.
+ Show details− Hide details
Tip: While the dough chills, you can prep your baking pans and preheat the oven—this saves time
Preheat and prepareOven 375°F / 190°C
- Preheat your oven to 375°F (190°C).
- Line two large baking sheets (9×13 inches / 23×33 cm) with parchment paper, or use whatever large baking sheets you have.
- The parchment prevents sticking and makes transferring the crackers much easier.
+ Show details− Hide details
Tip: Preheat while the dough is chilling so everything is ready when you pull it from the fridge
Roll and cut crackers
- Remove the chilled dough from the fridge.
- Place it between two large sheets of parchment paper.
- Using a rolling pin, gently roll the dough from the center outward until it reaches about ⅛-inch (3 mm) thickness—it should be thin enough to crisp fully but not so thin it tears.
- Carefully peel away the top sheet of parchment.
- Using a sharp knife, pastry wheel, or cookie cutters, cut the dough into 1- to 1½-inch (2.5–4 cm) squares, or make decorative shapes.
- Carefully transfer each cracker to a parchment-lined baking sheet, spacing them about ½ inch (1 cm) apart so air can circulate underneath and around them for even crisping.
- You may need both baking sheets.
- If desired, lightly sprinkle tops with a few grains of fleur de sel, additional paprika, or cracked pepper before baking.
+ Show details− Hide details
Ready when: Dough is rolled to even thickness and cut into uniform pieces
Tip: Work quickly once the dough is out of the fridge—if it warms and becomes sticky, return it to the fridge for 10 minutes
Bake until goldenOven 375°F / 190°C
- Place baking sheets in the preheated 375°F (190°C) oven.
- Bake for 13–15 minutes.
- If baking both sheets simultaneously, rotate them front-to-back about halfway through for more even browning, since oven hot spots vary.
- The crackers are done when the tops are golden brown and the edges look slightly darker and crispy-looking.
- They should be firm when pressed but still have just a tiny bit of give; they will firm up completely as they cool.
+ Show details− Hide details
Ready when: Crackers are golden brown with slightly darkened, crispy edges
Tip: Remove them when they still have a tiny bit of softness—they'll crisp up further as they cool, and overbaking makes them hard and bitter-tasting
Cool on rack
- Let the crackers rest on the baking sheets for 5 minutes so they set slightly.
- Then carefully transfer them to a wire cooling rack using a thin spatula or your fingers.
- Spread them out in a single layer and let them cool completely, undisturbed, for about 10 minutes.
- As they cool, they'll continue to firm up and become fully crispy.
- Break one in half—it should snap cleanly with no chewy center.
+ Show details− Hide details
Ready when: Crackers are fully crispy and snap cleanly when bent
Tip: Store in an airtight container only after they're completely cool, or trapped steam will soften them and ruin the crispness
Good to know
Tips
- Make sure bacon is cooked until completely crispy with no soft or moist spots—any moisture remaining will prevent the final crackers from crisping fully and will make them chewy.
- Sourdough discard is very forgiving for this recipe; whether it's been fed, unfed, thick, or thin doesn't matter much. Just measure by volume (1 cup) and proceed. If it's extra-liquidy, let it drain in a sieve for a minute.
- These crackers are perfect served straight, with soft cheeses, alongside charcuterie, with salsa or hummus, or crumbled over soup. Make a large batch and freeze—they reheat beautifully in a 325°F (160°C) oven.
- For extra flavor and visual appeal, sprinkle unbaked crackers with fleur de sel, smoked paprika, dried thyme, or red pepper flakes before baking. Just use a light hand so toppings don't burn.
Make ahead
Dough can be mixed and refrigerated up to 2 days ahead, tightly covered. Unbaked dough freezes well for up to 1 month (wrap tightly); thaw in the fridge for 8 hours, then proceed with rolling and baking. Baked crackers keep in an airtight container for up to 5 days and can be frozen for up to 3 weeks; reheat in a 325°F (160°C) oven for 6–8 minutes to restore crispness.
Storage & reheating
Room temperature: Store in an airtight container or zip-top bag for up to 5 days (they'll gradually soften but remain tasty). If they lose crispness, reheat in a 325°F (160°C) oven for 8–10 minutes. Freezer: Baked crackers freeze for up to 3 weeks in an airtight container; reheat at 325°F (160°C) for 6–8 minutes to re-crisp.
Substitutions
- sharp cheddar cheese → Gruyère, aged Gouda, white cheddar, Manchego, or Emmental cheese. Use any hard cheese with bold flavor; aged cheeses add complexity. Adjust grating size for finer melting.
- bacon strips → Crispy pancetta, prosciutto, or smoked ham (finely diced). Cook pancetta until very crispy; prosciutto and ham are already crispy. For a vegetarian version, omit bacon and increase paprika and dried thyme by ½ tsp each.
- unsalted butter → Extra-virgin olive oil or avocado oil (use same 4 tbsp / 57 g amount). Oil creates a slightly more rustic, thinner, extra-crispy cracker. Use a mild oil if you prefer the cheese and bacon flavors to dominate.
- sourdough discard (or unfed starter) → Unfed, fed, thick, or thin sourdough starter (use 1 cup / 240 g by volume). Sourdough discard is forgiving—fed or unfed, thin or thick all work. If your starter is very liquidy, drain it briefly in a sieve first.
More party snacks
See all →

Find more like this
- Meal
- Snack
- Diet
- Sugar-Free
- Method
- Oven
- Quick & Easy
- 5 Ingredients or LessEasyMake Ahead
- Occasion
- Parties