Sourdough Greek Feta and Roasted Beet Green Pockets
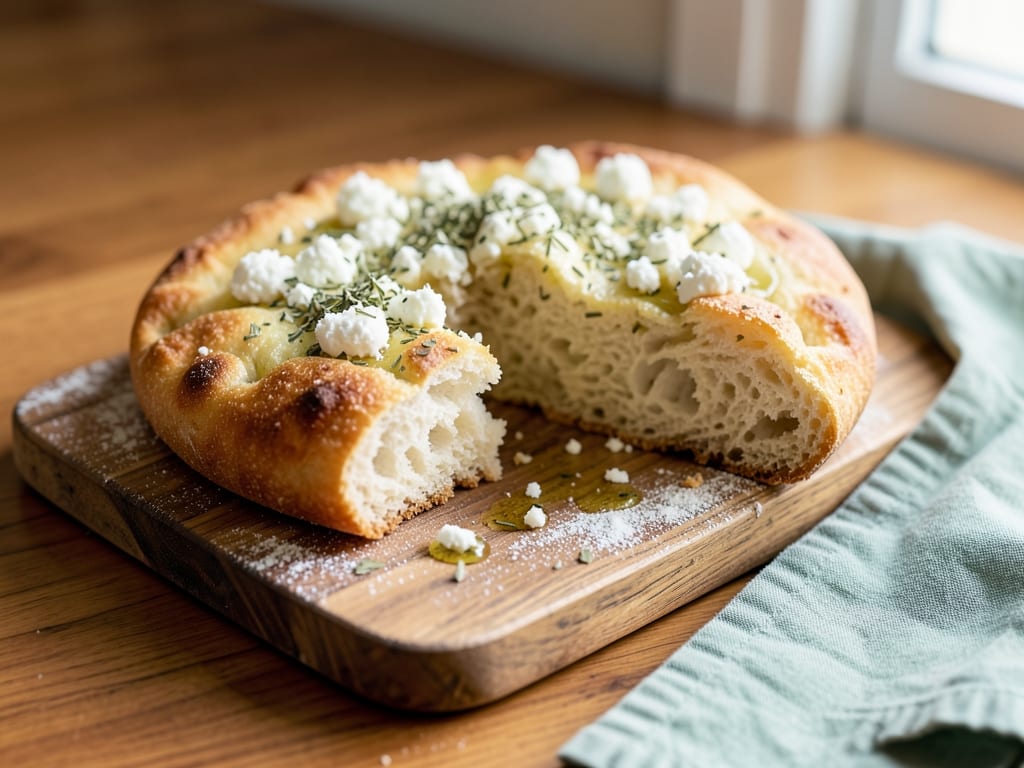
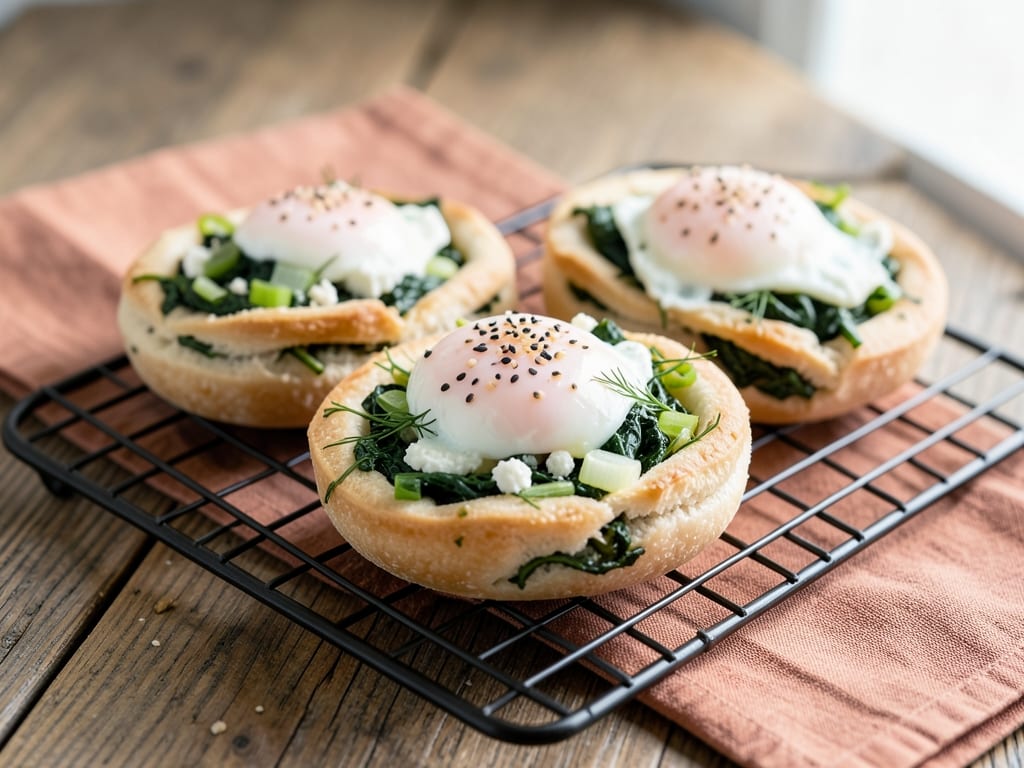
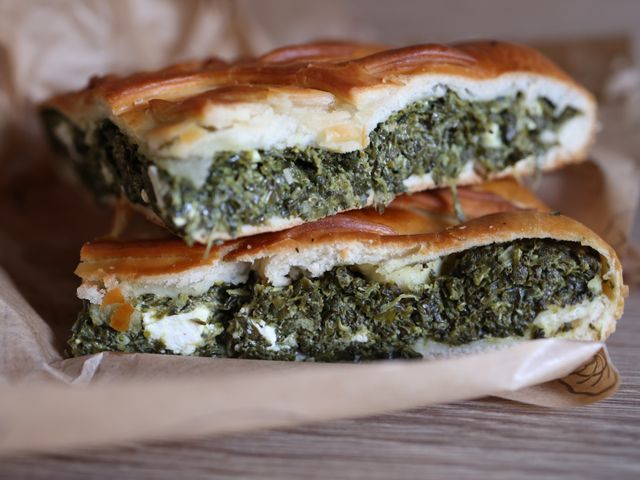
Crispy pan-fried sourdough discard pockets filled with salty feta cheese and earthy roasted beet greens seasoned with fresh dill. These savory hand-pies are golden and crunchy outside, pillowy inside, and perfect as an appetizer, lunch, or snack. A resourceful way to use sourdough discard while celebrating Greek flavors and vegetables often discarded.
- Prep
- 25 min
- Cook
- 35 min
- Wait
- 15 min
- Total
- 1 hr 15 min
- Makes
- 8 pockets (2 per serving)
Steps
Before you start
- Remove sourdough discard from the refrigerator 30 minutes before mixing so it's cool but workable
- Roast the beet greens ahead of time (or use store-bought if available) and let them cool completely
- Line a baking sheet with parchment paper for the resting pockets
- Have a shallow bowl of water nearby for sealing the dough edges
Make the dough
- In a large bowl, combine the sourdough discard, all-purpose flour, salt, and olive oil.
- Stir with a wooden spoon until a shaggy dough forms.
- If the dough is very sticky, add water 1 tablespoon at a time until it comes together into a soft, slightly sticky dough.
- The dough should be tender, not stiff.
- Mix for about 1 minute until mostly combined (do not knead heavily).
+ Show details− Hide details
Ready when: Dough pulls away from the sides of the bowl and is soft and slightly sticky
Tip: Do not overwork the dough—it should be tender. Overworking will make the pockets tough.
Prepare the filling
- In a medium bowl, combine the crumbled feta cheese, roasted beet greens, chopped fresh dill, minced garlic, lemon zest (if using), salt, and black pepper.
- Stir gently to mix, breaking up any clumps of beet greens so the filling is evenly distributed.
- Taste and adjust seasoning as needed.
- The filling should taste bold and savory because it's a filling, not a side.
- Set aside.
+ Show details− Hide details
Ready when: Filling is well combined with no large clumps of feta or beet greens
Tip: If your roasted beet greens are wet, gently squeeze out excess moisture before mixing so the filling doesn't make the pockets soggy.
Shape the pockets
- Lightly dust your work surface and a rolling pin with flour.
- Divide the dough into 8 equal pieces (roughly 2 ounces or 55 g each).
- Working with one piece at a time, gently roll it out into a 3-inch (7.5 cm) circle, about ⅛ inch (3 mm) thick.
- Try to keep the thickness even.
- Place 1 rounded teaspoon of filling in the center of the circle, leaving a ½-inch (1.25 cm) border around the edge.
+ Show details− Hide details
Ready when: Eight thin circles of dough ready with filling dolloped in the center of each
Tip: Keep the dough circles thin so they fry evenly. If the dough springs back while rolling, let it rest for 2 minutes before rolling again.
Seal the pockets
- Dip your finger in water and run it around the border of the dough circle.
- Fold the dough in half over the filling, creating a half-moon shape.
- Press the edges firmly with the tines of a fork to seal, working your way around the pocket.
- Make sure the seal is tight so the filling does not leak out during frying.
- Transfer the sealed pocket to a parchment-lined baking sheet.
+ Show details− Hide details
Ready when: All 8 pockets are sealed with fork-pressed edges and arranged on a parchment-lined sheet
Tip: A wet seal is essential—if the edges dry out, the filling will leak out into the oil. Work quickly and seal immediately after folding.
Rest the pockets
- Let the sealed pockets rest at room temperature for 10 to 15 minutes.
- This relaxes the gluten and gives the dough a chance to rest before frying, which makes them lighter and less likely to burst open.
+ Show details− Hide details
Ready when: Pockets look slightly puffy and relaxed
Tip: Do not skip this rest—it's crucial for keeping the pockets from bursting when they hit the hot oil.
Heat the pan and oil
- Place a 12-inch (30 cm) skillet over medium heat.
- Add 3 tablespoons (45 ml) of olive oil.
- Heat for 1 to 2 minutes until the oil shimmers and is hot but not smoking.
- You should be able to hold your hand about 2 inches (5 cm) above the oil and feel the heat.
+ Show details− Hide details
Ready when: Oil shimmers and moves freely in the pan
Tip: If the oil is not hot enough, the pockets will absorb oil and be greasy instead of crispy. If it is too hot, they will brown too fast before the filling warms through.
Fry the pockets
- Carefully place 4 pockets into the hot oil, seam-side down first.
- Fry for 2 to 3 minutes until the first side is golden brown and crispy, then flip gently with a thin spatula.
- Fry the second side for 1½ to 2 minutes until golden brown.
- The pocket should feel firm when pressed gently and any filling that has leaked should be golden and set.
- Transfer to a plate lined with paper towels to drain excess oil.
- Repeat with the remaining 4 pockets, adjusting the heat if needed to maintain a steady medium temperature.
+ Show details− Hide details
Ready when: Both sides are deep golden brown, edges are crispy, and pockets are firm but not hard
Tip: Do not crowd the pan. Frying only 4 at a time ensures they fry evenly and the oil temperature stays consistent. If they brown too fast, reduce heat to medium-low.
Serve
- Serve the pockets warm or at room temperature.
- They are best eaten within a few hours of frying, while the crust is still crispy.
- If desired, drizzle with a little extra-virgin olive oil or serve alongside Greek yogurt or a simple lemon vinaigrette for dipping.
+ Show details− Hide details
Tip: The pockets are best enjoyed right after frying while the contrast between crispy exterior and soft interior is most pronounced.
Good to know
Tips
- To roast beet greens if you don't have pre-roasted ones: Wash and dry them thoroughly, toss with a pinch of salt and a light drizzle of olive oil, spread on a baking sheet, and roast at 400°F (200°C) for 8 to 12 minutes until crispy and slightly charred. Let cool and chop before using.
- Do not overfill the pockets. Too much filling will burst through the seal or make them hard to eat. A rounded teaspoon of filling is the right amount.
- For a crispier crust, add 1 tablespoon of cornstarch to the flour in the dough. This will give the pockets extra crunch.
- These pockets freeze well before frying. Freeze them on a parchment-lined tray until firm, then transfer to a freezer bag for up to 1 month. Fry directly from frozen, adding 1 minute per side.
Make ahead
Prepare the filling up to 1 day ahead and store covered in the refrigerator. Make the dough and shape the pockets up to 4 hours ahead; rest them in the refrigerator on a parchment-lined tray covered with plastic wrap. Fry just before serving for the best texture.
Storage & reheating
Store leftover pockets in an airtight container at room temperature for up to 2 days (they will lose some crispness). Reheat gently in a 300°F (150°C) oven for 5 to 7 minutes to re-crisp. Do not refrigerate or freeze, as the texture will suffer.
Substitutions
- fresh beet greens, roasted and cooled → spinach, chard, or kale, roasted and chopped. Other hearty greens work well. Roast them at 400°F (200°C) for 8 to 10 minutes with a pinch of salt until crispy, then roughly chop.
- feta cheese, crumbled → ricotta salata or firm goat cheese, crumbled. Both are tangy and crumbly like feta. Ricotta salata is slightly milder; goat cheese is more acidic.
- fresh dill, finely chopped → fresh mint, oregano, or a mix of both. Mint and oregano are classic Greek herbs. Use the same amount by weight.
- all-purpose flour → whole wheat flour (use 1 cup minus 2 tablespoons, about 115 g) to keep dough consistency. Whole wheat flour absorbs more water, so reduce the amount slightly. The pockets will be slightly nuttier and denser.