
Roasted Garlic Herb Quinoa
This Mediterranean-inspired grain side combines fluffy quinoa with roasted garlic, fresh herbs, and bright lemon juice. Toasting the quinoa in olive oil before simmering creates a nutty depth that transforms this humble grain into something restaurant-worthy. Naturally vegetarian, vegan (without optional toppings), and gluten-free, it's a perfect companion to grilled vegetables, roasted chicken, or baked fish. Makes a delicious cold salad the next day too.
- Prep
- 10 min
- Cook
- 24 min
- Wait
- 5 min
- Total
- 39 min
- Makes
- About 3 cups (750 ml)
Steps
Before you start
- Rinse the quinoa if it's not pre-rinsed, and mince the garlic and fresh herbs before you begin cooking
- Have your broth on hand; warm broth will speed up the simmering process
- Read through the instructions to understand the resting step—don't skip it for fluffier grains
- Juice and zest the lemon ahead of time for smooth finishing
Rinse the quinoa
- Place the quinoa in a fine-mesh strainer and rinse under cold running water for 1–2 minutes, stirring gently with your hand until the water runs clear.
- This removes the bitter-tasting saponins that coat the seeds.
- Drain well and set aside.
+ Show details− Hide details
Ready when: Water runs clear, no foam visible
Tip: If using pre-rinsed quinoa from the store, you can skip this step, but rinsing again doesn't hurt and ensures you're starting clean.
Toast the garlic
- Heat the olive oil in a medium 3-quart saucepan over medium heat.
- Add the minced garlic and cook, stirring frequently with a wooden spoon, for 1–2 minutes until it becomes fragrant and turns a light golden color.
- You should smell a warm, toasted aroma but see no browning on the very edges.
+ Show details− Hide details
Ready when: Garlic is fragrant and light golden brown, not dark brown or burnt
Tip: Watch carefully—garlic goes from golden to burnt in seconds. Start over if it chars; burnt garlic tastes bitter and will ruin the dish.
Toast the quinoa
- Add the drained quinoa to the garlic-infused oil and stir constantly with a wooden spoon for 2–3 minutes until the grains appear dry, separated, and release a warm, toasty aroma.
- Some grains may look slightly translucent at the edges.
+ Show details− Hide details
Ready when: Quinoa grains are dry and separated, nutty aroma is strong, no moisture visible
Tip: Toasting the quinoa creates a deeper, nuttier flavor that elevates this humble grain. Constant stirring prevents sticking and ensures even toasting.
Add broth and simmer
- Pour the vegetable broth into the saucepan and stir once.
- Increase heat to medium-high and bring to a boil, about 1–2 minutes.
- Once boiling, reduce heat to low, cover the saucepan with a lid, and simmer undisturbed for 15–18 minutes until all the liquid has been absorbed and the quinoa is tender.
+ Show details− Hide details
Ready when: All liquid absorbed, quinoa grains are fluffy and opaque with a small white spiral tail visible at each grain
Tip: Don't stir during cooking—this breaks the grains and makes them mushy. Resist the urge to peek; lifting the lid lets steam escape and slows cooking.
Rest the grain
- Remove the saucepan from heat and let it rest, covered, for exactly 5 minutes.
- This brief rest allows the quinoa to firm up and grains to separate further, resulting in a fluffier texture.
+ Show details− Hide details
Ready when: No steam escaping from under the lid, grains feel separate and fluffy
Add herbs and lemon
- Remove the lid and fluff the quinoa gently with a fork, stirring from bottom to top to break up any clumps.
- Add the chopped parsley, dill, lemon zest, and lemon juice, stirring gently until the herbs are evenly distributed throughout.
- Taste the quinoa and season carefully with salt and pepper to your preference.
+ Show details− Hide details
Ready when: Herbs are evenly distributed, bright citrus aroma is present, seasoning is balanced
Tip: Add the lemon juice gradually, tasting as you go. Lemon juiciness varies significantly; start with half and add more to taste. The acidity should brighten the dish without making it sour.
Serve and garnish
- Transfer the roasted garlic herb quinoa to a serving bowl or platter.
- If using, scatter the toasted pine nuts or crumbled feta cheese over the top.
- Serve warm, at room temperature, or chilled.
- This dish keeps beautifully and tastes great throughout the week as a side or as a cold grain salad base.
+ Show details− Hide details
Tip: Add pine nuts or feta just before serving to keep them fresh, crispy, and distinct rather than absorbing moisture from the warm grain. Both are optional but add nice texture and richness.
Good to know
Tips
- Toasting the quinoa in oil with garlic creates a complex, nutty base—this step is essential and really transforms the final dish.
- Fresh herbs make all the difference; if you only have dried herbs, use 1 tablespoon total dried herbs instead (they're more concentrated), but the dish won't be quite as bright.
- This grain dish tastes even better the next day when flavors meld together, making it ideal for meal prep and work lunches.
- Taste carefully before adding all the lemon juice—citrus varies in juiciness, and you want brightness without sourness.
Make ahead
This dish can be made up to 3 days in advance. Store in an airtight container in the refrigerator and reheat gently in a saucepan over low heat with a splash of broth, or serve chilled as a grain salad.
Storage & reheating
Room temperature: up to 4 hours in an airtight container. Refrigerator: up to 4 days; reheat gently over low heat with a splash of broth, or eat cold. Freezer: up to 2 months in a freezer-safe container; thaw overnight in the fridge before reheating.
Substitutions
- fresh flat-leaf parsley → basil, oregano, cilantro, or mint (1/2 cup total fresh herbs). Different herbs create different flavor profiles—choose what complements your meal or what you have on hand.
- vegetable broth (or chicken or low-sodium) → chicken, beef, or mushroom broth. Chicken or beef broth adds deeper savory flavor. Vegetable broth keeps it lighter and fully vegan.
- lemon → lime juice and zest or orange juice and zest. Lime creates a more tropical flavor; orange is mellower and slightly sweet. Both are delicious here.
- pine nuts → toasted almonds, walnuts, or sunflower seeds. Pine nuts are expensive; these alternatives are budget-friendly, nutritious, and provide similar textural contrast.
More grain salads
See all →
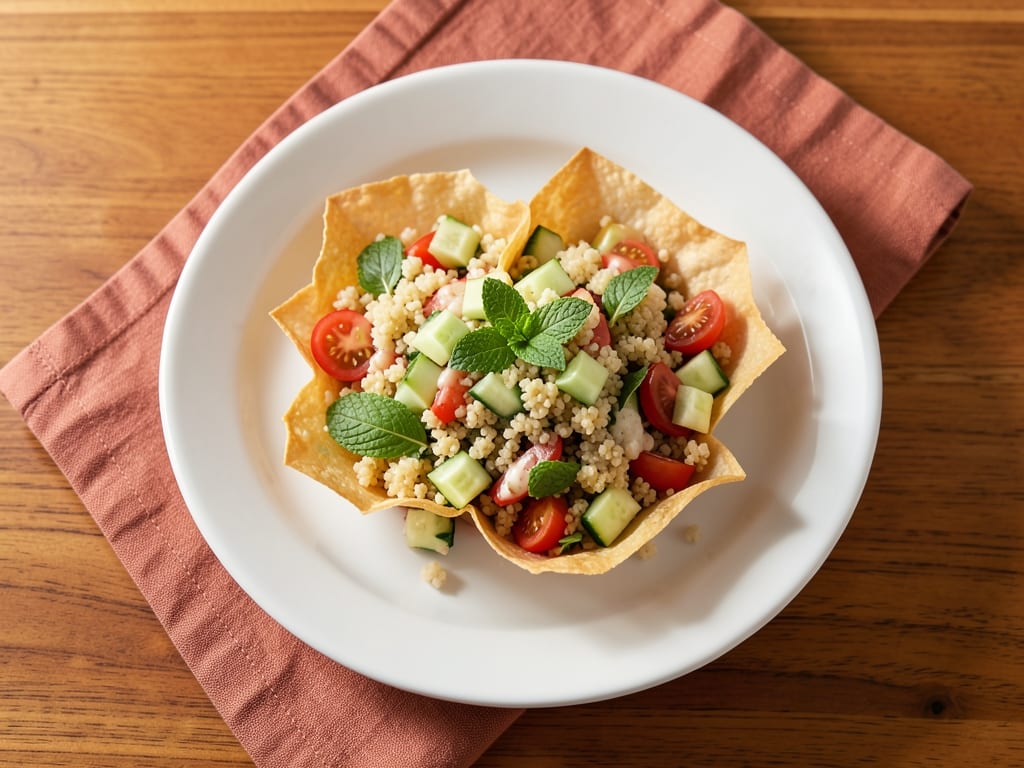
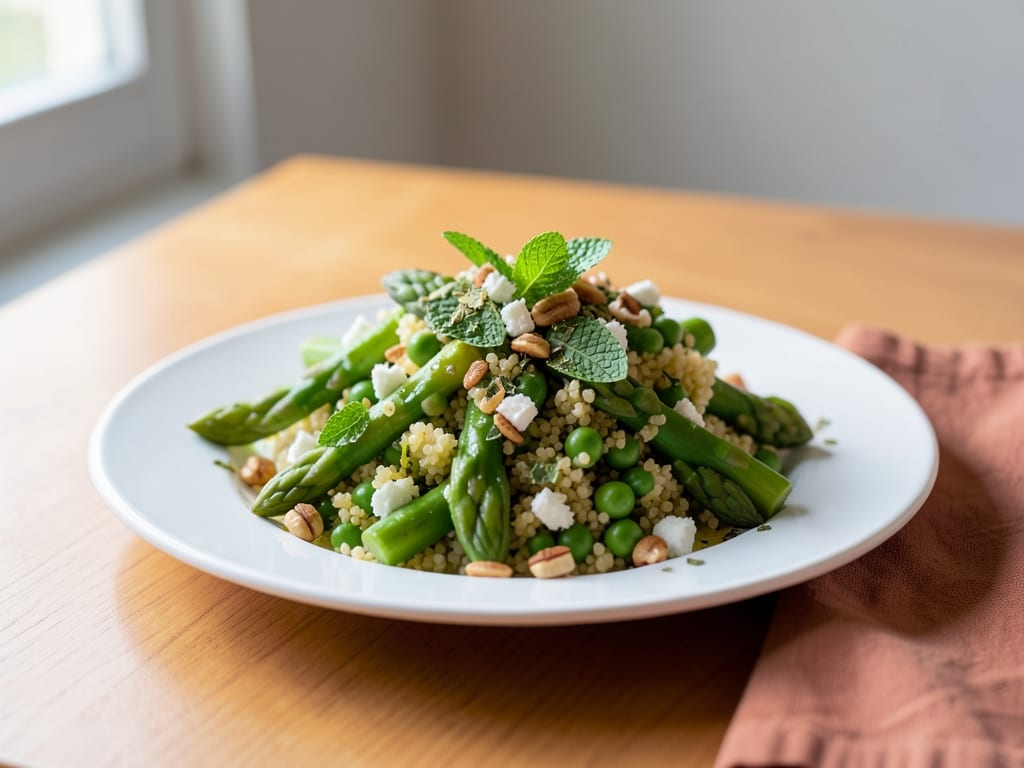
Find more like this
- Meal
- Dinner
- Cuisine
- Mediterranean
- Method
- Stovetop
- Quick & Easy
- Easy