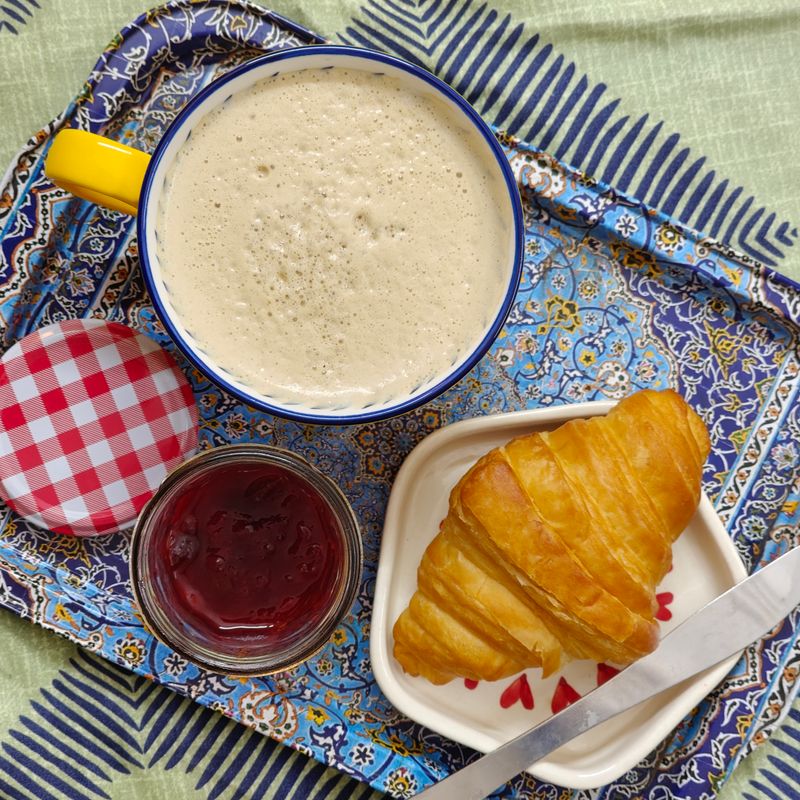
Raspberry Jam Biscotti for Coffee
Crispy twice-baked Italian almond biscotti filled with tangy raspberry jam and studded with a light crumb. These traditional cookies are designed for dunking in coffee or hot chocolate, with a sturdy enough structure to hold their shape but tender enough to soften pleasantly when moistened.
- Prep
- 20 min
- Cook
- 45 min
- Wait
- 45 min
- Total
- 1 hr 50 min
- Makes
- 24 biscotti
Steps
Before you start
- Preheat oven to 350°F (175°C)
- Have butter and eggs at room temperature
- Line two baking sheets with parchment paper
Mix dry ingredients
- In a small bowl, whisk together flour, baking powder, and salt.
- Set aside.
Cream butter and sugar
- In a stand mixer fitted with the paddle attachment, cream butter and granulated sugar together on medium speed for 3–4 minutes until light and fluffy.
- Scrape the bowl occasionally.
+ Show details− Hide details
Ready when: Mixture is pale and fluffy
Tip: Do not skip this step; creaming adds airiness that gives biscotti their characteristic texture.
Add eggs and vanilla
- Add eggs one at a time to the creamed mixture, beating well after each addition.
- Add vanilla extract and beat for 1 minute more until fully incorporated.
+ Show details− Hide details
Ready when: Mixture is smooth and well combined
Tip: If using eggs straight from the fridge, the mixture may look slightly curdled; this is normal and will even out once flour is added.
Fold in flour and almonds
- Reduce mixer speed to low and add the flour mixture in two additions, mixing until just combined.
- Fold in the sliced almonds by hand with a spatula until evenly distributed.
+ Show details− Hide details
Ready when: Dough is cohesive and almonds are evenly scattered throughout
Tip: Mix on low speed to avoid overdeveloping gluten, which would make biscotti tough.
Shape the logs
- Divide dough into two equal portions.
- On a parchment-lined baking sheet, shape each portion into a log about 12 inches long and 2 inches wide, leaving 2 inches between them.
- Flatten the top of each log to a height of about 0.75 inch.
+ Show details− Hide details
Ready when: Two even logs, flattened on top
Tip: Use wet hands to prevent sticking if the dough is warm.
Add jam filling
- Using a spoon or small offset spatula, create a shallow channel running down the center of each log.
- Spoon about 4 tablespoons of raspberry jam into each channel, distributing evenly along its length.
+ Show details− Hide details
Ready when: Both logs have jam running down their centers
Tip: Don't overfill; too much jam will leak out and burn on the baking sheet during baking.
First bakeOven 350°F / 175°C
- Bake at 350°F (175°C) for 25–28 minutes, until the logs are golden and a toothpick inserted in the thickest part of the cake (not into jam) comes out with only moist crumbs.
- Let cool on the baking sheet for 10 minutes.
+ Show details− Hide details
Ready when: Logs are golden brown on top and a toothpick shows moist crumbs
Tip: Every oven is different; check at 24 minutes to avoid overbaking.
Cool and slice
- Transfer logs to a cutting board.
- Using a serrated bread knife, slice each log on a diagonal at a 45-degree angle into pieces about 0.75 inch thick.
- Work gently to prevent shattering; a sawing motion works better than a downward press.
+ Show details− Hide details
Ready when: All logs are sliced into uniform pieces with visible jam stripes
Tip: Slice while still warm; once fully cooled, the biscotti will be harder to cut cleanly.
Second bakeOven 325°F / 165°C
- Arrange slices cut-side up on two parchment-lined baking sheets in a single layer.
- Bake at 325°F (160°C) for 15–18 minutes until dry and golden at the edges.
- Flip each slice over and bake for another 4–5 minutes until both sides are crispy and light golden brown.
+ Show details− Hide details
Ready when: Biscotti are dry, sound hollow when tapped, and are light golden brown on both sides
Tip: Lower temperature on the second bake prevents burning while drying out the interior. If they're still soft at the end, bake another 2–3 minutes.
Cool completely
- Transfer biscotti to a wire rack and cool completely at room temperature, about 15 minutes.
- They will continue to harden as they cool.
+ Show details− Hide details
Ready when: Biscotti are completely cool and hard
Tip: Do not store while warm, as trapped moisture will make them soft.
Good to know
Tips
- Twice-baking is essential to biscotti's texture; skipping the second bake will leave them cake-like rather than crispy. The first bake sets the crumb structure, and the second dries them out completely.
- For a fancier presentation, dip one end of each cooled biscotti into melted dark or white chocolate and let it set on parchment paper before serving.
- These biscotti are specifically designed for dunking; the crispy-but-porous structure allows them to absorb coffee or hot chocolate without falling apart.
- Make sure your oven temperature is accurate; an oven thermometer ($10–15) prevents under- or overbaking, which are the most common mistakes with biscotti.
Make ahead
"Biscotti keep for up to 2 weeks and actually improve slightly as they dry out further, making them ideal for advance baking. Store them and then pack for gifts or serve throughout the week."
Storage & reheating
Airtight container at room temperature for up to 2 weeks. Not recommended for the refrigerator or freezer; room temperature storage preserves their crispy texture. If they soften slightly, recrisp in a 325°F (160°C) oven for 5 minutes.
Substitutions
- seedless raspberry jam → apricot jam, cherry jam, or fig jam. Use any seedless jam you prefer; the flavor will change but the texture will remain the same.
- sliced almonds → sliced hazelnuts, sliced pistachios, or chopped walnuts. Any sliced or chopped nut works; use the same weight as the almonds called for.
- vanilla extract → almond extract. Use half the amount (0.5 tsp); almond extract is stronger and complements the nuts beautifully.
- all-purpose flour → whole wheat pastry flour (up to 50% of the flour weight). Use half all-purpose and half whole wheat pastry flour for a slightly nutty flavor; do not use regular whole wheat as it will be too dense.
More cookies
See all →



Find more like this
- Meal
- Dessert
- Diet
- VegetarianHalal
- Method
- Oven
- Quick & Easy
- Easy