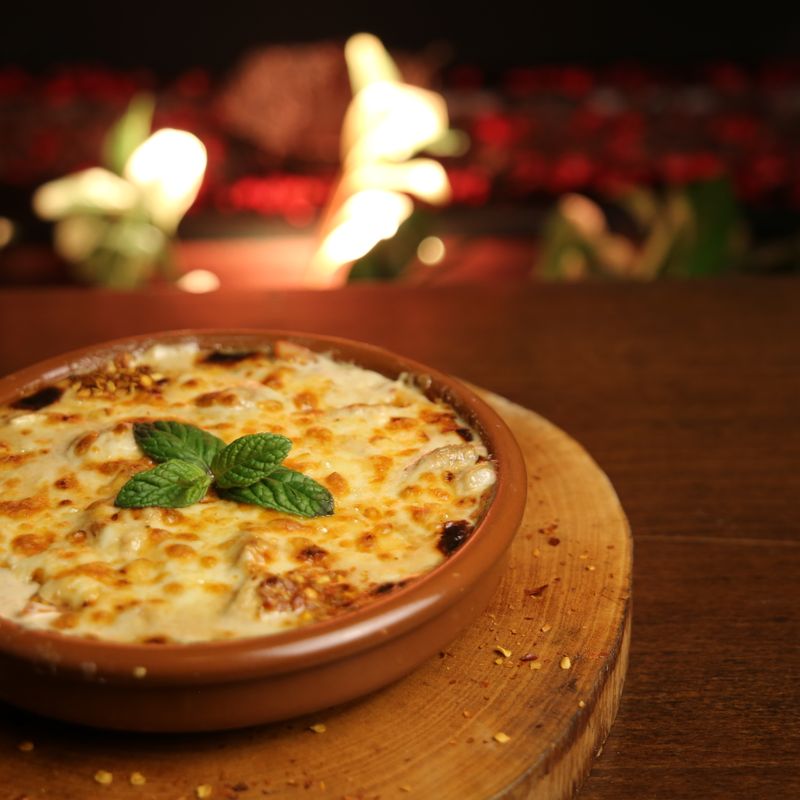
Ramadan Baked Ziti with Chickpeas and Harissa
A warming baked pasta dish that marries Italian ziti with North African flavors. Chickpeas add protein and heartiness, while harissa brings spice and depth to a tomato-based sauce enriched with caramelized onions and finished with melted cheese. Perfect for iftar, when you need something substantial and satisfying.
- Prep
- 20 min
- Cook
- 50 min
- Wait
- 15 min
- Total
- 1 hr 25 min
- Makes
- 6 servings (approximately 8 cups)
Steps
Before you start
- Preheat your oven to 375°F (190°C) so it's ready when the pasta is prepared
- Have all ingredients measured and prepped before you begin cooking
- If using canned chickpeas, drain and rinse them thoroughly
- Bring a large pot of salted water to a boil for the pasta
Caramelize the onions
- Heat the olive oil in a large 12-inch skillet over medium heat.
- Add the sliced onions and cook, stirring occasionally, for 15–18 minutes until deeply golden and caramelized.
- This slow cooking develops sweetness that balances the harissa's heat.
- Season lightly with salt as they cook to draw out moisture.
+ Show details− Hide details
Ready when: Onions are deep golden brown and very soft
Tip: Don't rush this step; it's essential for the sauce's depth of flavor. Stir every 2–3 minutes to ensure even browning.
Add garlic and harissa
- Stir in the minced garlic and harissa paste.
- Cook for 1–2 minutes, stirring constantly, until fragrant and well combined.
- The harissa should darken slightly and release its aroma.
- This brief cooking mellows the raw heat of the spices.
+ Show details− Hide details
Ready when: Harissa is fragrant and darkened, with no raw spice smell remaining
Tip: Stir continuously to prevent burning, which would make the sauce bitter.
Build the sauce
- Add the tomato paste and stir to incorporate for about 1 minute.
- Then add the crushed tomatoes, vegetable broth, cumin, chickpeas, and a pinch of salt and black pepper.
- Stir well to combine.
- Bring the mixture to a gentle simmer, then reduce heat to medium-low.
+ Show details− Hide details
Ready when: Sauce is simmering gently with occasional bubbles breaking the surface
Tip: The sauce will look thin now, but it will reduce and concentrate as it simmers.
Simmer the sauce
- Let the sauce simmer uncovered for 10–12 minutes, stirring occasionally, until it thickens slightly and the flavors meld.
- The sauce should coat the back of a spoon lightly.
- Taste and adjust seasoning with salt, pepper, and lemon juice if using.
- Set aside.
+ Show details− Hide details
Ready when: Sauce is noticeably thicker and coats the back of a spoon; flavors are well blended
Tip: A squeeze of lemon juice brightens the sauce without adding acidity that might curdle the cheese later.
Cook the pasta
- While the sauce simmers, bring a large pot of salted water to a rolling boil.
- Add the ziti and cook according to package directions until just al dente (usually 8–10 minutes).
- Drain in a colander but do not rinse; the starch helps the cheese adhere.
+ Show details− Hide details
Ready when: Pasta is tender but still has a slight firmness when bitten
Tip: Cook the pasta 1 minute under the package time so it doesn't turn mushy during baking.
Combine pasta and sauce
- Add the drained pasta to the skillet with the sauce.
- If it seems dry, add 2–3 tablespoons of pasta water to loosen it slightly.
- Fold in the chopped cilantro if using.
- Gently toss everything together until the pasta is evenly coated, about 1 minute.
- The mixture should be moist but not soupy.
+ Show details− Hide details
Ready when: Pasta is evenly coated with sauce and mixture is loose but not watery
Tip: A little pasta water keeps the dish from drying out during baking; you can always add a touch more if needed.
Assemble the baking dish
- Pour the pasta mixture into a 9×13-inch baking dish, spreading it evenly.
- In a small bowl, combine the shredded mozzarella and crumbled feta.
- Scatter this cheese mixture evenly over the top, pressing down gently so it nestles into the pasta.
+ Show details− Hide details
Ready when: Cheese is evenly distributed across the surface
Tip: Mixing the two cheeses gives you creaminess from mozzarella and tang from feta; don't skip the feta.
Bake until golden and bubblyOven 375°F / 190°C
- Place the baking dish in the preheated 375°F (190°C) oven.
- Bake for 20–25 minutes until the cheese is melted and golden on top, and the sauce bubbles around the edges.
- If the cheese top isn't quite golden after 20 minutes, increase the oven temperature to 400°F (200°C) for the final 2–3 minutes, or use the broiler briefly (watch carefully).
+ Show details− Hide details
Ready when: Cheese is golden and bubbly around the edges; sauce bubbles through at the edges
Tip: Baking at 375°F allows the pasta to heat through gently; too high and the top burns before the inside warms.
Rest and serve
- Remove from the oven and let rest for 5 minutes.
- This allows the cheese to set slightly so the dish holds together when plated.
- Garnish with fresh cilantro if desired and serve hot.
+ Show details− Hide details
Ready when: Cheese is no longer bubbling vigorously and has set slightly
Tip: This short rest makes serving neater and the flavors finish settling.
Good to know
Tips
- Harissa varies in heat level by brand. Start with 1½ tablespoons if you prefer a milder dish, then taste the sauce and add more. You can always add heat, but you can't remove it.
- Caramelizing the onions is not optional—this step is key to the dish's complexity and helps balance the harissa's intensity.
- If your feta is very salty, you can soak the crumbles in cold water for 10 minutes and drain them before adding to reduce excess saltiness.
- This dish is naturally vegetarian and hearty enough to serve as a main course. Pair it with a simple green salad or roasted vegetables for a complete Iftar meal.
Make ahead
You can prepare the sauce (through step 4) up to 1 day ahead. Refrigerate it in an airtight container. Reheat it gently on the stovetop over medium-low heat before combining with the pasta. The assembled (unbaked) dish can sit in the refrigerator for up to 4 hours before baking; add 5–10 minutes to the baking time if baking from cold.
Storage & reheating
Store leftovers in an airtight container in the refrigerator for up to 3 days. Reheat in a 325°F (160°C) oven, covered with foil, for 15–20 minutes until heated through. Do not microwave, as the cheese can become tough. The dish does not freeze well due to the pasta texture; it is best consumed within 3 days.
Substitutions
- harissa paste → 1½ tablespoons hot paprika mixed with ½ tablespoon cayenne pepper and 1 teaspoon tomato paste. This homemade blend approximates harissa's heat and depth, though the flavor profile will be slightly different. Adjust cayenne to your spice tolerance.
- shredded mozzarella cheese → Gruyère or fontina cheese (same amount). Both have higher melting points and add a richer, nuttier flavor than mozzarella.
- canned chickpeas, drained and rinsed → White beans or cannellini beans (same amount). Either bean works well and provides similar protein and heartiness. Avoid black beans, which dominate the dish visually and flavor-wise.
- fresh cilantro → Fresh parsley or mint. Both add brightness; parsley is more mild, mint adds a cooling contrast to the spiced sauce.
More baked pasta
See all →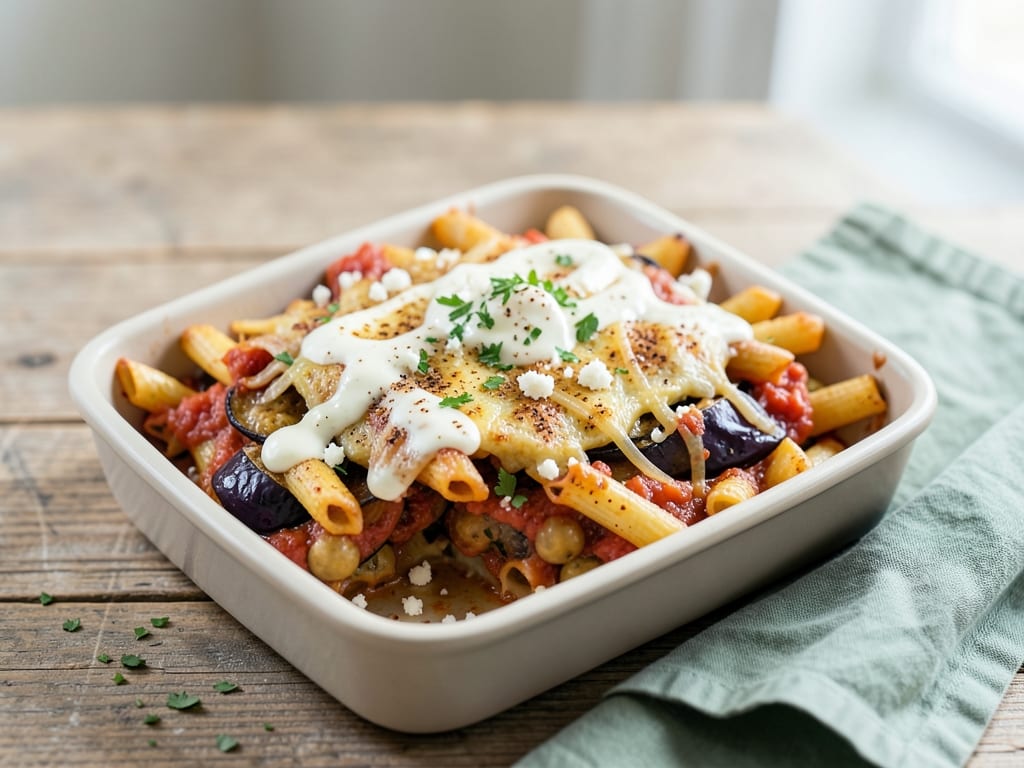
Find more like this
- Meal
- Dinner
- Cuisine
- Middle Eastern
- Method
- Oven
- Occasion
- Ramadan