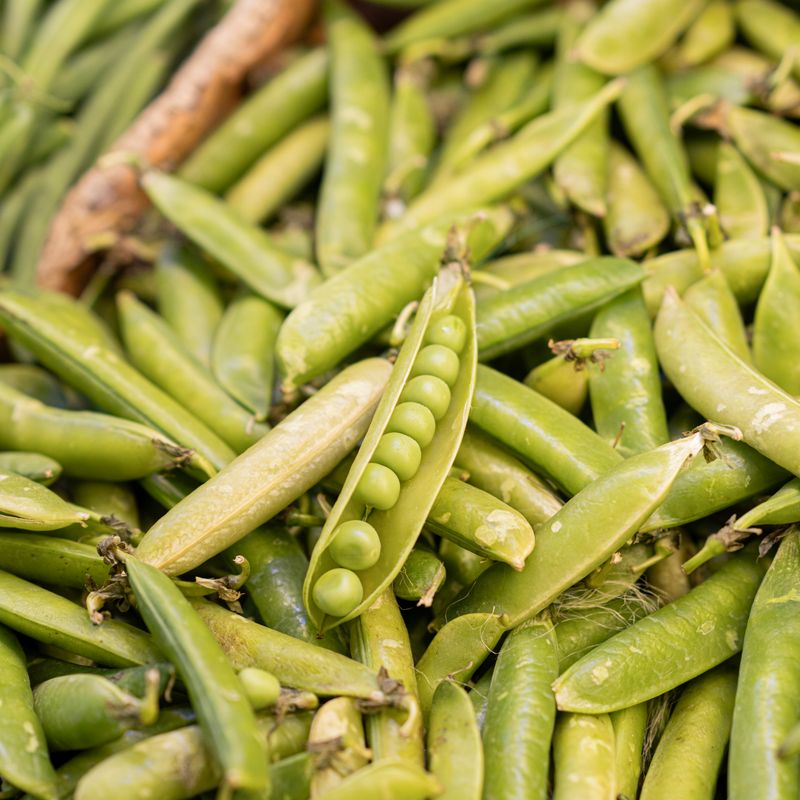
One-Pot Green Split Pea and Roasted Garlic Dip
A silky, Nordic-inspired dip made by simmering split peas until tender, then blending with sweet roasted garlic, caramelized onions, and fresh thyme. This dip has the depth of roasted flavors with a light, elegant finish—perfect with crusty bread, crackers, or crudités. Ready in under an hour with minimal hands-on time.
- Prep
- 10 min
- Cook
- 45 min
- Total
- 55 min
- Makes
- About 2 cups dip (serves 8 as an appetizer)
Steps
Before you start
- Rinse split peas thoroughly under cold water
- Preheat oven to 400°F (200°C) before you begin—you'll roast garlic while peas simmer
- Have a blender or immersion blender ready
Roast the garlicOven 400°F / 205°C
- Preheat oven to 400°F (200°C).
- Brush the halved garlic bulb with 1 tablespoon of the olive oil, place cut-side down on a baking sheet, and roast for 30–35 minutes, until the cloves are soft, golden, and caramelized.
- The garlic should be sweet and spreadable.
- Set aside to cool slightly.
+ Show details− Hide details
Ready when: Garlic cloves are soft, golden, and easily spreadable
Tip: Roast the garlic while the peas simmer—this saves time and builds rich flavor.
Sauté onion
- While the garlic roasts, heat the remaining 2 tablespoons of olive oil in a medium saucepan (3-quart/3 L) over medium heat.
- Add the diced onion and cook, stirring occasionally, for 8–10 minutes, until golden and very soft.
- The onion should be translucent and lightly caramelized at the edges.
+ Show details− Hide details
Ready when: Onion is golden, translucent, and soft at the edges
Tip: Don't rush this step—caramelized onion adds sweet depth that makes the dip special.
Simmer the split peas
- Add the rinsed split peas and vegetable broth to the saucepan with the onion.
- Bring to a boil over high heat, then reduce heat to medium-low and simmer gently, uncovered, for 25–30 minutes, stirring occasionally.
- The peas should break down and become very tender, and the liquid will reduce slightly.
+ Show details− Hide details
Ready when: Peas are very soft and mostly broken down; liquid is slightly reduced
Tip: Stir occasionally to prevent sticking on the bottom. If peas look too thick toward the end, add a splash of broth.
Squeeze roasted garlic into pot
- Once the peas are tender and the garlic is roasted, squeeze the cooled roasted garlic cloves directly from their skins into the saucepan.
- They should come out easily.
- Add the fresh thyme leaves.
+ Show details− Hide details
Tip: Let the roasted garlic cool for just a few minutes so you don't burn your fingers. The cloves slip out easily once cooled.
Blend the dip
- Using an immersion blender, blend the mixture in the pot for 1–2 minutes until completely smooth and creamy, scraping down the sides as needed.
- For an extra-silky texture, work in batches using a regular blender, then pour the blended dip back into the pot.
- The dip should be thick but spreadable.
+ Show details− Hide details
Ready when: Dip is completely smooth and creamy with no visible pea pieces
Tip: If using a regular blender, let the mixture cool for 5 minutes before blending to avoid overflow. Blend in small batches.
Season and finish
- Taste the dip and season generously with sea salt and freshly ground black pepper.
- Stir in the fresh lemon juice if using, which brightens the earthy pea flavor.
- For a richer, creamier texture, fold in the cold heavy cream or crème fraîche if desired.
- The dip should taste well-balanced—sweet from caramelized onion and roasted garlic, herbaceous from thyme, and bright from lemon.
+ Show details− Hide details
Ready when: Flavors are well-balanced and seasoning tastes right
Tip: Taste as you season—this dip can take more salt than you might expect. Add lemon juice slowly; a little goes a long way.
Good to know
Tips
- For a dip with more texture, blend only 75% of the mixture and fold in the rest by hand—this creates a lovely rustic consistency.
- Roasting the garlic is essential; raw or sautéed garlic will be too sharp and bitter. The slow roast turns it sweet and caramel-like.
- Serve warm or at room temperature with crusty bread, toasted pita chips, and fresh crudités (cucumber, bell pepper, celery). A drizzle of truffle oil or a sprinkle of smoked paprika on top makes it restaurant-worthy.
- This dip freezes beautifully and is perfect for make-ahead entertaining. Make it up to 2 days in advance and simply reheat gently before serving.
Make ahead
Prepare the dip up to 2 days ahead and store in an airtight container in the refrigerator. Gently warm it in a saucepan over low heat, stirring often, before serving. You can also freeze it for up to 2 months; thaw overnight in the fridge and reheat gently.
Storage & reheating
Room temperature: 2 hours (covered). Refrigerator: up to 4 days in an airtight container. Freezer: up to 2 months in a freezer-safe container. To reheat: Warm gently in a small saucepan over low heat, stirring often, adding a splash of broth or cream if it has thickened. Or microwave in 30-second intervals, stirring between each, until warm throughout.
Substitutions
- fresh thyme sprigs → 1 teaspoon dried thyme or 2 tablespoons fresh rosemary (chopped). Dried thyme is more concentrated; reduce to 1 teaspoon. Rosemary gives a bolder, more Mediterranean flavor.
- vegetable broth or chicken broth → chicken broth or a mix of broth and water. Chicken broth adds a richer, savory depth. Use equal parts broth and water if you only have one type.
- heavy cream or crème fraîche, cold → Greek yogurt, sour cream, or crème fraîche (same amount). Greek yogurt adds tang; sour cream adds richness and tang. Crème fraîche is the closest in flavor. Omit if you prefer a lighter dip.
- fresh lemon juice → white wine vinegar or sherry vinegar (½ tablespoon). Vinegar adds brightness differently—use half the amount. Or add a pinch of Dijon mustard for subtle tang.
More dips & spreads
See all →



Find more like this
- Meal
- Snack