New Year's Eve Sake Mirin Duck Breast
A Japanese-inspired marinade of sake, mirin, soy sauce, ginger, and garlic brings deep umami flavors and subtle sweetness to duck breast. The glossy glaze caramelizes beautifully when pan-seared, creating perfectly cooked duck with crispy golden skin and a tender, flavorful interior. Perfect for celebrating with elegant simplicity.
- Prep
- 10 min
- Cook
- 17 min
- Wait
- 4 hr 40 min
- Total
- 5 hr 7 min
- Makes
- 4 servings (2 duck breasts)
Steps
Before you start
- Marinate the duck for at least 4 hours ahead; overnight marinating yields more complex flavor.
- Remove the marinated duck from the refrigerator 30 minutes before you begin cooking.
- Have a 12-inch (30 cm) skillet, meat thermometer, paper towels, and tongs ready.
Whisk the marinade
- In a small mixing bowl, combine the sake, mirin, soy sauce, minced garlic, and grated ginger.
- Whisk together until the mixture is well combined and the sugar has dissolved, about 1 minute.
- The marinade should look smooth and homogeneous with no visible sugar granules.
- Set aside.
+ Show details− Hide details
Ready when: Ingredients are well combined and no sugar granules are visible
Tip: Whisk gently to avoid splashing the marinade
Score and marinate the duck
- Place both duck breasts skin-side up on a cutting board.
- Using a sharp knife, carefully score the duck skin in a shallow crosshatch pattern, cutting only through the skin layer without cutting into the flesh.
- This creates channels for the marinade to penetrate and allows fat to render during cooking.
- Season both sides of the duck breasts generously with kosher salt and freshly ground black pepper.
- Place the duck in a shallow glass baking dish or large zip-lock freezer bag.
- Pour all of the marinade over the duck, and make sure both breasts are fully submerged and coated on all sides.
- Cover the dish (or seal the bag) and refrigerate for at least 4 hours, preferably overnight (up to 12 hours).
- For even flavor absorption, turn the duck breasts over once or twice during the marinating time.
+ Show details− Hide details
Ready when: Duck is fully submerged in marinade and completely coated
Tip: Scoring the skin allows the marinade to infuse while helping fat render for crispy skin
Bring duck to room temperature
- Remove the marinated duck from the refrigerator approximately 30 minutes before you plan to begin cooking.
- Place it on the counter (still in the dish or bag) and let it come to room temperature.
- This ensures more even cooking throughout the thick duck breast and a more predictable sear on the skin.
+ Show details− Hide details
Ready when: Duck is no longer cold to the touch; the thickest part feels cool but not cold
Tip: Room-temperature duck cooks more evenly than cold duck straight from the refrigerator
Pat duck dry
- Remove the duck breasts from the marinade and place them on a cutting board lined with paper towels.
- Using clean, dry paper towels, thoroughly pat both the skin and meat sides of the duck completely dry.
- This step is essential for developing a crispy, golden skin during searing; any remaining moisture will prevent the skin from browning properly.
- Reserve the leftover marinade for making a glaze in step 8 if desired.
+ Show details− Hide details
Ready when: Duck skin and meat surfaces are completely dry with no visible moisture
Tip: Don't rush this step; dry skin is absolutely essential for a crispy, golden crust
Render the skin
- Place a 12-inch (30 cm) skillet (stainless steel or cast iron is best) on the stove.
- Do not add any oil or butter to the pan.
- Place both duck breasts skin-side down in the cold skillet.
- Turn the burner to medium-low and slowly cook the duck for 8–10 minutes without moving them.
- During this time, the fat layer beneath the skin will gradually render out into the pan, and the skin will turn a deep golden brown and become crispy.
- You should see about 1–2 tablespoons of liquid fat accumulating around the duck.
- Let the duck stay undisturbed; moving it will prevent the skin from getting properly crispy.
+ Show details− Hide details
Ready when: Duck skin is deeply golden-brown, crispy, and slightly blistered; rendered fat fills the pan
Tip: Starting in a cold pan allows fat to render gradually, creating a golden crust without burning
Sear meat side and finish
- Using tongs, carefully flip both duck breasts so the meat side is now in contact with the hot skillet.
- Increase the heat to medium-high and sear for 6–7 minutes.
- Use a meat thermometer inserted horizontally into the thickest part to check doneness.
- Cook to an internal temperature of 165°F (74°C), the safe temperature recommended by the USDA for all poultry.
- This ensures the duck is safe to eat and kills any harmful bacteria.
- At this temperature, the duck will be fully cooked with a tender, flavorful interior when cooked properly and rested fully.
+ Show details− Hide details
Ready when: Internal temperature reaches 165°F (74°C) at the thickest part
Tip: Use a meat thermometer to reach the safe internal temperature of 165°F; this is essential for both food safety and proper cooking
Rest before slicing
- Transfer the duck breasts to a clean cutting board.
- Let them rest, uncovered, for 5–10 minutes.
- During this resting period, carryover heat will gently continue to cook the interior, and the juices will redistribute throughout the meat, ensuring it stays moist and tender when sliced.
- This step is crucial and should not be skipped.
+ Show details− Hide details
Ready when: Duck has rested and juices have redistributed (you can test by touching the meat—it should spring back)
Tip: Resting is as important as cooking; skipping it causes juices to run out when you slice
Make sake-mirin glaze (optional)
- If making the optional glaze, pour off all but about 1 tablespoon of the rendered duck fat from the skillet (reserve extra fat for other cooking uses).
- Place the skillet over medium heat and add the reserved marinade (or all of the original marinade if you haven't used it).
- Bring to a gentle simmer and cook for 3–4 minutes, stirring occasionally, until the glaze thickens slightly and coats the back of a spoon with a glossy, syrupy consistency.
- Since the marinade was in contact with raw duck, this simmering step pasteurizes it.
- Taste and adjust seasoning with a pinch of salt, pepper, or a splash of additional sake if desired.
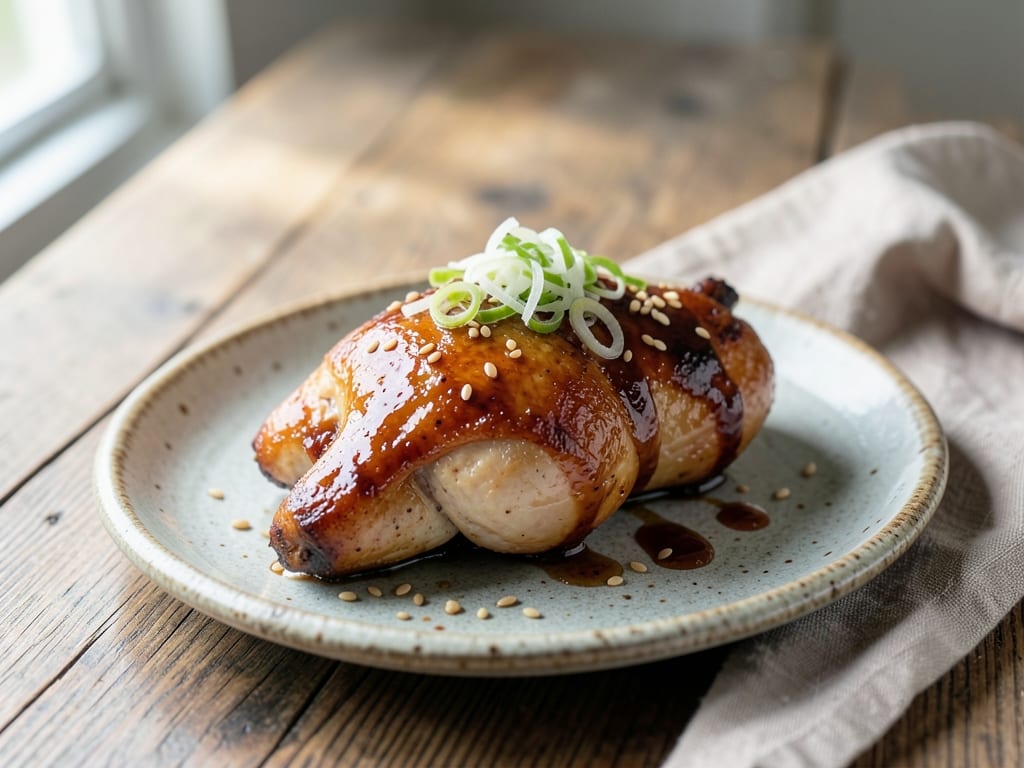
- Thinly slice the rested duck breasts and drizzle with the warm glaze before serving.
- Garnish with sesame seeds and sliced scallions if using.
+ Show details− Hide details
Ready when: Glaze thickens and coats the back of a spoon; it looks glossy and syrupy
Tip: Simmering pasteurizes the marinade and concentrates the flavors into a silky, elegant sauce
Good to know
Tips
- Scoring the duck skin in a crosshatch pattern allows the marinade to infuse into the meat while helping rendered fat escape during cooking, yielding ultra-crispy skin.
- Always use a meat thermometer to ensure duck reaches a safe internal temperature of 165°F (74°C). This protects food safety and ensures even, predictable cooking.
- Sake and mirin can be found in the Asian foods section of most supermarkets or at Japanese specialty stores. Quality matters—avoid 'cooking sake' which contains added salt.
- Serve with steamed jasmine rice, wilted Asian greens (bok choy or gai lan), or a crisp cucumber salad to balance the richness of the duck and complement the umami-forward glaze.
Make ahead
Prepare the marinade and marinate the duck for up to 12 hours ahead. Store covered in the refrigerator. The duck can be seared immediately after removing from the refrigerator and allowing it to reach room temperature, or cooked later the same day.
Storage & reheating
Cooked duck keeps refrigerated for up to 3 days in an airtight container. Reheat gently in a low oven (300°F/150°C) for 8–10 minutes until warmed through. Do not reheat the glaze; make it fresh at service time or serve it at room temperature. The unused raw marinade should be discarded (it touched raw duck); however, if you plan to make the glaze immediately, the simmering step in step 8 pasteurizes it.
Substitutions
- sake (Japanese rice wine) → dry white wine or dry vermouth. Use a 1:1 ratio by volume. The flavor will be less authentic but still delicious and balanced.
- mirin (sweet rice wine) → honey or light brown sugar. Use 3 tablespoons honey or 3 tablespoons packed brown sugar for the 1/4 cup mirin. Adjust sweetness to your taste.
- soy sauce → tamari or coconut aminos. Use a 1:1 ratio. Tamari is gluten-free soy sauce; coconut aminos are slightly sweeter. Both work well.
- fresh ginger → ground ginger. Use about 1 teaspoon ground ginger for the 2 tablespoons fresh ginger. Ground spices are more concentrated; start here and add more if desired.