
Instant Pot Hard-Boiled Egg Salad Sandwich
A classic American sandwich made with creamy egg salad from perfectly cooked Instant Pot hard-boiled eggs, fresh celery, and tangy mayonnaise on toasted bread. The high-pressure method delivers eggs with an ideal texture—fully set whites and vibrant yolks, never with a gray ring around the yolk. Ready in under 45 minutes.
Steps
Before you start
- Have an ice bath ready—a medium bowl filled with ice and cold water (you'll use it right after pressure cooking to stop the eggs from overcooking)
- Check that your Instant Pot is clean and the sealing ring is in place
- Gather all ingredients and do any chopping before you start the pressure cooker so assembly goes smoothly
Add water and trivet to pot
- Pour 1 cup (240 ml) of water into the inner pot of your Instant Pot, ensuring it sits flat on the heating element.
- Place the trivet (the metal rack that comes with your Instant Pot) flat on the bottom so it sits about 1 inch above the water.
- The trivet prevents the eggs from sitting directly on the hot bottom of the pot.
+ Show details− Hide details
Ready when: Trivet is stable and level on the bottom of the pot
Tip: Use plain water, not broth—it keeps the eggs from developing off-flavors
Cook eggs under pressure
- Gently place each of the 6 room-temperature eggs directly onto the trivet in a single layer; they can touch without sticking.
- Close and seal the lid, making sure the pressure release valve is set to "sealing." Select high pressure and set the timer for 5 minutes.
- The Instant Pot will take 5–10 minutes to reach full pressure (you'll see the float valve rise), and then the countdown timer will begin.
+ Show details− Hide details
Ready when: Float valve has risen and timer is counting down 5:00
Tip: Room-temperature eggs cook more evenly and peel much more easily than cold eggs taken straight from the refrigerator
Release pressure and cool eggs
- When the timer beeps (after 5 minutes under pressure), let the pressure release naturally for 5 minutes—do not touch anything.
- After 5 minutes, carefully switch the pressure valve to "venting" to release any remaining steam (watch your fingers).
- Immediately use a slotted spoon to remove the eggs and transfer them to a bowl of ice water you prepared earlier.
- Let them soak for at least 10 minutes to stop the cooking process and cool completely.
+ Show details− Hide details
Ready when: Eggs are cool enough to handle without heat
Tip: The ice bath is essential—it stops carryover cooking and makes peeling dramatically easier
Peel the hard-boiled eggs
- Remove the eggs from ice water one at a time.
- Gently tap and roll each egg on the countertop to crack the shell all over, then start peeling from the wider end where the air pocket sits.
- Hold the egg under a stream of cool running water as you peel—the water helps separate the thin membrane from the egg white.
- Once fully peeled, pat the eggs dry on a clean kitchen towel and set aside.
+ Show details− Hide details
Ready when: All eggs are completely peeled and clean
Tip: Running water is the key to fast, clean peeling—it prevents the membrane from sticking and clinging to the white
Chop eggs and combine filling
- Chop the peeled eggs into rough 1/4-inch (6 mm) chunks, aiming for some texture rather than a fine mince.
- Place the chopped eggs in a medium bowl and add 3/4 cup (175 ml) mayonnaise, 1/3 cup (40 g) finely diced celery, 2 tablespoons (20 g) red onion if using, 1/2 teaspoon (2.5 ml) Dijon mustard, 1/2 teaspoon (2.5 ml) salt, 1/4 teaspoon (0.5 g) black pepper, and 1 tablespoon (3 g) fresh dill if using.
- Use a spoon to gently fold everything together until just combined.
- The mixture should hold together but still show distinct pieces of egg—avoid overmixing, which breaks down the eggs into a dense, mushy paste.
+ Show details− Hide details
Ready when: All ingredients are evenly distributed and lightly combined
Tip: Mix just until combined—overmixing will make the salad dense and unpleasant with a pasty texture
Toast the breadOven 400°F / 205°C
- While the eggs cool in the ice bath, arrange the 8 bread slices on a toaster or baking sheet.
- Toast using a toaster on medium setting (pop each slice in), or use a toaster oven or regular oven at 400°F (200°C) for 2–3 minutes.
- The bread should be golden and crisp but not dark brown.
- Toasting adds structure so the sandwiches don't get soggy from the egg salad.
+ Show details− Hide details
Ready when: Bread is golden brown and crisp to the touch
Tip: Don't over-toast—dark, brittle bread will overpower the delicate, creamy egg salad
Build and serve sandwiches
- Place 4 slices of toasted bread on a clean work surface.
- Spread 2–3 tablespoons (30–45 ml) of egg salad onto each bread slice.
- Layer with lettuce leaves and/or tomato slices if desired, then top each with a second slice of toasted bread, pressing gently to seal.
- Cut diagonally if you'd like.
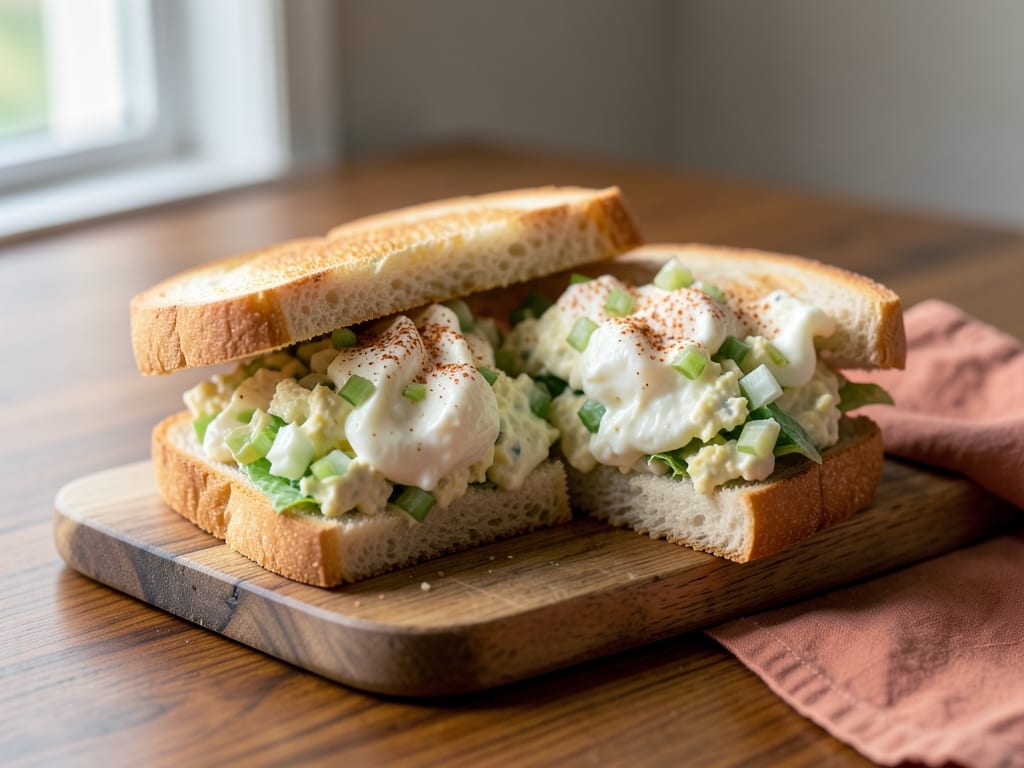
- Sprinkle with a pinch of paprika for color and a subtle spice note, then serve immediately.
+ Show details− Hide details
Ready when: Sandwiches are assembled and ready to eat
Tip: Assemble just before eating—toasted bread stays crispy and the egg salad won't have time to make it soggy
Good to know
Tips
- Room-temperature eggs are essential for even cooking and easy peeling—remove them from the refrigerator 30–45 minutes before cooking
- The ice bath stops carryover cooking and makes peeling dramatically faster; don't skip it
- For the creamiest texture, don't mash or finely chop the eggs—leave some chunks so you can actually taste the egg in your egg salad
- If you prefer a thinner, more spreadable consistency, add 1–2 tablespoons of milk or additional mayo and stir gently
Make ahead
The egg salad can be made up to 2 days ahead and stored in an airtight container in the refrigerator. Make the hard-boiled eggs the same day you plan to serve, or they'll slowly lose flavor. Assemble sandwiches just before serving so the bread stays crispy.
Storage & reheating
Room temperature: Not recommended (mayonnaise-based salad spoils quickly). Refrigerator: Egg salad keeps up to 2 days in an airtight container. Assembled sandwiches are best eaten within 1 hour, though they'll keep wrapped tightly for up to 3 hours (bread will soften). Freezer: Not recommended (mayonnaise separates when thawed). To reheat: Eat cold or at room temperature; no reheating needed.
Substitutions
- mayonnaise → Greek yogurt (use 1/2 cup yogurt mixed with 1/4 cup mayo for creaminess). Greek yogurt adds tanginess and reduces calories while keeping the salad creamy
- red onion, finely diced → Diced crisp apple or drained pickled relish. Apple adds sweetness and a slight crunch; relish adds tartness and texture
- bread slices (white, wheat, or sourdough) → Whole wheat, rye, or pumpernickel bread. Heartier breads add nuttiness and fiber; sourdough adds pleasant tang
- fresh dill, finely chopped → Fresh tarragon or fresh chives, finely chopped. Tarragon brings an anise-like warmth; chives add mild onion flavor
More sandwiches
See all →


Find more like this
- Meal
- Lunch
- Cuisine
- American
- Main ingredient
- Eggs
- Method
- Instant Pot
- Quick & Easy
- 5 Ingredients or LessEasy