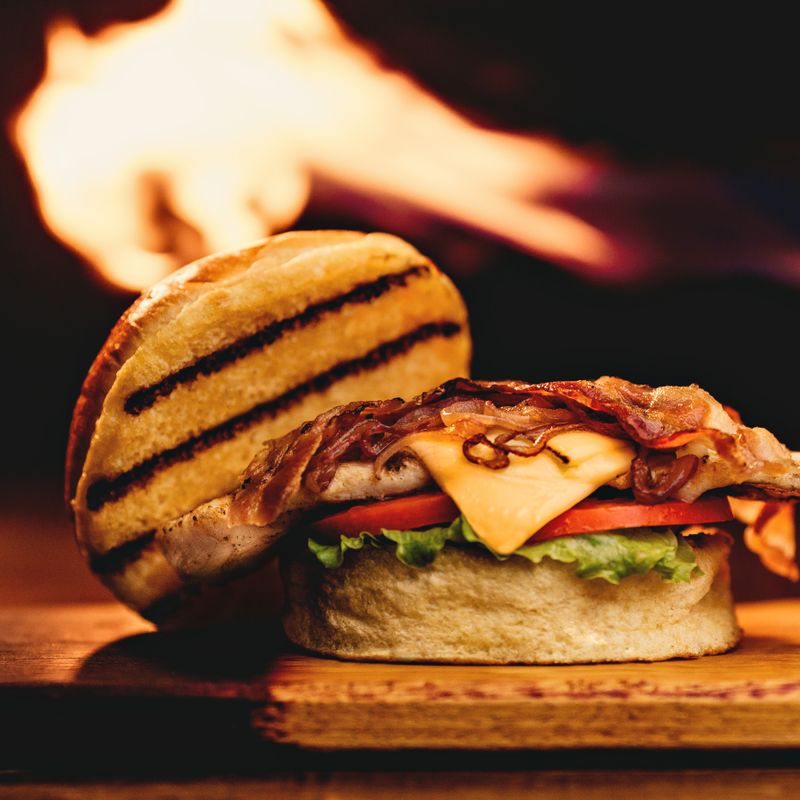
Grilled Cheese with Bacon and Tomato Panini
A crispy, buttery sourdough panini loaded with melted cheddar cheese, smoky bacon, and fresh tomato. Pressed on a hot griddle until the cheese flows and the bread turns golden brown with a crackly crust. Perfect for lunch or a casual dinner—comfort food elevated.
Steps
Before you start
- Cook bacon until crispy if starting from raw
- Slice tomatoes and pat them dry to prevent sogginess
- Have a panini press or cast-iron skillet ready
- Gather all ingredients on a clean workspace for assembly
Preheat the griddle
- Set a panini press to medium-high heat or place a cast-iron skillet over medium-high heat.
- Allow it to warm for 2–3 minutes until hot but not smoking.
- You want even heat across the cooking surface.
+ Show details− Hide details
Ready when: Surface is hot to the touch (hold your hand 2 inches above for 2 seconds—you should feel strong heat)
Tip: A properly heated griddle prevents soggy bread; uneven heat leads to burnt bottoms and cold centers.
Assemble the first panini
- Lay out two slices of sourdough bread on a cutting board.
- Spread ½ tablespoon softened butter on the outside of each slice (the sides that will touch the griddle).
- This ensures even browning and crispiness.
+ Show details− Hide details
Tip: Butter the outside of the bread, not the inside—this allows the crust to crisp while the inside stays protected.
Build the sandwich interior
- Flip one slice of bread butter-side down.
- Layer half the cheddar cheese (about 2 ounces), then 2 slices of bacon, then half the sliced tomato.
- Season the tomato lightly with salt and pepper.
- Top with the remaining cheese (2 ounces), then the second bread slice butter-side up.
+ Show details− Hide details
Tip: Cheese on both sides of the filling holds everything together and creates a protective layer that prevents sogginess from the tomato.
Grill the first sandwich
- Carefully place the assembled panini on the hot griddle.
- If using a panini press, close it gently but firmly.
- If using a skillet, press down on the sandwich with a heavy spatula or a second skillet weighted with a canned good, pressing for 3–4 minutes until the bottom is deep golden brown and crispy.
+ Show details− Hide details
Ready when: Bottom bread is deep golden brown with visible crispy edges; you should hear a gentle sizzle
Tip: Don't move or flip the sandwich during this phase—let it stay still so the crust develops properly and the cheese starts melting.
Flip and finish grilling
- Using a thin spatula, carefully flip the panini.
- Press again for another 2–3 minutes until the second side is equally golden brown and the cheese is completely melted and starting to ooze slightly from the edges.
+ Show details− Hide details
Ready when: Top crust is deep golden brown; cheese visible at the edges; sandwich feels firm when pressed gently with the spatula
Tip: Once you see cheese peeking out the sides, it's done—overgrilling will dry out the bread and blow out the filling.
Rest and repeat
- Transfer the first panini to a cutting board and let it rest for 1 minute while you assemble and grill the second sandwich using the same process (steps 2–5).
- The rest helps the cheese set and makes cutting easier.
+ Show details− Hide details
Tip: Keep the first panini on a warm plate or loosely tented with foil so it stays warm while the second one cooks.
Slice and serve
- Once both panini have rested, slice each one diagonally using a sharp knife with a gentle sawing motion (not a hard downward chop—this prevents the filling from squishing out).
- Serve immediately while the cheese is still warm and melted.
+ Show details− Hide details
Tip: A diagonal cut not only looks more appealing but also makes the sandwich easier to hold and eat.
Good to know
Tips
- Pat sliced tomatoes dry with paper towels before assembly to prevent the bread from getting soggy—moisture is the enemy of a crispy panini.
- Use sharp cheddar rather than mild; it has more flavor and melts faster, so your sandwich finishes cooking before the bread burns.
- If you don't have a panini press, a cast-iron skillet works just as well. The key is consistent, firm pressure; the weight of the skillet plus a heavy object on top mimics a press.
- Butter the outside of the bread, not the inside. Inside butter can make the cheese slide around and prevents proper melting. Outside butter crisps the crust.
Storage & reheating
Best served fresh. Leftover panini can be wrapped in foil and stored at room temperature for up to 2 hours, or refrigerated in an airtight container for up to 1 day. Reheat wrapped in foil in a 300°F (150°C) oven for 5 minutes to warm through without drying out. Do not microwave, as it will make the bread soggy.
Substitutions
- sharp cheddar cheese → Gruyère, fontina, or provolone cheese. Use the same amount by weight. Gruyère melts beautifully and adds a nutty depth; fontina is creamier; provolone is milder and slightly smoky.
- sourdough bread, sliced ½-inch thick → thick-cut white bread, brioche, or ciabatta. White bread is classic; brioche is richer; ciabatta is airier and crispier. Avoid very thin bread, which won't hold the filling.
- bacon, cooked → smoked ham, prosciutto, or tempeh bacon. Use the same quantity. Ham is milder; prosciutto is delicate and less smoky; tempeh bacon works for vegetarian versions (omit if using a vegetarian variant).
- ripe tomato → roasted red peppers or sun-dried tomato. Use 2–3 tablespoons of roasted red peppers or 2 tablespoons chopped sun-dried tomato. Both add sweetness and less moisture than fresh tomato.
More paninis
See all →



Find more like this
- Meal
- Lunch
- Diet
- Sugar-Free
- Method
- Sheet Pan