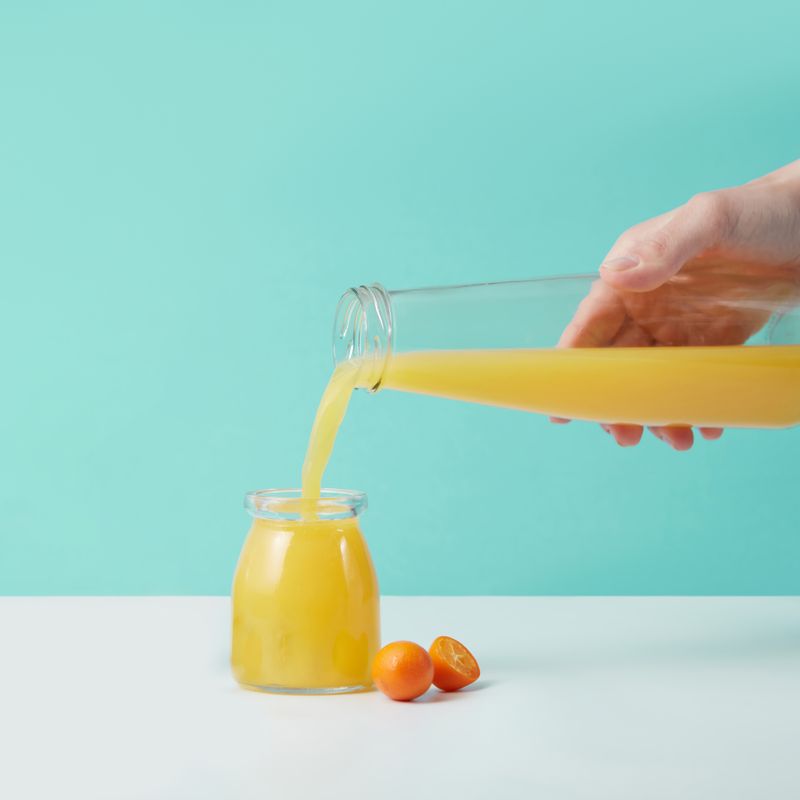
Fresh Squeezed Orange Juice
Bright, sweet, naturally frothy orange juice made with just oranges and a hand juicer. Rolling and chilling the fruit first gives you more juice and a cleaner, colder glass.
- Prep
- 10 min
- Cook
- —
- Wait
- 1 hr
- Total
- 1 hr 10 min
- Makes
- About 2 cups (480 ml), 2 servings
Steps
Before you start
- Refrigerate the oranges for at least 1 hour so the juice is cold when squeezed (skip if you prefer room-temperature fruit, which yields slightly more juice).
- Wash your hands, the oranges, and the juicer well; citrus peel touches the juice as you cut and squeeze.
- Plan on roughly 4 medium oranges per 2 cups (480 ml) of juice; yield varies by variety and ripeness.
Chill the oranges
- Place the scrubbed, dried oranges in the refrigerator for at least 1 hour until cold all the way through.
+ Show details− Hide details
Ready when: Oranges feel cold to the touch in the center
Tip: Short on time? Chill 20 minutes in the freezer, no longer.
Roll the oranges
- Set one orange on the counter and press down firmly with your palm, rolling it back and forth for about 10 seconds.
- Repeat with each orange.
+ Show details− Hide details
Ready when: Each orange feels slightly softer and gives a little under pressure
Tip: Rolling breaks the internal membranes so more juice releases.
Cut in half
- On the cutting board, slice each orange in half crosswise (through the equator, not stem to tip) so the segments are cut open.
- Pick out any visible seeds with the tip of your knife.
+ Show details− Hide details
Ready when: You have 8 halves showing a star pattern of segments
Tip: Cutting crosswise exposes the most juice sacs to the juicer.
Squeeze the juice
- Place a half, cut side down, on the juicer and press and twist firmly to extract the juice into the pitcher.
- Flip the shell and squeeze again to get the remaining juice.
- Repeat with all 8 halves.
+ Show details− Hide details
Ready when: Each peel is limp and mostly dry, with the white pith showing; you have about 2 cups (480 ml) juice
Tip: Don't crush the white pith hard, as it adds bitterness.
Strain if desired
- For smooth juice, pour it through a fine-mesh strainer into a second pitcher, pressing the pulp lightly with a spoon.
- For pulpy juice, skip this and just fish out any seeds with a spoon.
+ Show details− Hide details
Ready when: No seeds remain and the juice looks as smooth or pulpy as you like
Serve right away
- Stir the juice gently, then divide between two glasses over ice if you like.
- Drink immediately for the best flavor.
+ Show details− Hide details
Ready when: Juice is bright orange, cold, and lightly foamy
Tip: Fresh juice loses brightness and vitamin C quickly, so serve soon after squeezing.
Good to know
Tips
- Choose oranges that feel heavy for their size with thin, smooth skin; they're the juiciest.
- Use a juicer rather than a blender, which would grind in bitter peel and pith.
- If your juice tastes too tart, add one more sweet orange rather than sugar.
- Fill storage jars to the brim to limit air contact and slow flavor loss.
Make ahead
"Squeeze up to 24 hours ahead and keep in a sealed jar in the refrigerator; flavor is best within the first few hours."
Storage & reheating
"Refrigerator: store in a tightly sealed glass jar filled to the top for up to 2 days (best within 24 hours); stir or shake before serving as it separates. Room temperature: no more than 1 hour. Freezer: pour into freezer-safe containers leaving ½ inch (1 cm) headspace for up to 3 months; thaw overnight in the refrigerator and shake well."
Substitutions
- juice oranges (such as Valencia) or navel oranges → blood oranges or tangerines. Blood oranges give a ruby color and berry note; tangerines make sweeter juice but yield less per fruit, so use about 6.
- juice oranges (such as Valencia) or navel oranges → Cara Cara oranges. Lower acidity and a sweeter, slightly rosy flavor; use the same amount.
- ice cubes → omit the ice. Serve straight from the chilled fruit for undiluted flavor.
More juices
See all →


Find more like this
- Meal
- Drink
- Method
- No-Cook
- Quick & Easy
- 5 Ingredients or LessEasyBeginner