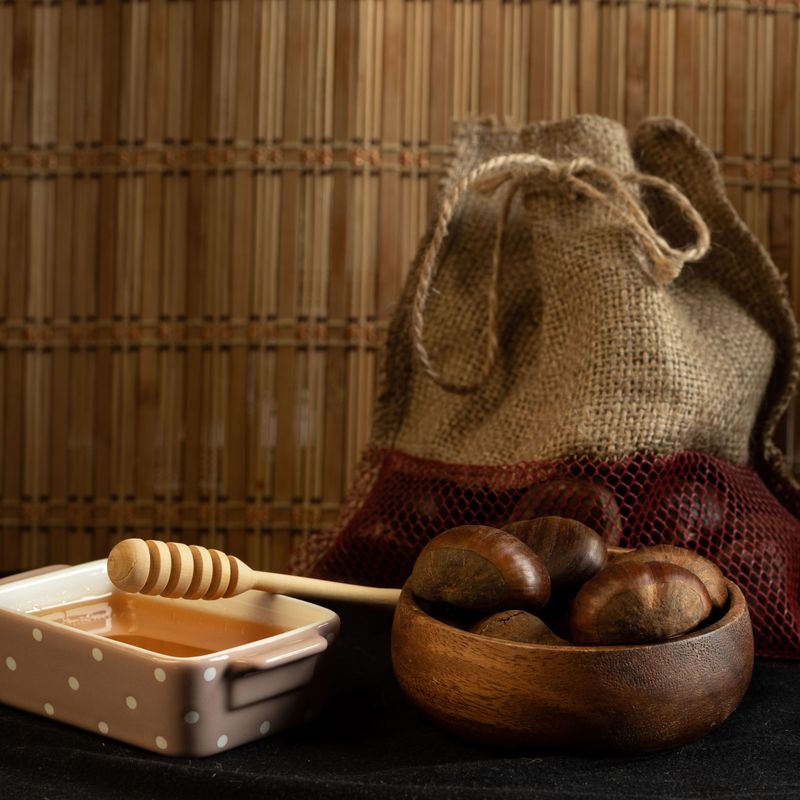
French Chestnut Honey Muffins
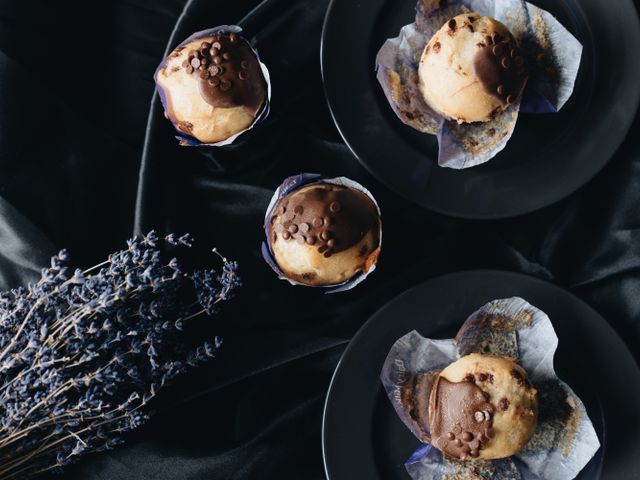
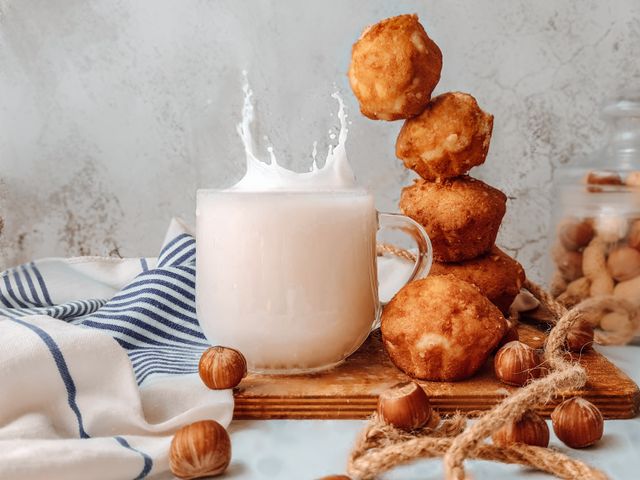
Tender, nutty muffins made with chestnut flour and finished with a touch of honey, delivering the subtle earthiness of roasted chestnuts. Made using the creaming method for a delicate crumb, these French-inspired muffins are perfect for breakfast or a light snack.
Steps
Before you start
- Preheat oven to 375°F (190°C) 15 minutes before baking
- Use room-temperature butter and eggs for best creaming
- Line a 12-cup muffin tin with paper liners or grease well
- Have all ingredients measured and ready before you begin
Cream butter and honey
- In a large bowl, beat the softened butter and 0.5 cup (170 g) honey together with an electric mixer on medium-high speed for 3–4 minutes, until the mixture is pale, fluffy, and noticeably lighter in color.
- Scrape down the bowl as needed.
- This step incorporates air that will help the muffins rise.
+ Show details− Hide details
Ready when: Mixture is pale and fluffy, increased in volume
Tip: Do not skip this step—proper creaming is essential for a light crumb
Add eggs and vanilla
- Add the room-temperature eggs one at a time, beating well after each addition until fully incorporated.
- Then add the vanilla extract and mix for another 30 seconds.
- The batter should look emulsified and smooth.
+ Show details− Hide details
Ready when: Batter is smooth and well combined with no visible egg streaks
Tip: Adding room-temperature eggs prevents curdling and ensures a smooth batter
Mix dry ingredients
- In a separate medium bowl, whisk together the chestnut flour, all-purpose flour, baking powder, and salt until evenly distributed.
- Break up any small lumps in the chestnut flour by whisking.
+ Show details− Hide details
Ready when: Dry ingredients are evenly combined with no streaks of chestnut flour
Tip: Whisking thoroughly prevents lumps of baking powder from creating dense spots
Combine wet and dry ingredients
- Add half of the dry mixture to the creamed butter and eggs.
- Fold gently with a rubber spatula until almost combined.
- Pour in half of the milk, fold until just mixed.
- Add the remaining dry mixture, fold until barely combined.
- Finally, add the remaining milk and fold until just incorporated—do not overmix.
- A few small streaks of flour are fine.
+ Show details− Hide details
Ready when: No large streaks of dry ingredient remain; batter looks slightly lumpy
Tip: Overmixing develops gluten and makes muffins tough—fold gently and stop early rather than late
Fill muffin cups
- Divide the batter evenly among the 12 muffin cups, filling each about three-quarters full.
- Use an ice cream scoop or two spoons to portion evenly.
- Tap the tin once or twice on the counter to release air bubbles.
+ Show details− Hide details
Ready when: All cups are filled evenly; batter is smooth in each well
Tip: Filling evenly ensures all muffins bake in roughly the same time
Add optional toppings
- If using, sprinkle the chopped toasted hazelnuts over the top of each muffin.
- Drizzle a small amount of warm honey over the tops if desired.
- The toppings are optional but add a lovely finish.
+ Show details− Hide details
Ready when: Nuts and honey are distributed across the muffin tops
Tip: Add toppings just before baking so they don't sink to the bottom
Bake muffinsOven 375°F / 190°C
- Place the muffin tin in the preheated 375°F (190°C) oven and bake for 18–22 minutes.
- The muffins are done when a toothpick inserted into the center of one comes out clean or with just a few moist crumbs, and the tops are golden brown and spring back lightly when touched.
+ Show details− Hide details
Ready when: Toothpick comes out clean; tops are golden brown; muffins spring back when lightly pressed
Tip: Check at 18 minutes to avoid overbaking, which dries them out
Cool in pan and serve
- Let the muffins cool in the tin for 5 minutes, then turn them out onto a wire rack to cool completely, about 5 minutes more.
- Serve warm or at room temperature.
+ Show details− Hide details
Ready when: Muffins have shrunk slightly from the sides of the tin and are firm enough to handle
Tip: Cooling them in the tin first prevents them from breaking apart
Good to know
Tips
- Chestnut flour has a lower protein content than wheat flour, so it naturally produces very tender muffins—do not feel tempted to add more all-purpose flour or they will become dense
- Weighing ingredients (especially the flours) is more accurate than volume measurements and will ensure consistent results
- Toast the hazelnuts yourself in a 350°F (175°C) oven for 8–10 minutes if you cannot find them pre-toasted; this deepens their flavor
- These muffins are best eaten within a day or two of baking, as chestnut flour has a slightly shorter shelf life than wheat flour
Make ahead
Batter can be prepared up to 4 hours ahead; cover and refrigerate. If chilled, add 2–3 minutes to baking time. Baked muffins can be frozen for up to 3 months.
Storage & reheating
Room temperature in an airtight container: 2 days. Refrigerator: 4 days. Freezer: 3 months (thaw at room temperature for 1–2 hours or warm gently in a 300°F/150°C oven for 5–7 minutes).
Substitutions
- chestnut flour → almond flour or finely ground roasted hazelnuts. Use the same amount by weight; these will produce a slightly nuttier flavor but equally tender muffins
- honey → light brown sugar or maple syrup (use the same weight, about 170 g). Brown sugar will give a more caramel-like flavor; maple syrup will be slightly less sweet and more earthy
- whole milk → Greek yogurt thinned with a little water to a thin consistency. This makes muffins slightly more tender but slightly denser; use equal weight
- all-purpose flour → spelt flour or pastry flour in equal amounts. Spelt will yield a slightly nuttier flavor; pastry flour will be even more tender