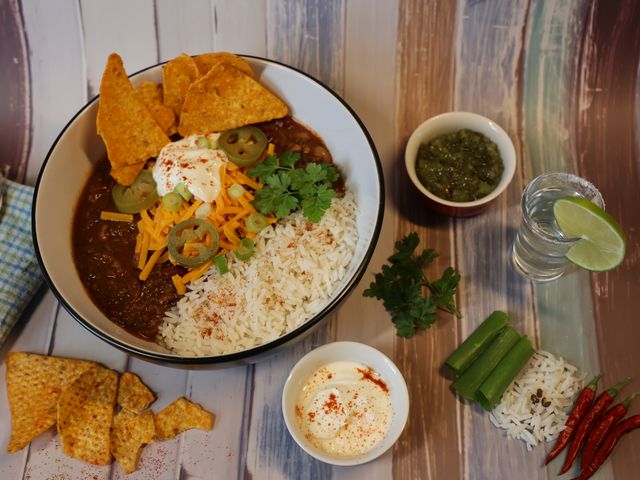
Egyptian Koshari-Inspired Chili with Pasta and Beans
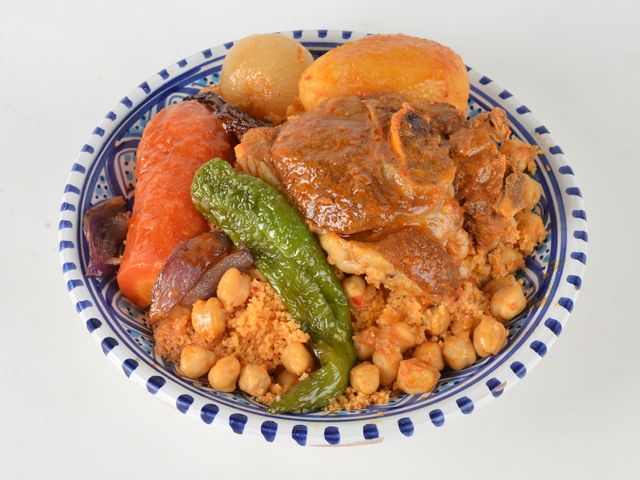
A vibrant, spiced vegetarian chili inspired by Egyptian koshari—layers of chickpeas, lentils, pasta, and aromatic tomato sauce enriched with cumin, coriander, and garlic. Finished with a tangy vinegar drizzle and crispy fried onions for that signature koshari crunch. Hearty enough to satisfy but light enough for a weeknight dinner.
- Prep
- 15 min
- Cook
- 40 min
- Total
- 55 min
- Makes
- 6 servings (about 2 cups each)
Steps
Before you start
- Have all ingredients prepped and measured before you start cooking
- If using dried lentils, rinse them first
- Peel and mince the garlic while the oil heats
Sauté aromatics and bloom spices
- Heat the olive oil in a large heavy-bottomed pot (5–6 quart) over medium heat.
- Add the diced onion and cook for 4–5 minutes, stirring often, until soft and translucent.
- Add the minced garlic and cook for 1 minute more until fragrant.
- Sprinkle in the cumin, coriander, and cayenne.
- Stir constantly for 30 seconds to 1 minute, toasting the spices lightly in the oil—this releases their essential flavors and deepens their warmth.
+ Show details− Hide details
Ready when: Spices are fragrant and onions are soft; no burnt smell
Tip: Don't skip the spice bloom—it's the backbone of the koshari flavor. Watch carefully so the spices toast but don't burn.
Add tomatoes, lentils, and broth
- Pour in the crushed tomatoes (including their juices) and the vegetable broth.
- Stir to combine.
- Add the rinsed red lentils and the drained, rinsed chickpeas.
- Bring the mixture to a simmer over medium-high heat, stirring occasionally to prevent sticking.
+ Show details− Hide details
Ready when: Mixture is steaming and small bubbles appear around the edges
Tip: Stir occasionally at the bottom of the pot to make sure the lentils don't stick to the bottom and scorch.
Simmer lentils and chickpeas
- Once simmering, reduce the heat to medium-low.
- Let the chili simmer uncovered for 12–15 minutes, stirring occasionally.
- The lentils should begin to soften and the chickpeas should warm through.
- The liquid will reduce slightly and the flavors will meld.
+ Show details− Hide details
Ready when: Lentils are tender but still hold their shape; broth is reduced by about one-quarter
Tip: Don't cover the pot—you want the liquid to reduce slightly so the chili becomes more concentrated and flavorful.
Add pasta and continue simmering
- Stir in the uncooked ditalini pasta.
- The broth will come back to a gentle simmer.
- Continue cooking uncovered for 8–10 minutes, stirring occasionally to prevent clumping and sticking.
+ Show details− Hide details
Ready when: Pasta is tender but still has a slight bite; the chili is creamy and cohesive, not too soupy
Tip: Stir more frequently once you add the pasta to prevent it from clumping together at the bottom of the pot.
Season and finish
- Taste the chili.
- Season generously with kosher salt and freshly ground black pepper to your preference.
- Stir in the red wine vinegar—this adds a subtle tangy brightness that's essential to the koshari character.
+ Show details− Hide details
Ready when: Chili is well-seasoned with balanced heat, richness, and acidity
Tip: Add salt in small pinches and taste as you go—it's easier to add more than to take it out. The vinegar should be subtle, not overpowering.
Serve with crispy onions
- Ladle the chili into bowls.
- Top each serving with a generous handful of crispy fried onions for a textural contrast that echoes the traditional koshari topping.
- Serve warm.
+ Show details− Hide details
Tip: Add the fried onions just before eating so they stay crispy; if stirred into the hot chili, they'll soften quickly.
Good to know
Tips
- Koshari is all about layers of texture and flavor. The crispy fried onions are not optional if you want authentic koshari character—they provide the crunch that makes the dish sing.
- Red lentils break down and thicken the chili naturally, creating a creamy base without cream. This is the secret to a luxurious mouthfeel.
- For extra spice heat, add a pinch more cayenne or a splash of hot sauce at the end. The cumin and coriander provide warmth; cayenne provides bite.
- Toast your spices every time. It takes 30 seconds but transforms the entire dish from flat to vibrant.
Make ahead
Prepare the chili through step 4 (after the pasta is cooked) up to 2 days ahead. Store in the refrigerator in an airtight container. Reheat gently on the stovetop over medium-low heat, adding a splash of vegetable broth if it has thickened too much. Top with fresh crispy fried onions before serving.
Storage & reheating
Room temperature: up to 2 hours in an airtight container. Refrigerator: up to 3 days in an airtight container; reheat on the stovetop over medium-low heat, stirring occasionally. Freezer: up to 2 months in a freezer-safe container; thaw overnight in the refrigerator and reheat gently on the stovetop, adding extra broth if needed to restore the proper consistency.
Substitutions
- red lentils, dried → Brown or green lentils. Brown and green lentils hold their shape better than red lentils and cook in 20–25 minutes instead of 12–15. Increase the simmering time in step 3 to 18–20 minutes.
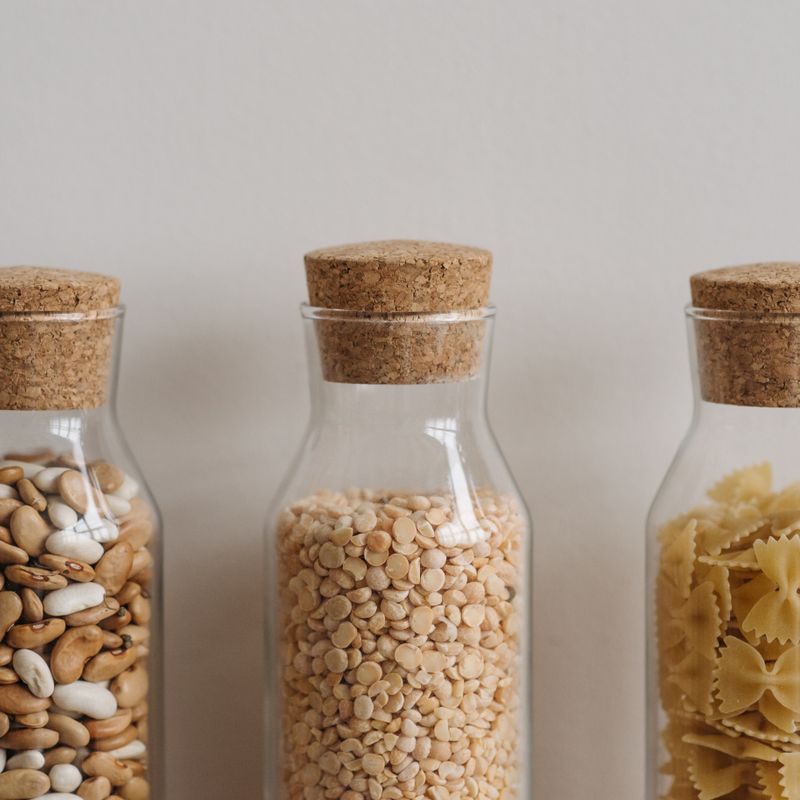
- canned chickpeas → White beans or kidney beans (canned, drained). Swap 1:1 for chickpeas. White beans are creamier; kidney beans are earthier. Both work beautifully with the spice profile.
- ditalini or small pasta → Orzo, elbow pasta, or small shells. Any small pasta works. Cooking time remains the same; stir frequently to prevent clumping.
- vegetable broth → Chicken broth or water with a bouillon cube. Chicken broth adds a deeper savory note; water with bouillon works but is less flavorful. Use 1:1 ratio.