Chickpea and Carrot Family Biryani
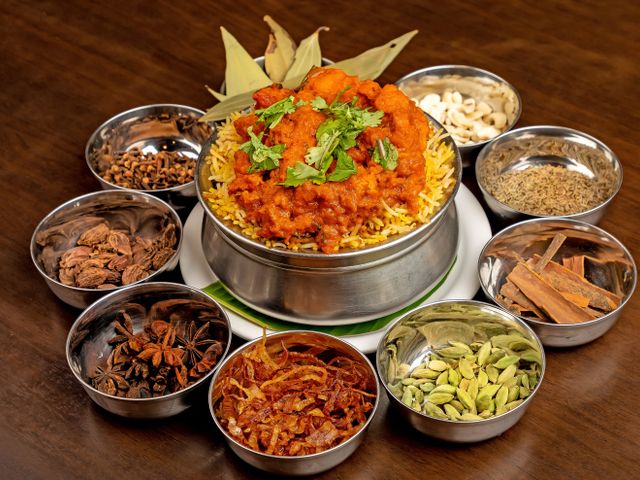
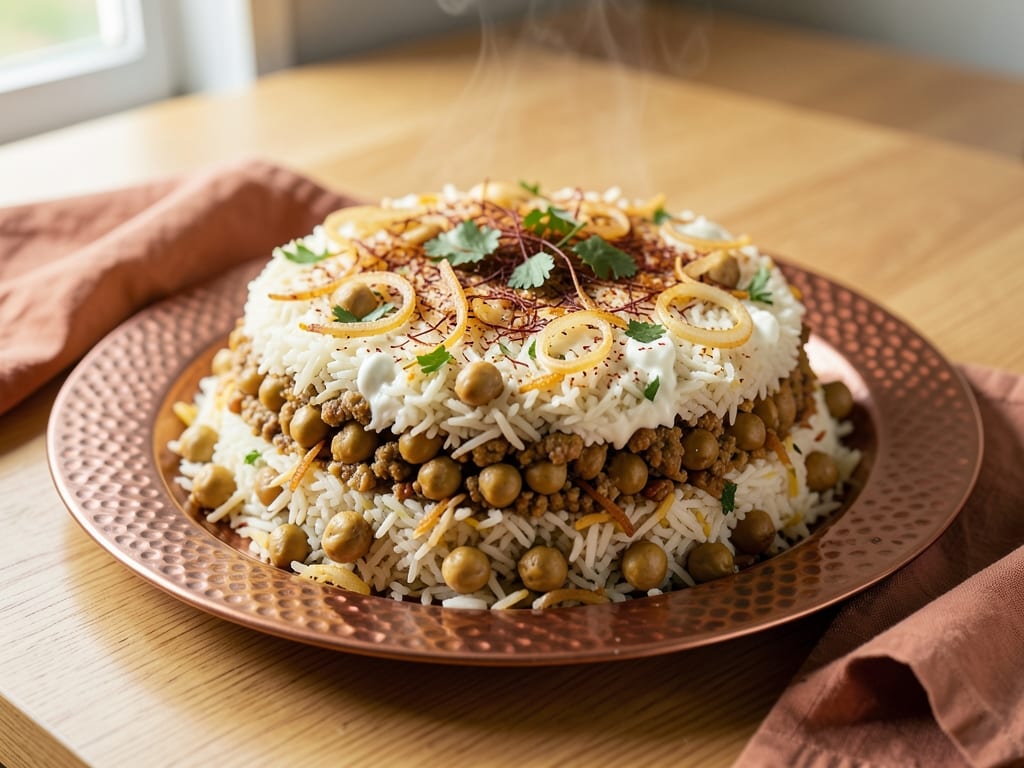
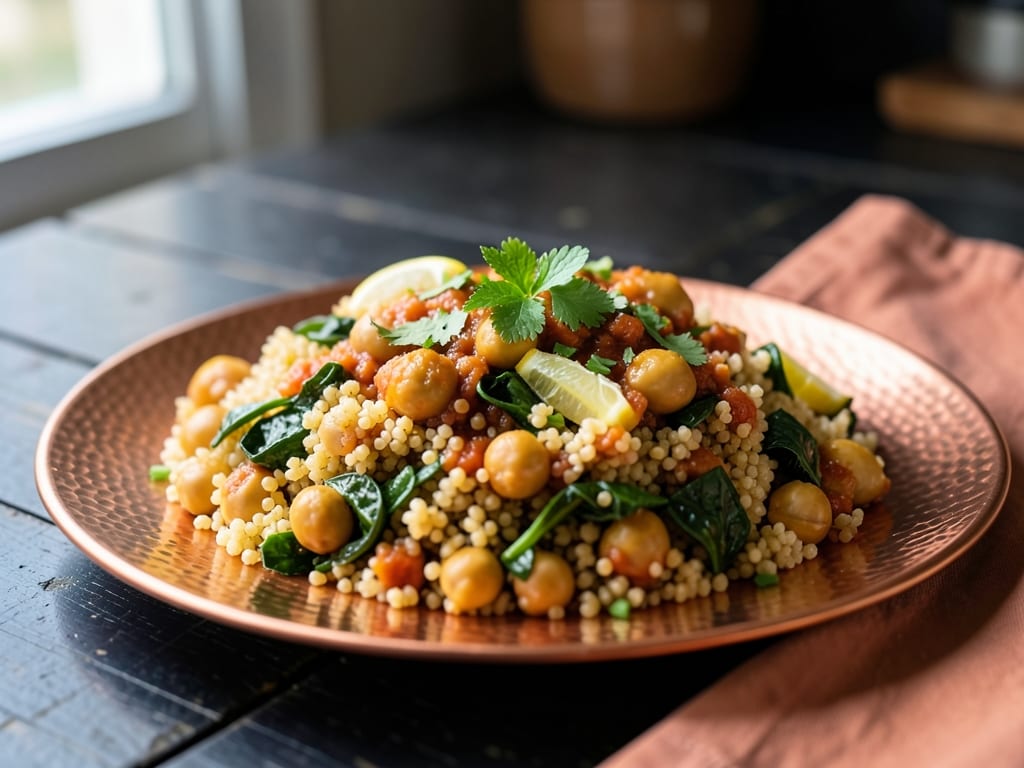
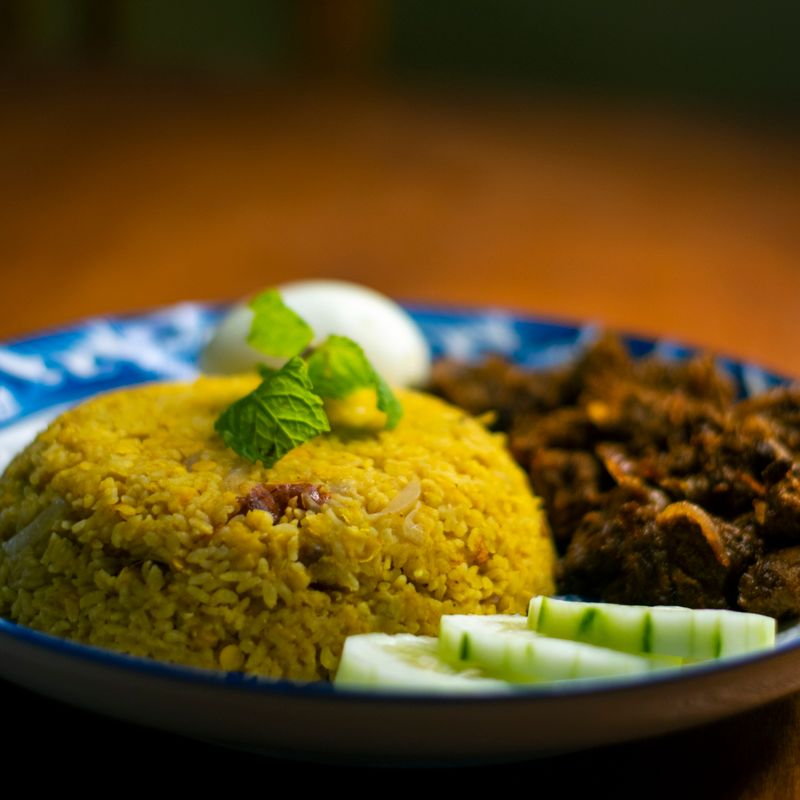
A fragrant one-pot rice dish featuring tender chickpeas and golden carrots layered with basmati rice, infused with whole spices, caramelized onions, and ginger-garlic. This stovetop biryani is cooked using the traditional dum pukht (steam-cooking) method, creating fluffy, aromatic grains that absorb all the spiced flavors. Serve with raita and fresh lime wedges for an authentic family meal.
- Prep
- 25 min
- Cook
- 45 min
- Wait
- 30 min
- Total
- 1 hr 40 min
- Makes
- 1 biryani (6 servings)
Steps
Before you start
- Soak basmati rice in cold water for 20–30 minutes while you prepare the spices and vegetables
- Have all spices measured and ready (whole and ground) before you begin cooking
- Peel and cut carrots into ¼-inch-thick rounds or matchsticks so they cook evenly
- Drain canned chickpeas and pat them dry to prevent excess moisture
Toast and prepare spices
- In a small dry skillet over medium heat, combine the cumin seeds, cinnamon stick, bay leaves, green cardamom pods, and whole cloves.
- Toast, stirring occasionally, for 1–2 minutes until fragrant and the cumin seeds turn golden brown.
- The spices should smell warm and aromatic but not burned.
- Remove from heat and set aside.
+ Show details− Hide details
Ready when: Spices are fragrant and lightly toasted, cumin seeds golden
Tip: Toasting whole spices releases their essential oils and deepens their flavor—don't skip this step.
Caramelize onions
- Heat 0.25 cup (60 ml) of ghee in a large, heavy-bottomed pot over medium-high heat.
- Once shimmering, add the sliced onions and cook, stirring frequently, for 12–15 minutes until deep golden brown and crispy at the edges.
- Work in batches if needed to avoid crowding.
- Reserve half the caramelized onions for garnish; leave the remainder in the pot.
+ Show details− Hide details
Ready when: Onions are deep golden brown and crispy, some edges darkened
Tip: Keep the heat consistent and stir regularly; rushing this step with high heat will scorch the onions instead of caramelizing them.
Cook chickpeas and carrots
- To the pot with the remaining caramelized onions, add the remaining 0.25 cup (60 ml) ghee over medium heat.
- Stir in the ginger-garlic paste and cook for 2 minutes until fragrant.
- Add the drained chickpeas and carrot rounds, stirring to coat.
- Pour in the ground turmeric, ground coriander, ground cumin, and Kashmiri red chili powder.
- Stir well and cook for 3 minutes, allowing the spices to bloom.
- Season with salt and black pepper to taste.
+ Show details− Hide details
Ready when: Spices are fragrant and clinging to the chickpeas and carrots
Tip: Blooming the ground spices in fat (ghee) makes them more flavorful than adding them raw to the liquid.
Build the rice layer
- Drain the soaked basmati rice thoroughly.
- Add the rice to the pot with the spiced chickpea-carrot mixture, stirring gently to distribute the rice evenly and prevent clumping.
- Pour in 3.5 cups (840 ml) water and bring to a boil over medium-high heat.
- Once the water reaches a full boil, reduce the heat to medium and let it simmer, uncovered, for 4–5 minutes until the water level drops to just above the rice.
+ Show details− Hide details
Ready when: Water has reduced to just above the rice surface, steam begins to rise
Tip: Don't stir once the rice begins cooking; this helps the grains stay separate and fluffy.
Finish with yogurt and fresh herbs
- Gently stir the yogurt into the pot until evenly distributed (this prevents curdling).
- Add the toasted whole spices directly to the rice.
- If using fresh ginger and green chiles, scatter them on top.
- Reserve some for garnish if desired.
+ Show details− Hide details
Ready when: Yogurt is evenly mixed, no streaks remain
Tip: Stir gently to avoid breaking the rice grains; yogurt should be room temperature to prevent curdling.
Dum pukht (steam-cook)
- Reduce the heat to low and place the lid on the pot, sealing it tightly.
- If your lid is loose, place a damp kitchen towel under it to create a better seal.
- Cook undisturbed for 25–30 minutes.
- The rice is done when all the water is absorbed and the grains are tender and fluffy.
- You may hear a gentle hissing or crackling sound, which indicates proper steam cooking—if you hear only absolute silence, the heat may be too low.
+ Show details− Hide details
Ready when: Rice is tender, fluffy, and no liquid remains in the pot; faint steam smell
Tip: Resist lifting the lid—each time you do, steam escapes and cooking time extends. Trust the timing and let the pot work undisturbed.
Rest and fluff
- Turn off the heat and let the biryani rest, covered, for 5 minutes.
- This allows residual heat to distribute evenly and any remaining moisture to be absorbed.
- Remove the lid carefully (steam is hot), then use a fork or rice paddle to gently fluff the biryani, breaking up any clumps and stirring in the toasted whole spices evenly throughout.
+ Show details− Hide details
Ready when: Rice is fluffy and loose, individual grains visible
Tip: Use a fork rather than a spoon to fluff—it's gentler and helps keep grains separate.
Garnish and serve
- Transfer the biryani to a serving platter or dish.
- Top with the reserved caramelized onions, fresh cilantro, and fresh mint if using.
- Add a few slices of fresh ginger and green chiles for color and aromatic garnish.
- Serve immediately while hot, with lime wedges and raita on the side.
+ Show details− Hide details
Ready when: Biryani is ready to plate and serve
Tip: Garnish just before serving so fresh herbs retain their vibrant color and texture.
Good to know
Tips
- Read the full recipe and gather all ingredients before starting—biryani is a layered dish where timing and preparation matter. Having everything ready prevents scrambling mid-cook.
- Seal your pot well for dum pukht cooking: a loose lid allows steam to escape, extending cooking time. A damp kitchen towel placed under the lid creates a better seal if needed.
- Don't lift the lid to check the rice during the final steam-cooking stage—each opening releases steam and disrupts the cooking. Set a timer and trust the process.
- Serve biryani immediately after fluffing for best texture and warmth. If made ahead and refrigerated, the rice will harden; gentle reheating with a little water restores its fluffiness.
Make ahead
You can prepare all ingredients (soaked rice, chopped vegetables, measured spices) up to 8 hours ahead. Store in separate containers in the refrigerator. The cooked biryani can be refrigerated for up to 3 days; reheat gently by spooning into a covered pot over low heat with 2–3 tablespoons water, stirring occasionally, until warmed through (about 8–10 minutes).
Storage & reheating
Room temperature: Cover loosely; eat within 2 hours (bacteria risk). Refrigerator: Store in an airtight container for up to 3 days. Reheat by spooning into a covered pot over low heat with a splash of water. Freezer: Not recommended, as rice texture suffers when frozen and thawed.
Substitutions
- canned chickpeas, drained and rinsed → 1.5 cups (300 g) cooked dried chickpeas, or black-eyed peas, or white beans. Dried chickpeas must be soaked overnight and cooked until tender before using. Beans yield a slightly different texture but equal flavor.
- basmati rice → Jasmine rice or long-grain white rice. Basmati is traditional for biryani because of its delicate fragrance and long grains. Other rice types will work but lack the same aroma.
- ghee (or vegetable oil) → Vegetable oil, coconut oil, or unsalted butter. Ghee provides a richer, more authentic flavor, but these alternatives work. Use the same amount.
- Kashmiri red chili powder → 1/4 teaspoon cayenne pepper or paprika for milder heat. Kashmiri red chili adds color and mild heat; cayenne is hotter, paprika adds color with minimal spice.