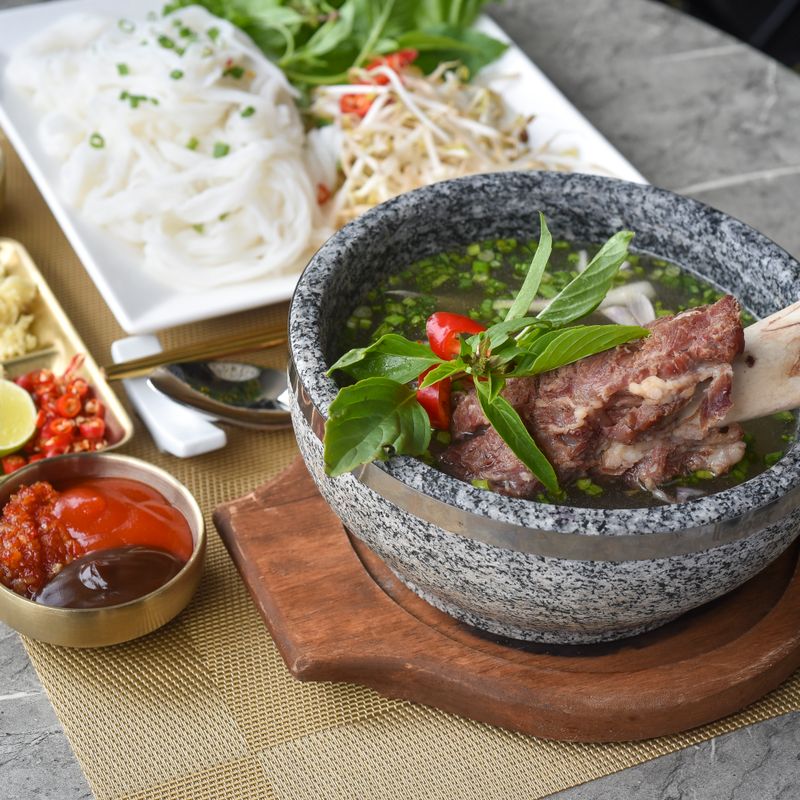
Beef Marrow Broth
A rich, deeply nourishing bone broth made from beef marrow bones simmered low and slow for 18–24 hours. This recipe extracts the marrow and collagen from the bones through extended, gentle simmering, creating a silky, gelatin-rich liquid perfect for sipping warm, building soups, fortifying stews, or enriching sauces. The initial skimming removes impurities for a clean, clear broth with complex savory depth.
- Prep
- 15 min
- Cook
- 35 min
- Wait
- 1.1 days
- Total
- 1.1 days
- Makes
- 10–11 cups (2.4–2.6 liters) finished broth
Steps
Before you start
- Plan your timing: bone broth simmers for 18–24 hours, so start in the evening to have finished broth the next evening.
- Use a large pot: a 12-quart (11-liter) pot is essential to hold the bones and liquid with space for a gentle simmer.
- Gather your tools: have a colander and optional cheesecloth ready for straining the finished broth.
Prepare ingredients and assemble in pot
- Rinse the beef marrow bones under cold water, scrubbing with your hands to remove any surface debris.
- Cut the unpeeled yellow onion in half (keep the skin on; it adds color to the broth).
- Lightly smash the garlic cloves with the side of a knife without peeling them.
- Coarsely chop the fresh parsley into roughly 1-inch pieces.
- Place the cleaned bones in a large 12-quart pot and cover with 12 cups of cold water.
- Add the onion halves, smashed garlic cloves, and bay leaves (if using).
- Pour in the apple cider vinegar (if using—it helps extract minerals from the bones).
+ Show details− Hide details
Tip: Starting with cold water and slowly bringing to a boil helps extract maximum flavor and produces a clearer, more refined broth.
Bring to boil and skim impurities
- Place the pot over medium-high heat and bring to a rolling boil, about 10–15 minutes.
- Once boiling, immediately reduce the heat to low so that only a few bubbles break the surface each second—a bare simmer.
- For the next 20–30 minutes, use a large spoon or skimmer to carefully and continuously remove any gray or brown foam and impurities that rise to the surface (this is denatured protein and particles you want to discard).
- After skimming is complete and the broth looks relatively clear, add the black peppercorns and dried thyme (if using).
+ Show details− Hide details
Ready when: Broth reaches a bare simmer; most gray and brown foam has been removed from the surface, revealing a cleaner liquid underneath
Tip: Don't rush or skip the skimming step—those 20–30 minutes directly determine the broth's final clarity and clean taste. A gentle simmer is essential; a hard boil breaks down proteins excessively and clouds the broth.
Simmer for 18–24 hours
- Keep the heat at low to maintain that bare simmer.
- Partially cover the pot with a lid to reduce evaporation while allowing some steam to escape.
- Simmer for at least 18 hours, preferably 24 hours; the longer the simmer, the more marrow and collagen extract into the broth.
- Every 4–6 hours if possible (especially during waking hours), glance at the pot to ensure it's still at a bare simmer; if it bubbles too vigorously, reduce the heat slightly.
- The broth will gradually deepen in color and reduce in volume.
- Do not add salt yet; you'll season the finished broth to taste when you're ready to use it.
+ Show details− Hide details
Ready when: Broth is rich golden to deep amber in color, has reduced to approximately 10–11 cups (from the original 12), bones feel soft when pressed, and the marrow has fully leached out
Tip: Keep the heat low and consistent; a hard boil boils away delicate marrow flavors and turns the broth cloudy. Some home cooks extend this to 36–48 hours for deeper extraction, but 24 hours yields excellent, deeply flavorful results.
Strain, cool, and season
- Carefully pour the hot broth through a colander set over a large bowl or secondary pot to catch the bones and solids; discard all solids.
- For a crystal-clear, refined broth, line the colander with cheesecloth and strain the broth again (optional but recommended for clarity).
- You should have approximately 10–11 cups of finished broth.
- Let the broth cool to room temperature, about 1–2 hours, or refrigerate overnight.
- If you prefer a lighter broth with less fat, refrigerate overnight; the rendered fat will rise to the top and solidify, making it easy to spoon off before use (or leave it on for extra richness and flavor).
- Once cooled (and degreased if desired), taste and season generously with sea salt and freshly ground black pepper to your preference.
+ Show details− Hide details
Ready when: Broth is smooth, clear to deep amber in color, all solids are fully strained out, and temperature has reached room temperature or is fully chilled
Tip: If the cooled broth has a wobbly, gel-like consistency, that's a sign of excellent collagen and gelatin content—exactly what you want from a quality bone broth.
Good to know
Tips
- Start with cold water and bring slowly to a boil. This gradual heating extracts maximum flavor and produces a clearer final broth compared to starting with hot water.
- Don't skip the initial 20–30 minute skimming step. Removing those impurities directly affects the broth's final clarity, taste, and overall quality.
- A bare simmer (just a few bubbles per second) is non-negotiable. A hard boil breaks down proteins excessively, clouds the broth, and boils away delicate, irreplaceable marrow flavors.
- Freeze cooled broth in ice cube trays; once frozen solid, pop the cubes into a freezer bag for easy, portion-controlled storage and quick addition to soups, sauces, and gravies.
Make ahead
Yes. Prepare the broth up to 5 days ahead and refrigerate in airtight containers. Freeze finished, cooled broth for up to 3 months in freezer-safe containers or ice cube trays for easy portioning. Thaw overnight in the refrigerator and reheat gently on the stovetop or in the microwave.
Storage & reheating
Room temperature: up to 2 hours maximum. Refrigerator: up to 5 days in an airtight container; the broth will gel when cold due to gelatin, which is a sign of quality. Freezer: up to 3 months in freezer-safe containers or ice cube trays. Reheat gently on the stovetop over medium-low heat or in the microwave in short bursts, stirring occasionally, until warm throughout.
Substitutions
- Beef marrow bones (with visible marrow) → Beef knuckle bones or beef neck bones. Knuckle bones contain more collagen but less marrow. Extend the simmer time to 36–48 hours for maximum extraction. Use the same 5 lb (2.3 kg) quantity.
- Beef marrow bones (with visible marrow) → Veal bones. Veal bones produce a lighter, more delicate broth with less gelatin. Reduce the simmer time to 18–20 hours. Use 5 lb (2.3 kg) veal bones.
- Beef marrow bones (with visible marrow) → Roasted beef marrow bones. Roast cleaned bones in a 400°F (200°C) oven for 30–40 minutes before adding to the broth. This adds a richer, deeper caramelized note.
- Apple cider vinegar → Omit entirely or substitute with lemon juice. Apple cider vinegar is optional and aids mineral extraction, but the broth will still develop rich flavor without it. Lemon juice works similarly but adds a subtle citrus note.
More broths
See all →

Find more like this
- Meal
- Drink
- Main ingredient
- Beef
- Method
- Slow Cooker