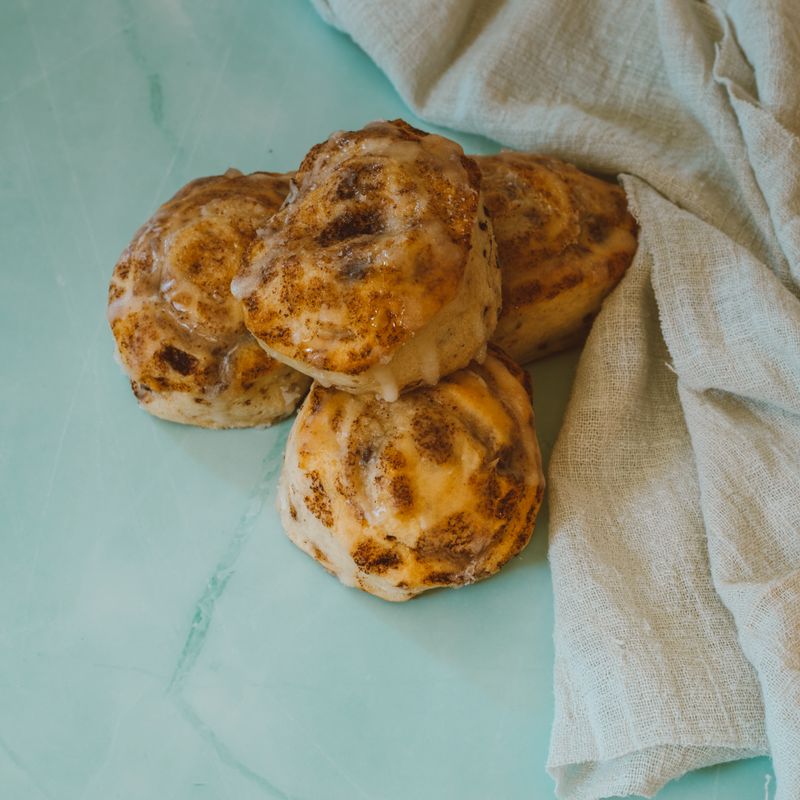
Tunisian Mlawi Rolls
Soft, flaky pan-fried Tunisian flatbreads made from a semolina-enriched dough that is stretched paper-thin, oiled, coiled into snails, and fried until golden and layered. Crush them hot to fluff the layers, then eat them plain, with honey, or stuffed with eggs, tuna, and harissa.
- Prep
- 52 min
- Cook
- 30 min
- Wait
- 1 hr 5 min
- Total
- 2 hr 27 min
- Makes
- 8 rolls (about 6½ inches / 16 cm each)
Steps
Before you start
- Read the timing: the dough rests three times (20, 30, and 15 minutes), so plan on about 2½ hours start to finish.
- Weigh the flour and semolina with a kitchen scale if you can. The dough should be soft and slightly tacky, and cup measures can vary.
- Use fine semolina (sold as semolina flour or fine semolina), not coarse couscous-style semolina, which won't stretch thin.
- Clear a large smooth work surface (about 24 × 24 inches / 60 × 60 cm). You will oil it generously, so wear an apron.
Mix the dry ingredients
- In a large bowl, whisk together 300 g (2½ cups) all-purpose flour, 100 g (⅔ cup) fine semolina, and 9 g (1½ tsp) fine sea salt until evenly combined.
+ Show details− Hide details
Ready when: The mixture is uniformly pale with no salt clumps.
Knead the dough
- Pour in 270 ml (1⅛ cups) warm water and 15 ml (1 tbsp) olive oil.
- Stir with your hand or a wooden spoon until no dry flour remains, then turn out onto the counter and knead for 8 minutes.
- The dough will be sticky at first; resist adding extra flour and it will come together as you knead.
+ Show details− Hide details
Ready when: The dough is smooth, soft, and slightly tacky, and springs back slowly when poked.
Tip: A soft dough is what lets you stretch it thin later. Only dust with a few pinches of flour if it sticks to your hands badly.
Rest the dough
- Shape the dough into a ball, return it to the bowl, and cover tightly with plastic wrap.
- Let it rest at room temperature for 20 minutes.
+ Show details− Hide details
Ready when: The dough feels noticeably softer and less springy.
Divide and oil the balls
- Divide the dough into 8 pieces of about 85 g each.
- Roll each piece into a smooth ball.
- Pour about 4 tbsp (60 ml) of the shaping oil onto a large rimmed plate or tray, roll each ball in it to coat completely, and arrange them in a single layer.
- Cover with plastic wrap and rest for 30 minutes.
+ Show details− Hide details
Ready when: Balls are glossy, slack, and slightly flattened.
Tip: Keep the balls covered at all times; any dry skin will tear when you stretch.
Stretch each ball thin
- Brush a large area of the counter with a little of the remaining shaping oil and oil your hands.
- Take one ball and press it into a flat disc, then use your fingertips and palms to push and pull it outward into a very thin rectangle about 10 × 14 inches (25 × 35 cm), thin enough to nearly see your hand through.
- Work from the center outward, lifting and stretching the edges gently.
- Patch any small holes by pinching them closed.
+ Show details− Hide details
Ready when: The dough is semi-translucent and evenly thin, with slightly thicker edges that can be trimmed or folded in.
Tip: Don't worry about perfect rectangles or small tears. The folding hides them, and thin layers are what create the flaky texture.
Fold and coil
- Lightly brush the stretched sheet with a little more oil.
- Fold the long edges in toward the center so they overlap in thirds, forming a long strip about 3 inches (8 cm) wide.
- Starting at one short end, roll the strip up into a tight snail-shaped coil and tuck the loose end underneath.
- Place the coil on an oiled plate.
- Repeat with the remaining balls, stretching and coiling one at a time.
+ Show details− Hide details
Ready when: Each coil is a compact, oily spiral about 3 inches (8 cm) across with the end tucked under.
Tip: Roll snugly but don't stretch the strip as you coil, or the layers will thin out and tear.
Rest the coils
- Cover the coils with plastic wrap and rest for 15 minutes at room temperature.
+ Show details− Hide details
Ready when: Coils feel soft and slack when pressed.
Flatten into rounds
- Lightly dust the counter with semolina if desired, or just a little oil.
- Press one coil flat with your palm, then gently roll it with a rolling pin into a round about 6½ inches (16 cm) wide and ¼ inch (6 mm) thick.
- Roll from the center outward with light pressure, flipping once.
- Stack the rounds with a sheet of parchment between them if you like, or keep them covered while you work.
+ Show details− Hide details
Ready when: Rounds are even in thickness and the spiral layers are visible through the surface.
Tip: Press gently. Rolling too hard squeezes the layers together and you'll lose the flakiness.
Fry until golden
- Heat a 10-inch (25 cm) skillet over medium heat for 2 minutes.
- Lightly brush with some of the frying oil.
- Cook one round at a time for about 2 minutes per side.
- Flip when the underside has golden-brown spots and the top looks slightly dry and puffed at the edges.
- Cook the second side until it is also golden with brown spots.
- Brush the pan lightly with oil between rolls.
+ Show details− Hide details
Ready when: Both sides are golden brown with darker freckled spots, and the layers feel crisp at the edges but soft inside.
Tip: If the roll browns in under 90 seconds or the pan smokes, lower the heat slightly. The dough is already oily, so you need very little extra oil.
Crush and serve
- As soon as each roll comes out of the pan, place it on a clean board and use both hands to push the edges inward toward the center a few times, crumpling gently like an accordion.
- This breaks open the layers and makes the roll fluffy and shreddy.
- Stack the finished rolls wrapped in a clean towel to keep them warm and soft, and serve right away.
+ Show details− Hide details
Ready when: The layers separate into flaky, ruffled folds and the roll is steaming.
Tip: Crush while hot. Once they cool, the layers set and won't open up.
Good to know
Tips
- Be generous with oil when stretching. It prevents sticking and separates the layers, which is how the rolls get their flaky texture.
- If the dough shrinks back while stretching, cover it and let it rest 5 minutes, then try again.
- Keep a stack of finished rolls wrapped in a towel; the steam keeps them soft and pliable.
- For a savory meal, fill with a fried egg, canned tuna, olives, and harissa. For a sweet snack, drizzle with honey or serve with jam.
Make ahead
Shape and coil the dough through step 6, then refrigerate the covered coils on an oiled plate for up to 24 hours. Bring them to room temperature for 30 minutes before flattening and frying. Alternatively, freeze the uncooked coils on a plate, then bag them for up to 2 months and thaw in the refrigerator overnight.
Storage & reheating
Room temperature: wrap cooled rolls in a towel or airtight bag for up to 1 day. Refrigerator: up to 4 days in an airtight container. Freezer: up to 3 months, with parchment between rolls. Reheat in a dry skillet over medium heat for about 1 minute per side (from frozen, 2 minutes per side) until hot and flexible, then crush again briefly.
Substitutions
- fine semolina → Additional all-purpose flour (100 g / ⅔ cup). You'll lose some of the nutty flavor and slight crispness, but the rolls will still be flaky and tender.
- all-purpose flour → Bread flour. Gives a chewier, slightly more elastic dough that stretches easily. Add 1 to 2 tbsp more water if it feels stiff.
- olive oil → Melted ghee or neutral oil such as sunflower. Ghee adds richness. Neutral oil gives a milder flavor if you don't want the olive oil taste.
- warm water → Warm whole milk. Makes a slightly softer, richer roll that browns a little faster, so watch the heat.