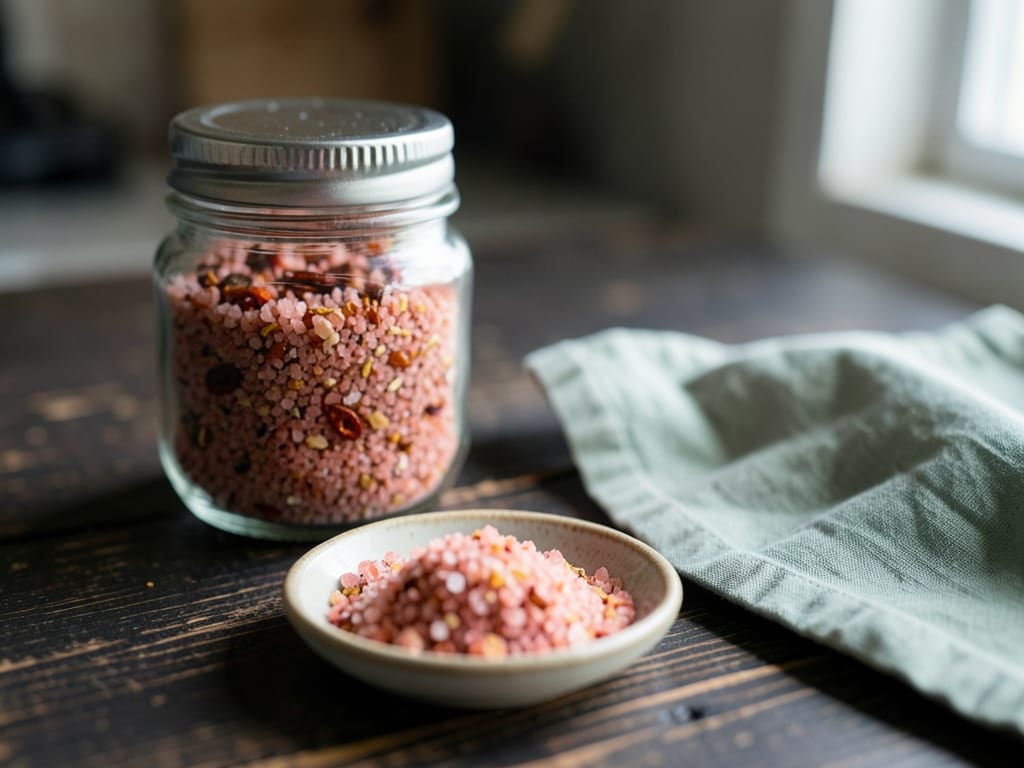
Thai Prik Kluea Chili Salt Seasoning
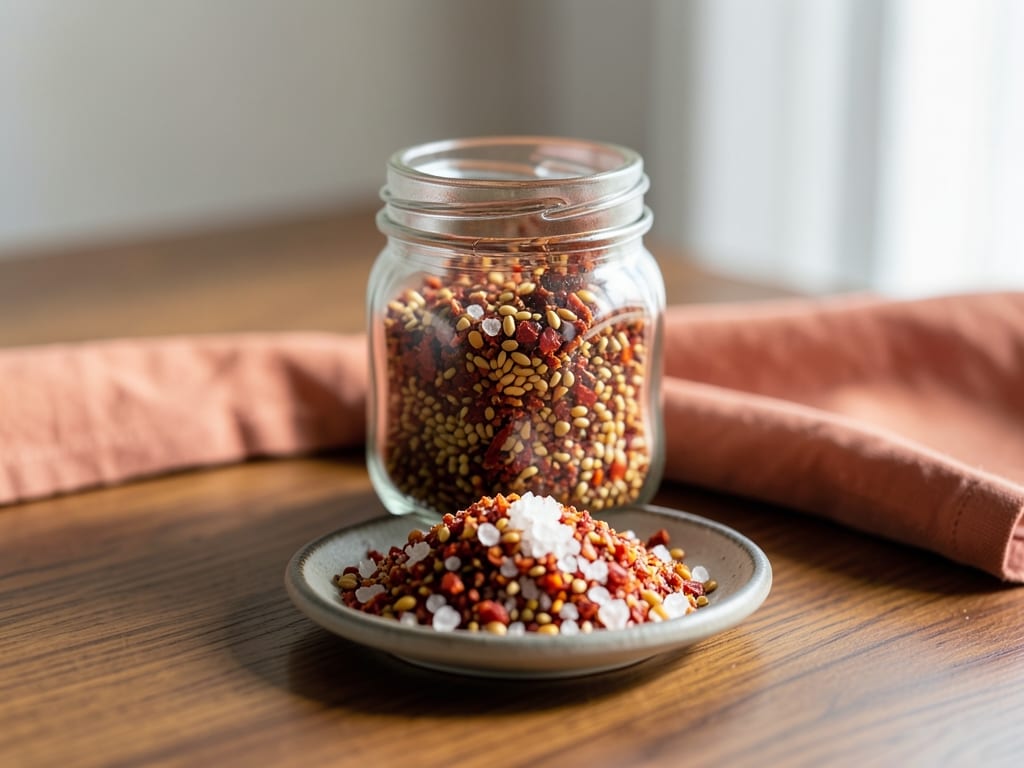
A bright, fiery Thai chili salt made from toasted dried bird's eye chilies, fine salt, a little sugar, garlic and dried lime zest. Sprinkle it on fresh fruit, grilled meat, fried eggs, or rim a glass with it.
- Prep
- 17 min
- Cook
- 15 min
- Wait
- 41 min
- Total
- 1 hr 13 min
- Makes
- About ½ cup (100 g), enough for 20 one-teaspoon servings
Steps
Before you start
- Open a window or turn on the range hood. Toasting and grinding chilies releases fumes that irritate the eyes and throat.
- Wear gloves (or wash your hands well with soap afterward) when handling the chilies, and don't touch your face.
- Use fine-grained salt. Coarse or flaky salt won't blend evenly with the chili powder.
- Preheat the oven to 200°F (95°C) before you start zesting the limes.
Zest the limes
- Wash and dry 2 limes.
- Using a microplane, grate only the green outer skin into a fine, fluffy pile, rotating the lime so you avoid the bitter white pith.
- You need 2 teaspoons (4 g).
- Spread the zest in a thin, even layer on a parchment-lined baking sheet.
+ Show details− Hide details
Ready when: You have 2 teaspoons of loose, fluffy zest with no white showing.
Tip: Zest before juicing; a whole lime is far easier to grate.
Dry the zestOven 200°F / 95°C
- Slide the baking sheet into the oven at 200°F (95°C).
- Dry for 10–12 minutes, stirring once halfway through with a fork, until the zest is dry and brittle.
- Remove and let it sit on the sheet while you prep the chilies.
+ Show details− Hide details
Ready when: Zest feels dry, curls slightly, and crumbles easily between your fingers; it should still look green-yellow, not brown.
Tip: Moist zest will make the finished salt clump and shorten its shelf life, so don't pull it early.
Stem the chilies
- Pinch off and discard the stem of each dried chili (about 25 chilies, 15 g).
- Keep the seeds in for authentic heat.
- For a milder salt, shake out about half of the seeds.
+ Show details− Hide details
Ready when: All chilies are stemless and 15 g in total.
Tip: Wear gloves; the oils from dried chilies linger on skin for hours.
Toast the chilies
- Heat a dry skillet over medium-low heat for 1 minute.
- Add the chilies in a single layer and toast for 2–3 minutes, shaking the pan constantly.
- Tip them immediately onto a plate.
+ Show details− Hide details
Ready when: Chilies smell fragrant and smoky, darken slightly to a deeper red, and puff a little; none are black.
Tip: Burnt chilies turn acrid and the whole batch will taste bitter. If any blacken, discard them.
Cool until crisp
- Leave the toasted chilies on the plate for 10 minutes.
- Cooling lets residual moisture escape so they grind to a dry powder instead of a paste.
+ Show details− Hide details
Ready when: Chilies are completely cool to the touch and snap when bent.
Grind the chilies
- Put the cooled chilies in a spice grinder and pulse in 1-second bursts, about 8–10 times, until they form a coarse flake with some powder.
- Let the dust settle for 1 minute before opening the lid, then tip into a small bowl.
+ Show details− Hide details
Ready when: The chilies look like coarse red flakes mixed with fine powder, with no large pieces.
Tip: Open the lid away from your face. If using a mortar, pound the chilies in small batches.
Combine the seasoning
- Add the fine sea salt, sugar and garlic powder to the chilies.
- Crumble the dried lime zest over the top, rubbing it between your fingertips to break up any pieces.
- Stir with a fork for about 1 minute, scraping the bottom of the bowl, until the color is uniform.
+ Show details− Hide details
Ready when: The mixture is an even pinkish-red with no white streaks of salt or sugar.
Rest and jar
- Spoon the seasoning into a clean, dry jar, seal, and let it rest at room temperature for 30 minutes so the flavors meld.
- Taste a pinch; add up to ½ teaspoon more sugar if too harsh, or a pinch more salt if the heat feels flat, then shake the jar well.
+ Show details− Hide details
Ready when: The salt tastes salty first, then sweet-sour, then hot, with a lingering lime and garlic aroma.
Tip: Shake the jar again after the first day to prevent settling.
Good to know
Tips
- Start with ¼ teaspoon when seasoning food; this blend is very hot and salty.
- Traditionally this salt is served as a dip for sour fruit like green mango, pineapple, guava and watermelon.
- Weigh the salt and sugar if you can; volume measures of fine salt vary between brands.
- For a smoother texture, sift the finished blend through a fine mesh strainer and re-grind the larger pieces.
Make ahead
Make the seasoning up to 1 month ahead; the flavor is best after a day or two.
Storage & reheating
Store in an airtight jar in a cool, dark cupboard for up to 2 months (the lime aroma fades after that). Refrigeration is not necessary and can cause condensation and clumping. For longer storage, freeze in a sealed container for up to 6 months and bring to room temperature before opening. No reheating needed; if it clumps, break it up with a fork or shake in the jar.
Substitutions
- dried Thai bird's eye chilies → dried arbol chilies or crushed red pepper flakes (about 2 tbsp). Arbol is slightly milder; flakes can skip the grinding and toasting but will taste less smoky.
- fine sea salt → fine kosher salt, about 54 g by weight. Fine kosher salt is less dense than sea salt, so measure by weight rather than volume.
- granulated sugar → light brown sugar or palm sugar, finely grated. Adds a caramel note; mix very well to avoid clumps.
- lime zest → kaffir lime leaf, dried and crushed, 4–5 leaves. Gives a more floral, authentically Thai aroma.
More spice blends
See all →
Find more like this
- Meal
- Dinner
- Cuisine
- Thai
- Quick & Easy
- 5 Ingredients or LessEasyMake Ahead