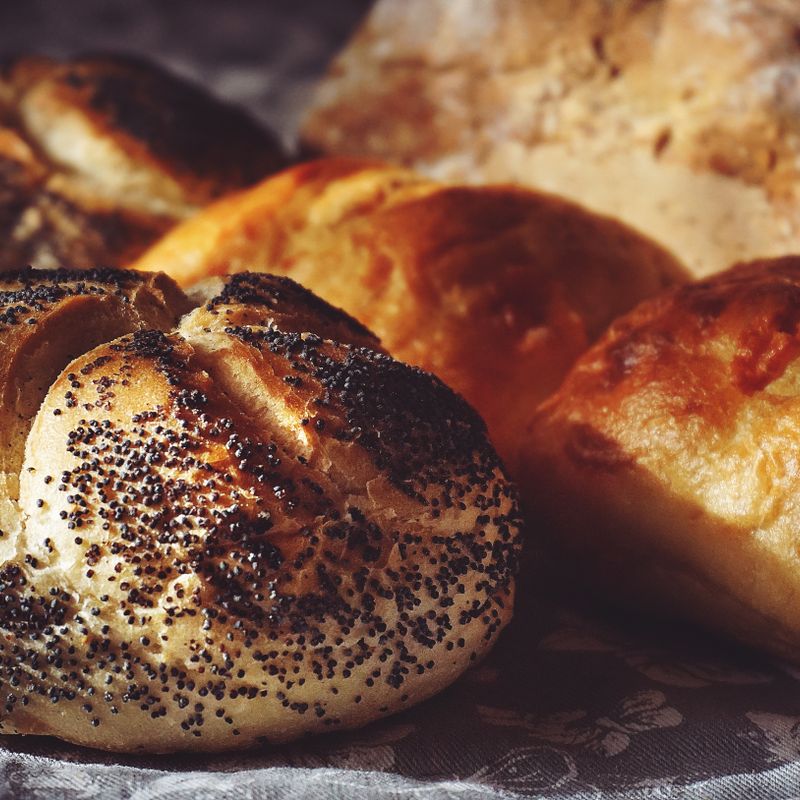
Msemen Folded Buns
Square Moroccan flatbread buns with dozens of buttery, flaky layers and a crisp golden crust. A semolina-flour dough is stretched paper-thin, brushed with butter, folded into squares, and griddled in a skillet until puffed and crackly.
- Prep
- 58 min
- Cook
- 32 min
- Wait
- 40 min
- Total
- 2 hr 10 min
- Makes
- 8 square buns (about 4 inches / 10 cm each)
Steps
Before you start
- Melt the butter and stir it into the oil before you begin, then keep it at room temperature so it stays liquid but not hot.
- Clear a large smooth work surface (about 24 inches / 60 cm wide). A countertop works better than a wooden board because it lets you stretch the dough without sticking.
- Use fine semolina, not coarse. Coarse semolina gives a gritty texture and can tear the thin dough.
- Plan for about 2 hours 10 minutes total, with two resting periods that make the dough easy to stretch. Don't skip them. No oven is needed; everything is cooked in a skillet on the stovetop.
Mix the dough
- In a large bowl, whisk the flour, 1 cup (150 g) fine semolina, sugar, and salt.
- Pour in the warm water and stir with your hand or a wooden spoon until no dry flour remains and a shaggy, sticky dough forms, about 2 minutes.
+ Show details− Hide details
Ready when: No dry patches of flour remain and the dough looks shaggy.
Tip: Add water gradually if your flour feels very dry. The dough should be soft, not stiff.
Knead until elastic
- Turn the dough onto the work surface and knead firmly for 10 minutes.
- Push it away with the heel of your hand, fold it back, and rotate it a quarter turn.
- Dust the surface with a few pinches of flour only if it sticks badly.
+ Show details− Hide details
Ready when: The dough is smooth, soft, and elastic, and springs back slowly when you poke it.
Tip: Under-kneaded dough tears when stretched later, so knead the full 10 minutes.
Portion and rest
- Divide the dough into 8 pieces of about 70 g each.
- Roll each piece into a smooth ball by cupping your palm and rotating it on the counter.
- Brush a large tray and each ball generously with the butter-oil mixture.
- Cover with a towel and rest for 20 minutes.
+ Show details− Hide details
Ready when: The balls look slightly puffy, feel soft, and flatten easily when pressed.
Tip: Keep the balls covered at all times. A dry skin will crack when stretched.
Stretch the first ball
- Generously brush the work surface with the butter-oil mixture.
- Place one ball on it and press it out with oiled fingers into a thin round about 8 inches (20 cm) across.
- Then use your fingertips to gently pull and stretch it outward from the center into a translucent rectangle roughly 12 × 12 inches (30 × 30 cm).
+ Show details− Hide details
Ready when: You can see the counter or your fingers through the dough. Small holes are fine.
Tip: Keep your hands well oiled. If the dough snaps back, rest it for 2 minutes and try again.
Fill and fold into a square
- Brush the stretched dough with 1 tbsp of the butter-oil mixture and sprinkle with about 1 tsp (6 g) of the extra semolina.
- Fold the bottom third up over the middle, then the top third down, to make a long strip.
- Brush the strip lightly with the mixture, then fold the strip into thirds again, to make a square of about 4 inches (10 cm).
- Place it seam side down on the oiled tray.
+ Show details− Hide details
Ready when: You have a neat, layered square with even edges.
Tip: Don't overload with fat or semolina. Too much makes the layers slide apart in the pan.
Repeat with remaining balls
- Stretch, brush, sprinkle, and fold the remaining 7 balls the same way, placing the finished squares on the oiled tray in a single layer.
- Brush the tops of the squares with a little more of the butter-oil mixture and cover them with a towel.
+ Show details− Hide details
Ready when: All 8 squares are folded and the same size.
Tip: Work with one ball at a time and keep the others covered.
Rest the folded squares
- Leave the covered squares at room temperature for 15 minutes.
- This relaxes the layers so they flatten evenly in the pan.
- In the last 3 minutes, set the dry skillet over medium-low heat to warm evenly.
+ Show details− Hide details
Ready when: The squares feel soft and slightly puffy.
Flatten and cook first side
- Raise the heat to medium.
- Gently press and stretch 2 squares with your fingertips to about 6 inches (15 cm) wide, being careful not to tear the layers.
- Lay them in the dry skillet with a small gap between them.
- Cook for 3 to 4 minutes, until the underside is golden brown with darker spots and the top looks slightly dry and puffed.
+ Show details− Hide details
Ready when: The underside is golden brown with darker spots and the edges look set.
Tip: If the surface browns in under 2 minutes, lower the heat. Burnt outsides leave the center doughy.
Flip and finish
- Flip with a spatula and cook the second side for 3 to 4 minutes, flipping once more if needed, until both sides are deep golden and the layers have puffed slightly.
- Transfer to a plate and cook the remaining squares in batches of 2, wiping out any burnt bits and adjusting the heat between batches.
+ Show details− Hide details
Ready when: Both sides are deep golden and crisp, with visible flaky layers at the edges, and the center feels cooked, not wet.
Tip: Stack the cooked buns under a towel to keep them warm while you finish the rest.
Fluff and serve
- While the buns are still hot, hold one between your palms and gently clap or squeeze the edges toward the center to fluff and separate the layers.
- Rest for 5 minutes under a towel, then serve warm.
+ Show details− Hide details
Ready when: The layers separate into flaky ruffled sheets.
Tip: Do this while hot. Cooled msemen won't fluff as well.
Good to know
Tips
- Oil everything: your hands, the counter, and the dough. Dry spots cause sticking and tearing.
- Small holes in the stretched dough are fine, since the folds cover them. Large tears can be patched by folding the dough over itself.
- Cook in a dry skillet. The fat already in the folds crisps the surface, and extra fat in the pan causes uneven browning.
- Serve with honey, jam, soft cheese, or alongside tea, or split and fill with eggs or spiced meat.
Make ahead
Shape and fold the squares, then place them in a single layer on a lightly oiled tray, cover tightly, and refrigerate up to 24 hours, or freeze on the tray until solid, then bag for up to 2 months. Bring refrigerated squares to room temperature for 30 minutes before cooking. Thaw frozen squares for 1 hour at room temperature, then cook, adding 1 minute per side.
Storage & reheating
Room temperature: up to 8 hours, covered, on the day made. Fridge: up to 3 days in an airtight container. Freezer: up to 2 months, with parchment between buns. Reheat in a dry skillet over medium-low heat for 1 to 2 minutes per side until warm and crisp, or from frozen for 3 minutes per side.
Substitutions
- unsalted butter → Ghee or more neutral oil. Ghee gives a similar richness and tolerates heat well. All oil gives a lighter flavor and a slightly crisper crust.
- all-purpose flour → Bread flour. Makes a chewier, more elastic dough that stretches thinner. Add 1 to 2 tbsp more water if the dough feels stiff.
- fine semolina → All-purpose flour. Works in the dough with a softer, less nutty result. Keep the semolina for sprinkling, since it helps separate layers.
- neutral oil (such as sunflower or canola) → Mild olive oil. Adds a slight fruity note. Avoid strong extra-virgin oils, which can taste bitter when cooked.