Herb Garlic Breadsticks
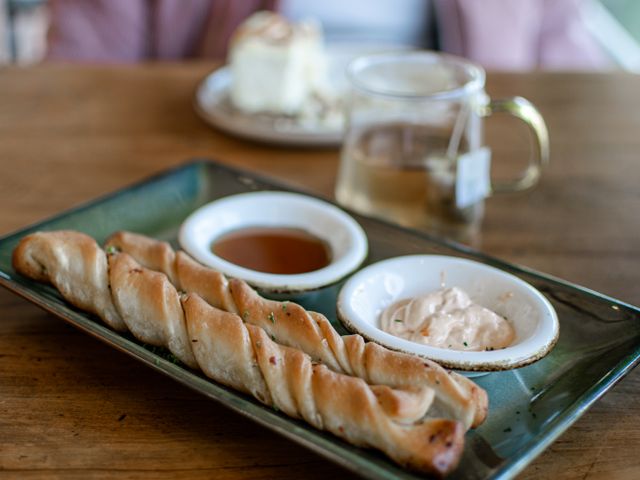
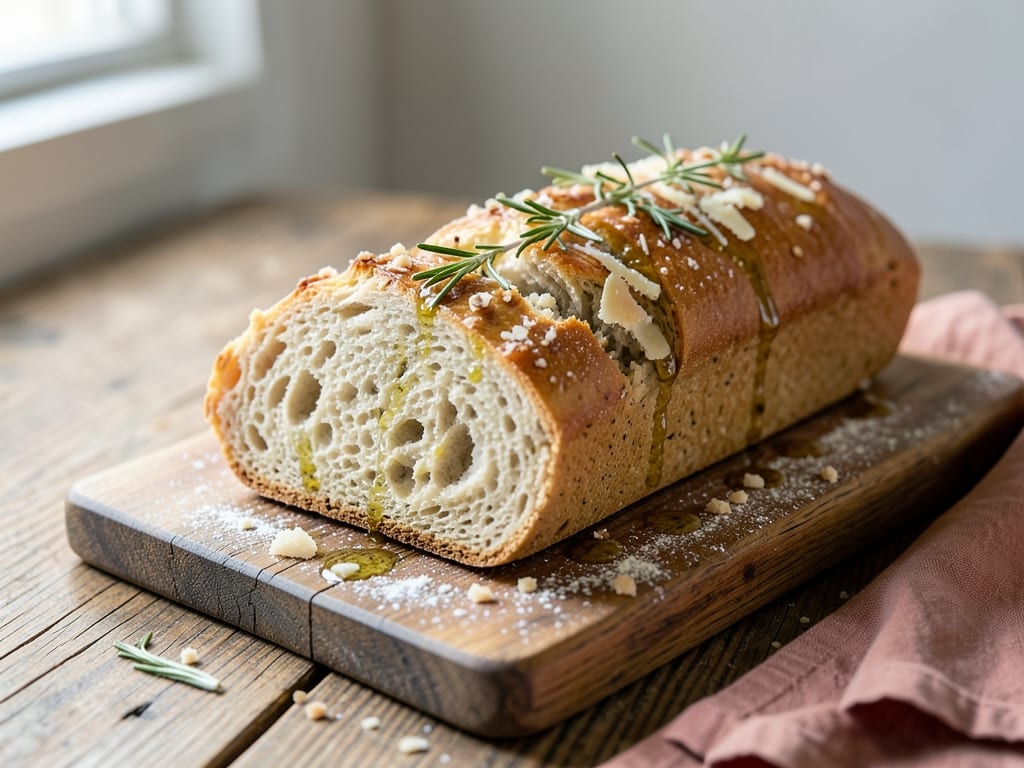
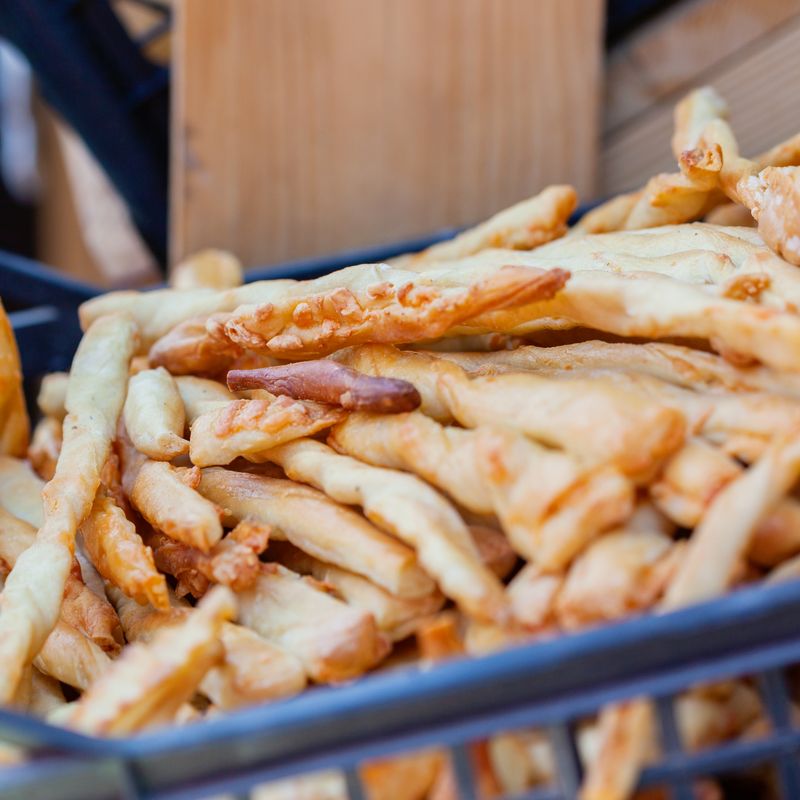
Crispy-edged, tender herb and garlic breadsticks made from a simple dough rolled thin, brushed with garlic-infused olive oil, and topped with fresh Italian herbs and Parmesan. These come together in under an hour and are perfect warm from the oven alongside pasta, soup, or salad.
- Prep
- 20 min
- Cook
- 15 min
- Wait
- 25 min
- Total
- 1 hr
- Makes
- About 16 breadsticks
Steps
Before you start
- Preheat your oven to 400 °F (200 °C) about 10 minutes before baking
- Have all herbs and garlic ready—mincing takes time
- Line two baking sheets with parchment paper or silicone mats
Mix dry ingredients
- In a large mixing bowl, whisk together the all-purpose flour, instant yeast, fine sea salt, and granulated sugar.
- Make sure the yeast is evenly distributed throughout the flour.
+ Show details− Hide details
Ready when: Mixture is uniform with no yeast lumps visible
Tip: Whisking the yeast throughout prevents it from clumping when you add water
Combine wet and dry
- Add the warm water and 1 tablespoon of the extra-virgin olive oil to the flour mixture.
- Stir with a wooden spoon or your hand until a shaggy dough forms with no dry flour pockets.
- The dough will be slightly sticky at this stage.
+ Show details− Hide details
Ready when: All flour is incorporated and a rough dough ball has formed
Tip: Don't overmix; you'll develop enough gluten structure during resting
Rest the dough
- Cover the bowl loosely with plastic wrap or a clean kitchen towel.
- Let the dough rest at room temperature for 15 minutes.
- This autolyse period allows the flour to fully hydrate and makes the dough easier to handle.
+ Show details− Hide details
Tip: Skipping this rest will make the dough sticky and harder to roll
Knead briefly
- Turn the dough out onto a lightly floured surface.
- Knead for 3–4 minutes until the dough becomes smooth and elastic.
- It should still be slightly soft but hold together without sticking to your hands.
+ Show details− Hide details
Ready when: Dough is smooth, elastic, and springs back when poked
Tip: If the dough is too sticky, dust with a tiny bit more flour, but avoid making it tough
Prepare garlic oil
- While the dough is kneading, warm the remaining 1 tablespoon of olive oil in a small saucepan over low heat.
- Add the minced garlic and cook gently for 2–3 minutes, stirring often, until the garlic is fragrant but not browned.
- Remove from heat and let cool slightly.
- The oil should be warm but not hot when you brush the breadsticks.
+ Show details− Hide details
Ready when: Garlic is fragrant and pale golden, not browned
Tip: Burning the garlic makes it bitter; keep the heat very low and stay present
Roll out dough
- Place the kneaded dough on a parchment-lined baking sheet (this makes it easier to handle and bake).
- Using a rolling pin, gently roll the dough into a thin rectangle about 10×14 inches (25×36 cm), roughly ¼ inch (6 mm) thick.
- The dough should be even and pliable.
+ Show details− Hide details
Ready when: Dough is evenly thin and covers the sheet with a slight overhang
Tip: Roll on the parchment to prevent sticking; if dough resists, let it rest 2 minutes and try again
Brush with garlic oil
- Using a pastry brush, lightly brush the entire surface of the dough with the warm garlic-infused oil, making sure to include the oil and minced garlic.
- Be generous but not so much that the dough becomes soggy.
+ Show details− Hide details
Ready when: Dough is evenly coated with garlic oil across the entire surface
Tip: If some garlic pieces don't stick to the dough, sprinkle them on top after brushing
Season and top
- In a small bowl, combine the dried oregano, dried basil, red pepper flakes (if using), and about ¾ cup (40 g) of the finely grated Parmesan.
- Sprinkle this herb-cheese mixture evenly over the oiled dough.
- If using fresh parsley, stir it in just before sprinkling.
+ Show details− Hide details
Ready when: Herbs and cheese are distributed evenly with no bare spots
Tip: Stir the dry seasonings in a bowl first to ensure even distribution
Cut breadsticks
- Using a sharp knife, cut the dough into strips about ¾ inch (2 cm) wide, cutting parallel to the longer side of the rectangle.
- You should get about 16 breadsticks.
- If the dough is on parchment, you can cut right through the paper—the breadsticks will bake on it.
- Space them slightly apart, about ¼ inch (6 mm), on the baking sheet(s).
+ Show details− Hide details
Ready when: Breadsticks are evenly cut and arranged with even spacing
Tip: A sharp knife makes clean cuts; a dull one will tear and tug the dough
Proof and bakeOven 400°F / 205°C
- Let the cut breadsticks rest on the baking sheet at room temperature for 10 minutes (you may not see much rise, and that's normal for quick breadsticks).
- Meanwhile, preheat the oven to 400 °F (200 °C).
- Once the oven is preheated and the breadsticks have rested, bake for 12–15 minutes, until the edges are golden brown and the tops are light golden.
- Rotate the baking sheet halfway through baking if your oven bakes unevenly.
+ Show details− Hide details
Ready when: Edges are golden brown, tops are light golden, and breadsticks sound hollow when tapped on the bottom
Tip: Don't over-proof—quick breads don't require much rise before baking. Over-proofing can make them tough
Cool and serve
- Remove the breadsticks from the oven and let them cool on the baking sheet for 2–3 minutes.
- Transfer to a wire rack or serving platter.
- For extra flavor, sprinkle a small amount of extra grated Parmesan over the warm breadsticks if desired.
+ Show details− Hide details
Ready when: Breadsticks are no longer steaming and hold their shape
Tip: Serve while still warm for the best texture and flavor
Good to know
Tips
- Toast your dried herbs briefly in a dry pan for 30 seconds before sprinkling (optional) to intensify their flavor—just don't burn them.
- For crispier breadsticks, bake on a preheated baking stone or the lowest oven rack; for softer breadsticks, bake on a middle rack and reduce oven time to 12–13 minutes.
- Mincing garlic by hand gives you better control over size and prevents over-processing, which can release too much moisture.
- These breadsticks pair beautifully with marinara sauce for dipping, or serve alongside a green salad or warm soup.
Make ahead
These breadsticks are best served fresh and warm, but you can prepare the dough up to 2 hours ahead and refrigerate it, covered, until you're ready to roll, top, and bake. Bring it to room temperature for 15 minutes before rolling.
Storage & reheating
Store cooled breadsticks in an airtight container at room temperature for up to 2 days. To reheat, wrap in foil and warm in a 325 °F (160 °C) oven for 5–7 minutes until heated through and crispy again. You can also freeze baked breadsticks for up to 1 month in a freezer bag; thaw and reheat as above.
Substitutions
- instant yeast (or active dry yeast) → Active dry yeast. Use the same amount by weight, but mix it into the dry ingredients rather than dissolving it separately. The result will be nearly identical.
- dried oregano → Fresh oregano (use 1 tablespoon finely chopped). Fresh herbs are more delicate, so add them in the final topping step rather than cooking them in the garlic oil to preserve their flavor.
- Parmesan cheese, finely grated → Grana Padano or aged Pecorino Romano. Both offer similar umami and salty notes. Pecorino is slightly sharper, so use the smaller end of the amount.
- warm water (110–115 °F / 43–46 °C) → Vegetable or chicken broth (warmed to 110–115 °F / 43–46 °C). Broth adds deeper flavor to the breadsticks. Omit or reduce the salt slightly, as broth may already be salted.