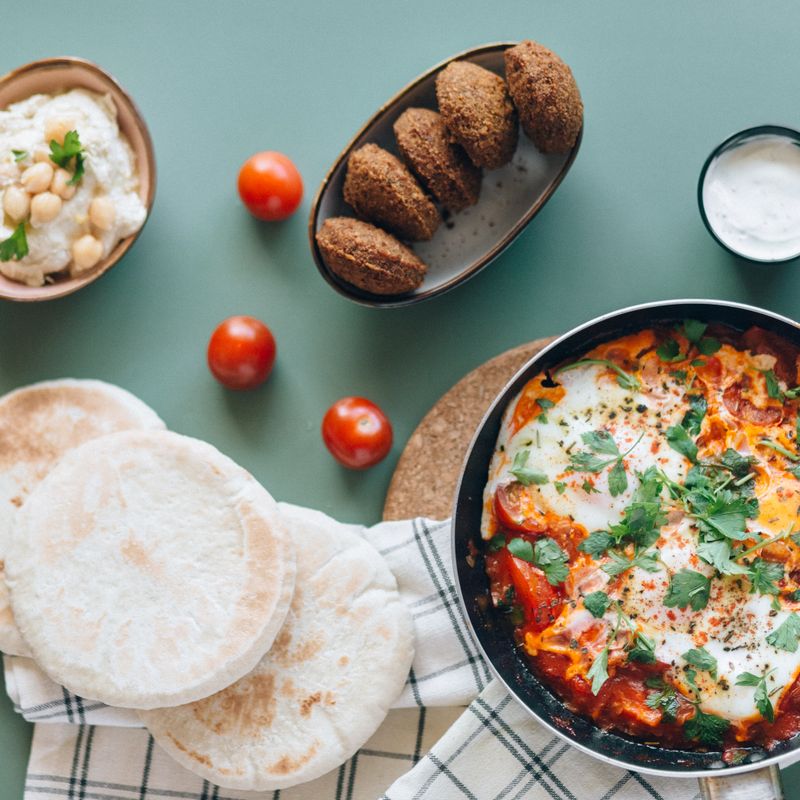
Eid Halloumi and Herb-Stuffed Mini Pita Breads
Crispy pan-fried mini pita breads stuffed with warm halloumi cheese, roasted red peppers, and a bright blend of fresh Mediterranean herbs. These golden, cheese-filled pockets are perfect for Eid celebrations, served warm with a squeeze of lemon and tzatziki on the side. Quick to assemble and impressively delicious.
- Prep
- 15 min
- Cook
- 12 min
- Wait
- 5 min
- Total
- 32 min
- Makes
- 12 stuffed mini pitas (3 per person)
Steps
Before you start
- Have all ingredients prepped and within reach before you begin pan-frying—the process moves quickly
- If using jarred roasted red peppers, pat them dry to prevent excess moisture in the pita
- Have a warm serving plate or cloth ready to keep finished pitas warm while you cook the remaining batches
Prepare the herb mixture
- In a small bowl, combine the chopped mint, parsley, dill (if using), and minced garlic.
- Drizzle with 1 tablespoon (15 ml) of the olive oil, then season with a pinch of salt and pepper.
- Stir gently and set aside.
- This aromatic mixture will flavor the cheese and peppers inside each pita.
+ Show details− Hide details
Tip: Chop the herbs by hand rather than in a food processor so they remain distinct and don't bruise.
Assemble the pita pockets
- Working with 3 mini pitas at a time (keep the rest covered to prevent drying), carefully open each pita pocket and place a piece of halloumi cheese strip inside.
- Top with a strip or two of roasted red pepper, then add about 1 teaspoon (5 g) of the herb mixture.
- Don't overstuff—the pita should close without tearing and halloumi should just peek through.
- Season the inside lightly with salt and pepper.
+ Show details− Hide details
Ready when: All 12 pitas are filled and ready to cook
Tip: If the pita pocket tears, use a second piece of pita to patch it or simply fold it gently as you fill to prevent further splitting.
Heat the skillet
- Place a large skillet (10–12 inches / 25–30 cm) over medium-high heat.
- Add 1 tablespoon (15 ml) of the olive oil and let it heat until it shimmers and moves freely across the pan, about 1–2 minutes.
+ Show details− Hide details
Ready when: Oil shimmers and a drop of water sizzles immediately
Tip: Don't let the oil smoke—if it begins to smoke, reduce heat slightly and let it cool for 30 seconds before adding the pitas.
Pan-fry the first batch
- Carefully place 4 filled mini pitas into the hot skillet, cut-side down.
- Cook for 2–3 minutes without moving them, until the cut surface turns golden brown and the cheese inside starts to soften.
- You should hear a gentle sizzle throughout cooking.
- Use tongs to flip each pita and cook the other cut side for 1–2 minutes until golden and crispy.
+ Show details− Hide details
Ready when: Both cut surfaces are golden brown; cheese is warm and beginning to soften when you gently squeeze a pita
Tip: Don't flip too early—let the cut side develop a crust so it doesn't stick to the pan. If they stick slightly, gently wiggle them with the tongs rather than forcing them.
Transfer and rest
- Transfer the cooked pitas to a warm serving plate or cloth and keep them loosely covered while you cook the remaining batches.
- Add another tablespoon (15 ml) of olive oil to the skillet and repeat the cooking process with the next 4 pitas, then the final 4.
+ Show details− Hide details
Ready when: All three batches are cooked and resting; halloumi is warm throughout
Tip: Keep the heat at medium-high for all batches—if the pan cools noticeably between batches, let it reheat for 30 seconds before adding the next batch.
Serve warm
- Arrange the warm stuffed pitas on a serving platter and serve immediately with lemon wedges on the side for squeezing.
- The halloumi will soften and ooze slightly from the pita pockets—this is perfect.
- Serve with tzatziki sauce if desired.
+ Show details− Hide details
Ready when: Pitas are warm and ready to eat; cheese is soft and warm inside
Tip: Serve these within 5 minutes of cooking for the best texture—the halloumi stays creamy and the pita stays crispy.
Good to know
Tips
- Halloumi has a high melting point, so it will soften and become creamy when heated but won't melt into a puddle—this is exactly what you want.
- If mini pitas are hard to find, cut regular 4-inch (10 cm) pita breads in half and use them instead; adjust cooking time to 2 minutes per side if they're thicker.
- For a spicier version, add a pinch of sumac or a tiny pinch of Aleppo pepper to the herb mixture to complement the Eid celebration theme.
- These pitas freeze beautifully before cooking: wrap each filled pita individually in foil and freeze for up to 1 month. Cook from frozen with an extra 1–2 minutes per side.
Make ahead
You can assemble the pitas up to 2 hours ahead: fill them, place on a parchment-lined tray, cover with plastic wrap, and refrigerate. Cook them straight from the fridge just before serving—add 1–2 extra minutes to the cooking time. Do not freeze after filling.
Storage & reheating
Best served warm immediately after cooking. Leftover cooked pitas can be stored in an airtight container at room temperature for up to 2 hours. Reheat in a dry skillet over medium heat for 1–2 minutes per side until warmed through and crispy again. Do not refrigerate or freeze cooked pitas, as the halloumi will become rubbery.
Substitutions
- roasted red peppers → sun-dried tomatoes (oil-packed, chopped). Adds a tangier, more intense flavor. Use 3–4 pieces per pita. Pat them dry first.
- fresh mint leaves → fresh basil leaves. Creates an Italian-Mediterranean twist. Chop roughly and use the same amount.
- halloumi cheese → firm feta cheese or paneer, cut into similar strips. Both have high melting points suitable for pan-frying. Paneer will be slightly denser and milder.
- mini pita bread → pita chips or thin lavash bread, warmed and wrapped around filling. For a lighter version, wrap filling in a leaf of crisp lettuce or thin lavash instead of pan-frying.
More sandwiches & wraps
See all →


Find more like this
- Meal
- Snack
- Cuisine
- Middle Eastern
- Method
- Stovetop