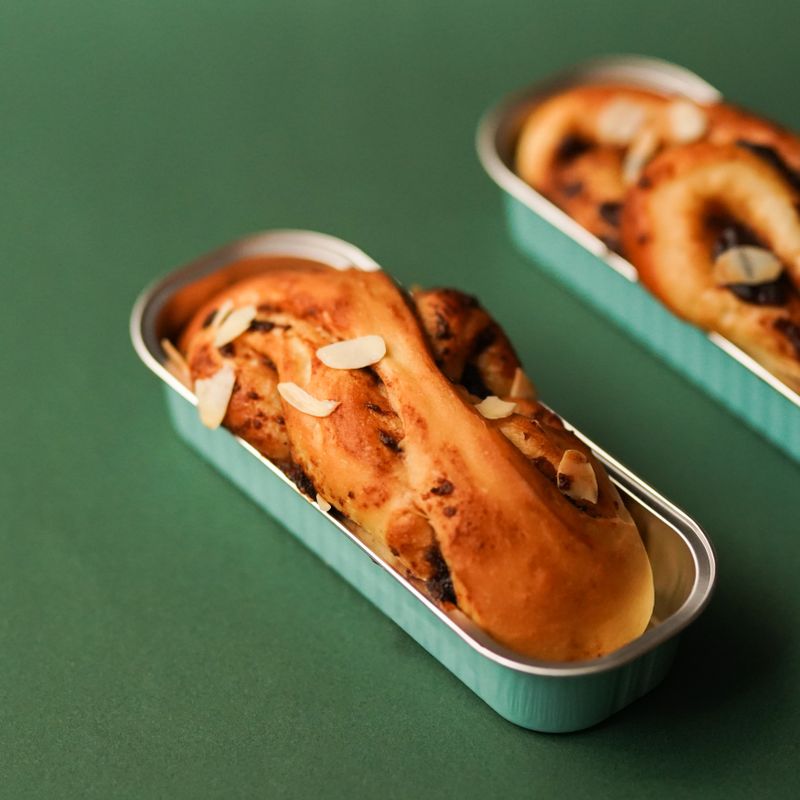
Date and Cardamom Sweet Buns
Soft, milky enriched buns scented with cardamom and swirled with a silky spiced date paste. Brushed with honey while hot, they are sticky-sweet, fragrant, and perfect with coffee or tea.
- Prep
- 54 min
- Cook
- 32 min
- Wait
- 2 hr 5 min
- Total
- 3 hr 31 min
- Makes
- 12 buns (one 9×13-inch pan)
Steps
Before you start
- Take the egg out and soften the 85 g (6 tbsp) dough butter at room temperature about 1 hour ahead. It should dent easily under a finger but not look greasy.
- Use soft Medjool dates if you can. If your dates are firm or dry, soak them in the hot water for 10 minutes before you cook them.
- Plan about 3½ hours from start to finish. Most of that is rising time, and the dough and filling can be made ahead (see make-ahead).
- Warm the milk to 100–110°F (38–43°C). It should feel comfortably warm, not hot. Milk over 120°F (49°C) can kill the yeast.
Cook the date filling
- Put the chopped dates and hot water in a small saucepan over medium-low heat.
- Bring to a gentle simmer and cook for 5 minutes, stirring often and pressing the dates with a spoon, until they are very soft and the water has mostly been absorbed.
- Remove from the heat.
- Add the filling butter, cardamom, cinnamon, and orange zest if using.
- Mash and stir vigorously for 1–2 minutes into a thick, spreadable paste with a few small bits remaining.
- Scrape into a bowl and let cool to room temperature while you make the dough.
+ Show details− Hide details
Ready when: Paste is thick, glossy, and holds a ridge when you drag a spoon through it, with no firm lumps of date.
Tip: If the paste is stiff and hard to spread later, stir in 1 tbsp of warm water. If it is runny, simmer 1 minute more.
Activate the yeast
- In the bowl of a stand mixer, whisk the warm milk, sugar, and yeast together.
- Let it stand for 5 minutes.
+ Show details− Hide details
Ready when: The surface looks slightly foamy with small bubbles.
Tip: If there is no foam at all after 10 minutes, the yeast or milk was likely too old or too hot. Start again with fresh yeast.
Mix and knead dough
- Add the flour, salt, cardamom, and egg to the milk mixture.
- With the dough hook on low speed, mix for 2 minutes until a shaggy dough forms.
- Increase to medium-low and add the softened butter one piece at a time, waiting until each piece is mostly absorbed before adding the next.
- Knead for 8–10 minutes in total, scraping down the hook as needed.
- If kneading by hand, knead on a lightly floured counter for about 12 minutes.
+ Show details− Hide details
Ready when: The dough is smooth, soft, and slightly tacky but not sticky. It pulls away from the sides of the bowl and stretches into a thin, translucent sheet without tearing when you pull a small piece.
Tip: Resist adding extra flour. A slightly tacky dough gives softer buns. Add only 1 tbsp at a time if it truly sticks to your fingers.
First rise
- Brush a large bowl lightly with about half of the oil.
- Shape the dough into a ball, place it in the bowl, and turn it once to coat.
- Cover with plastic wrap or a damp towel and leave in a warm spot, about 75°F (24°C), for 60 minutes.
+ Show details− Hide details
Ready when: The dough has doubled in volume and a fingertip pressed in about ½ inch leaves a dent that springs back slowly.
Tip: In a cool kitchen, rise in the oven turned off with the light on, with a cup of hot water on the rack below.
Roll out and fill
- Turn the dough onto a lightly floured counter and press out the large air bubbles.
- Roll it into a rectangle about 12×16 inches (30×40 cm), with a long side facing you.
- Spread the cooled date filling evenly over the dough with an offset spatula or the back of a spoon, leaving a ½-inch (1 cm) clean border along the far long edge.
+ Show details− Hide details
Ready when: Dough is an even rectangle about ¼ inch (6 mm) thick, covered with a thin, even layer of filling.
Tip: If the dough springs back while rolling, cover it and rest it for 5 minutes, then continue.
Roll up and cut
- Starting at the long edge nearest you, roll the dough up snugly into a 16-inch (40 cm) log, pinching the seam against the log to seal.
- Turn the log seam-side down.
- Slide a length of unflavored dental floss under the log, cross the ends over the top, and pull to cut.
- Cut the log into 12 equal slices, each about 1⅓ inches (3.5 cm) thick.
- Trim and reshape the ends if they are squashed.
+ Show details− Hide details
Ready when: You have 12 even spiral rounds with the filling visible in the swirl.
Tip: Floss or a very sharp serrated knife keeps the spirals round. A dull knife squashes them and smears the filling.
Second riseOven 350°F / 175°C
- Grease the 9×13-inch pan with the remaining oil.
- Arrange the buns cut-side up in 3 rows of 4, spaced about ½ inch (1 cm) apart.
- Cover loosely and let rise in a warm place for 45 minutes.
- Preheat the oven to 350°F (175°C) for the last 20 minutes of the rise.
+ Show details− Hide details
Ready when: The buns look puffy and touch each other, and a gently pressed bun springs back slowly and leaves a faint dent.
Tip: Do not let them over-rise past this point or they may collapse and taste yeasty in the oven.
Egg wash and bakeOven 350°F / 175°C
- Beat the egg and 1 tbsp milk together and brush a thin layer over the tops of the buns.
- Bake on the middle rack at 350°F (175°C) for 25–28 minutes.
- If the tops brown too fast before 20 minutes, tent loosely with foil.
+ Show details− Hide details
Ready when: The tops are deep golden brown and the center bun reads 190°F (88°C) on an instant-read thermometer.
Tip: Filling can leak and burn on the pan. Brush gently and do not let wash pool between the buns.
Glaze and garnish
- As soon as the pan comes out of the oven, brush the hot buns generously with the warm honey.
- Scatter the chopped pistachios over the top if using.
+ Show details− Hide details
Ready when: The tops look shiny and glossy all over.
Tip: Glaze while the buns are hot so the honey soaks in slightly and the nuts stick.
Cool before serving
- Let the buns cool in the pan for 15 minutes, then pull them apart and serve warm.
+ Show details− Hide details
Ready when: The pan is warm, not hot, to the touch and the buns pull apart cleanly.
Tip: The date filling holds heat for a long time, so wait before the first bite.
Good to know
Tips
- Weigh the flour if you can. Too much flour is the most common reason for dry, dense buns.
- Grind whole green cardamom seeds for the best aroma. Pods from 12–15 cardamom, seeds only, equal about 2 tsp ground.
- Use floss to cut: it gives clean edges and keeps the swirl neat.
- For evenly browned buns, rotate the pan front to back after 15 minutes of baking.
Make ahead
"Date filling keeps covered in the fridge for up to 3 days; bring to room temperature before spreading. For overnight buns, shape and pan the buns (step 6), cover tightly, and refrigerate for 8–12 hours. Next day, let them stand at room temperature for 45–60 minutes until puffy, then egg wash and bake as directed."
Storage & reheating
"Room temperature: covered, up to 2 days. Fridge: airtight, up to 5 days. Freezer: wrap individually, up to 2 months, and thaw overnight in the fridge. To reheat, wrap a bun in foil and warm at 300°F (150°C) for 10 minutes, or microwave for 15–20 seconds."
Substitutions
- bread flour → all-purpose flour, same weight. Buns will be a little less chewy but still soft. You may need 1–2 tbsp less milk.
- whole milk → unsweetened oat milk or other dairy-free milk. Use the same amount, warmed. Texture is slightly less rich.
- instant yeast → active dry yeast, 2¾ tsp (8.5 g). Dissolve in the warm milk and sugar for 10 minutes until foamy before adding the other dough ingredients.
- soft Medjool dates → Deglet Noor dates. Drier and less sweet; soak them in the hot water for 15 minutes first and cook 2 minutes longer.