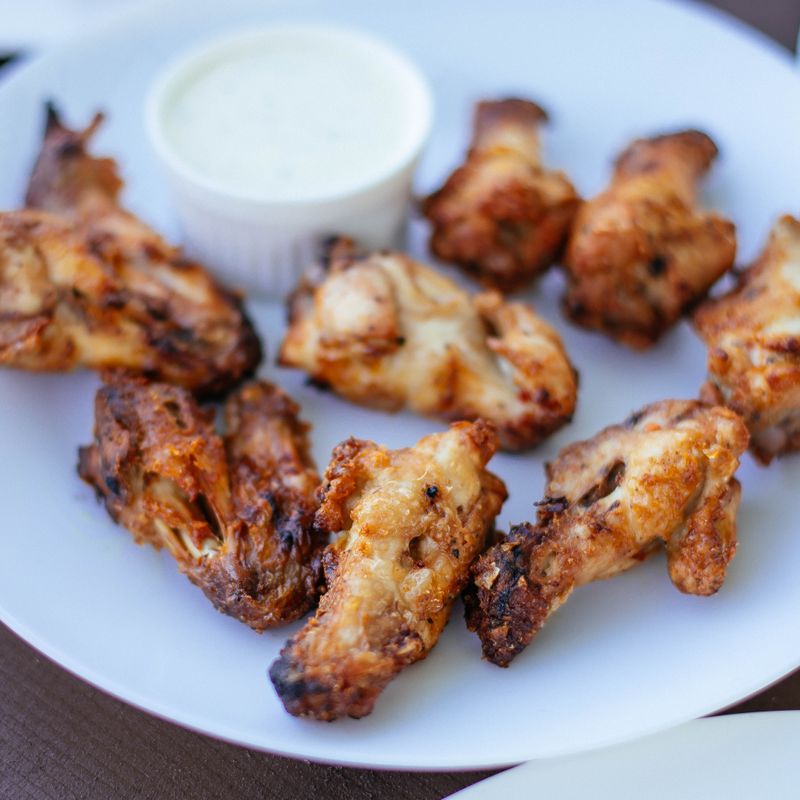
Crispy Baked Chicken Wings with Buffalo Sauce
Shatteringly crisp oven-baked wings with no deep fryer needed. A baking powder coating and an uncovered rest in the fridge dry the skin so it blisters in the oven. The wings are then tossed in a glossy, buttery, tangy Buffalo sauce.
- Prep
- 26 min
- Cook
- 50 min
- Wait
- 1 hr 12 min
- Total
- 2 hr 28 min
- Makes
- About 24 wing pieces (6 appetizer servings)
Steps
Before you start
- Plan for about 2½ hours start to finish: the wings need at least 1 hour of uncovered drying time in the fridge, which is what makes the skin crisp.
- Use baking POWDER, not baking soda. Baking soda leaves a soapy, metallic taste. Check that the label says aluminum-free if you are sensitive to a metallic aftertaste.
- If your wings are frozen, thaw them completely in the fridge (24 hours) before starting.
- Wash your hands, cutting board and sheet pan after handling the raw chicken.
Dry the wings
- Place the wing pieces on a double layer of paper towels.
- Press more paper towels firmly onto the tops and undersides of the wings to blot away all surface moisture.
- Transfer them to a large mixing bowl.
+ Show details− Hide details
Ready when: The skin looks matte and feels tacky, with no visible wet sheen.
Tip: Wet skin steams instead of crisping, so do not rush this step.
Coat with seasoning
- In a small bowl, whisk the baking powder, fine sea salt, garlic powder, smoked paprika and black pepper until evenly combined.
- Sprinkle the mixture over the wings and toss well with your hands or tongs, making sure each piece is coated in a thin, even, slightly chalky film.
+ Show details− Hide details
Ready when: No clumps of dry powder remain in the bowl and every wing looks lightly dusted.
Tip: If you see white clumps, rub them into the skin so they do not bake into bitter spots.
Air-dry in the fridge
- Line the baking sheet with foil and set the wire rack on top.
- Arrange the wings skin-side up on the rack in a single layer with a little space between each piece.
- Refrigerate uncovered for at least 1 hour, or up to 24 hours.
+ Show details− Hide details
Ready when: The skin looks dry, taut and slightly translucent.
Tip: Keep raw chicken on a lower shelf so it cannot drip onto other food.
Preheat and set upOven 425°F / 220°C
- Position an oven rack in the upper third of the oven and heat to 425°F (220°C).
- Leave the wings on the counter while the oven heats, about 12 to 15 minutes.
+ Show details− Hide details
Ready when: The oven has reached 425°F (220°C).
Tip: An oven thermometer helps, since many ovens run hot or cool.
Bake first sideOven 425°F / 220°C
- Slide the baking sheet onto the upper rack and bake the wings skin-side up for 25 minutes at 425°F (220°C).
- The skin will begin to turn golden and the fat will start to render into the foil.
+ Show details− Hide details
Ready when: The skin is pale gold and no longer looks wet.
Tip: Do not crowd the wings. Pieces that touch stay pale and soft where they meet.
Flip and finish bakingOven 425°F / 220°C
- Remove the pan and flip each wing with tongs.
- Return to the oven and bake another 25 minutes at 425°F (220°C), until the skin is deep golden brown, blistered and crisp.
- Check a thick drumette with an instant-read thermometer without touching bone.
+ Show details− Hide details
Ready when: Skin is deep golden and blistered, and the thickest part reads at least 165°F (74°C); 175–185°F (80–85°C) gives the most tender meat.
Tip: If the skin sticks to the rack, wait 30 seconds and loosen it with the tongs rather than tearing it.
Make Buffalo sauce
- While the wings finish their last 10 minutes, combine the hot sauce, butter, white vinegar and honey (if using) in a small saucepan over low heat.
- Whisk occasionally for 3 to 4 minutes until the butter has fully melted and the sauce is smooth and slightly thickened.
- Remove from the heat.
+ Show details− Hide details
Ready when: The sauce is smooth, glossy and orange-red, with no visible pieces of butter.
Tip: Do not let it boil, or the butter can separate and look greasy.
Toss and serve
- Transfer the hot wings to a large, dry bowl.
- Pour in about three-quarters of the warm sauce and toss with tongs until every wing is evenly glazed.
- Taste and add more sauce if you want them wetter or hotter.
- Pile onto a platter right away and serve with celery sticks and dressing for dipping, if using.
+ Show details− Hide details
Ready when: The wings are glossy and fully coated, with the skin still crackly at the edges.
Tip: Sauce the wings just before serving. They stay crispest if they do not sit in the sauce.
Good to know
Tips
- Using a wire rack lets hot air circulate around the wings so both sides crisp without flipping in grease.
- Roast on the upper-third rack for better browning, and use foil on the pan for easy cleanup.
- For spicier wings, add ½ to 1 tsp cayenne to the sauce; for milder wings, use 6 tbsp hot sauce and 5 tbsp butter.
- Buy wings already split, or ask the butcher to do it. Whole wings cook unevenly and are harder to eat.
Make ahead
"Season and arrange the wings on the rack up to 24 hours ahead and refrigerate uncovered, then bake as directed. The Buffalo sauce can be made up to 5 days ahead and kept in the fridge; rewarm gently over low heat, whisking, before tossing."
Storage & reheating
"Room temperature: up to 2 hours (serving time only). Fridge: store sauced wings in an airtight container up to 4 days. Freezer: freeze unsauced, fully baked wings on a tray, then bag them for up to 3 months. Reheat on a rack-lined sheet at 400°F (200°C) for 12 to 15 minutes (20 minutes from frozen) until hot to 165°F (74°C), then toss in warm sauce."
Substitutions
- Louisiana-style hot sauce (such as Frank's RedHot) → Another cayenne-based, vinegary hot sauce. Thicker or sweeter sauces change the flavor and heat; start with 6 tbsp and adjust to taste.
- unsalted butter → Ghee or salted butter. If using salted butter, the sauce will be slightly saltier; the result is still good.
- aluminum-free baking powder → 1 tbsp cornstarch plus 1 tsp baking powder per 3 lb. Gives a slightly harder, crunchier crust; baking powder alone is lighter and blisters more.
- blue cheese or ranch dressing → Ranch dressing. A milder, kid-friendly dip that cools the heat.
More party snacks
See all →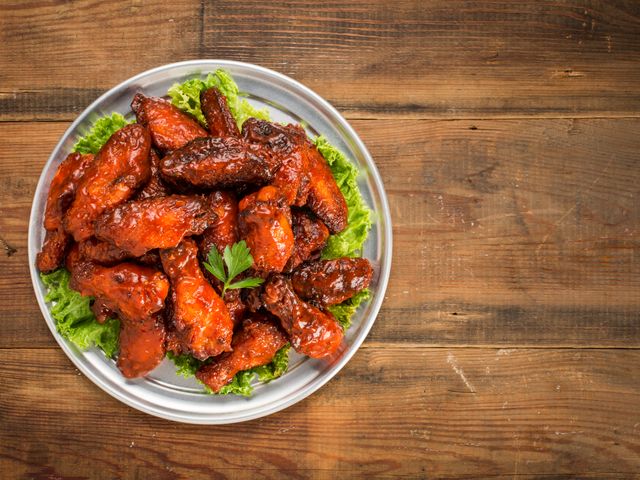
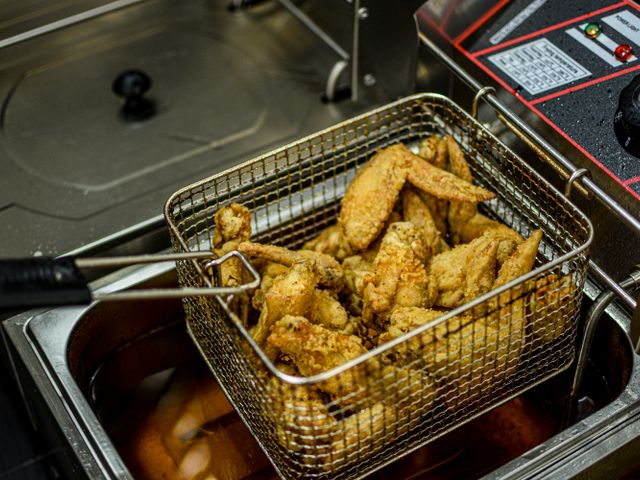
Find more like this
- Meal
- Snack
- Cuisine
- American
- Main ingredient
- Chicken Wings
- Diet
- Gluten-FreeHalal
- Method
- Oven
- Quick & Easy
- Easy
- Occasion
- Game Day