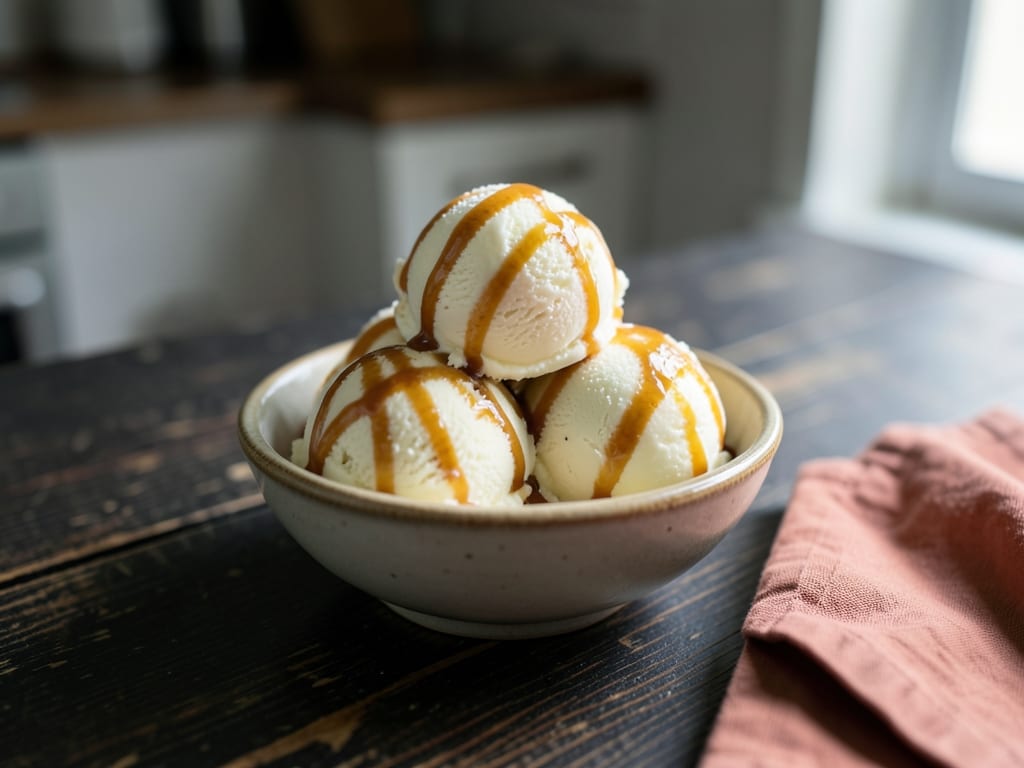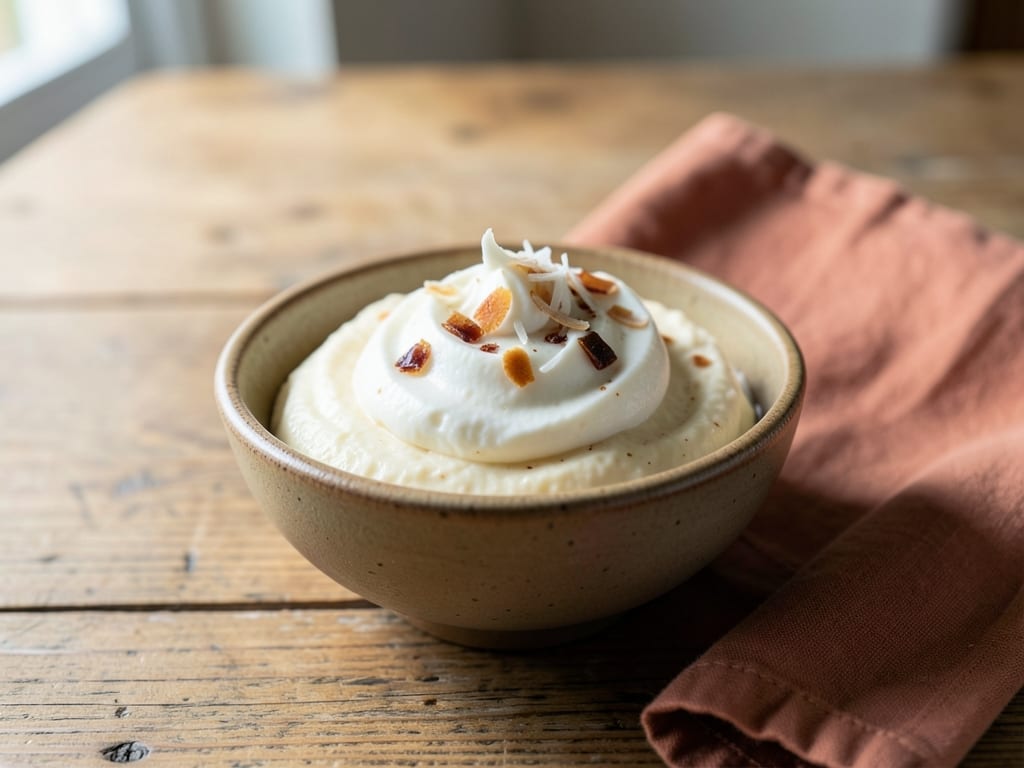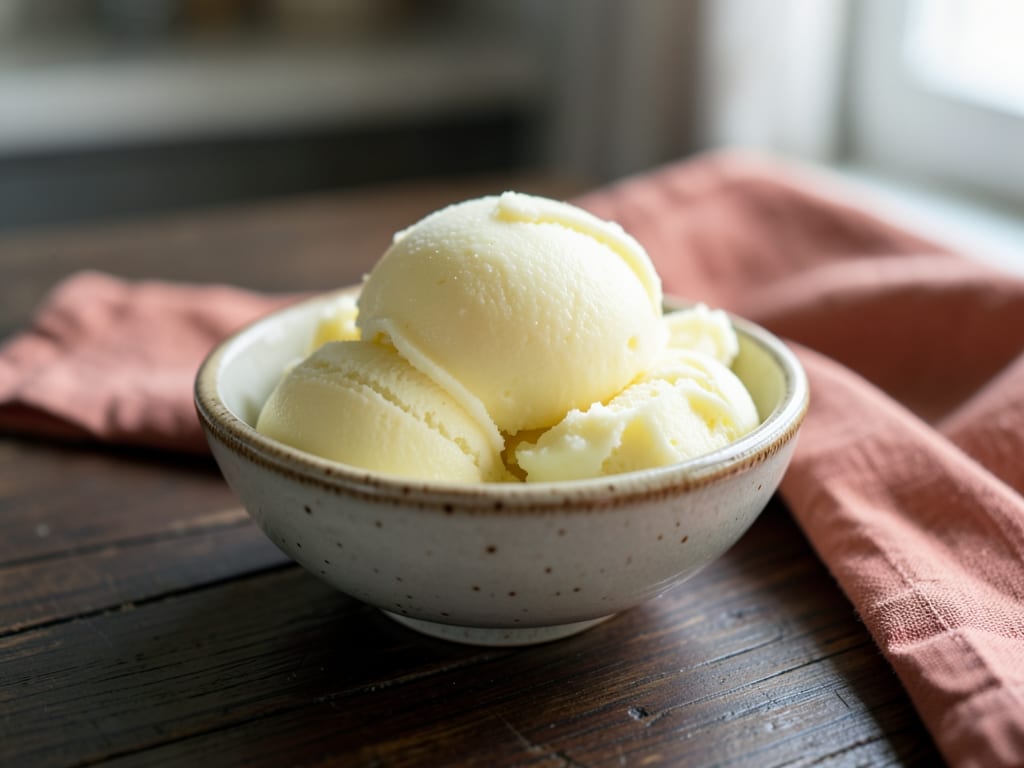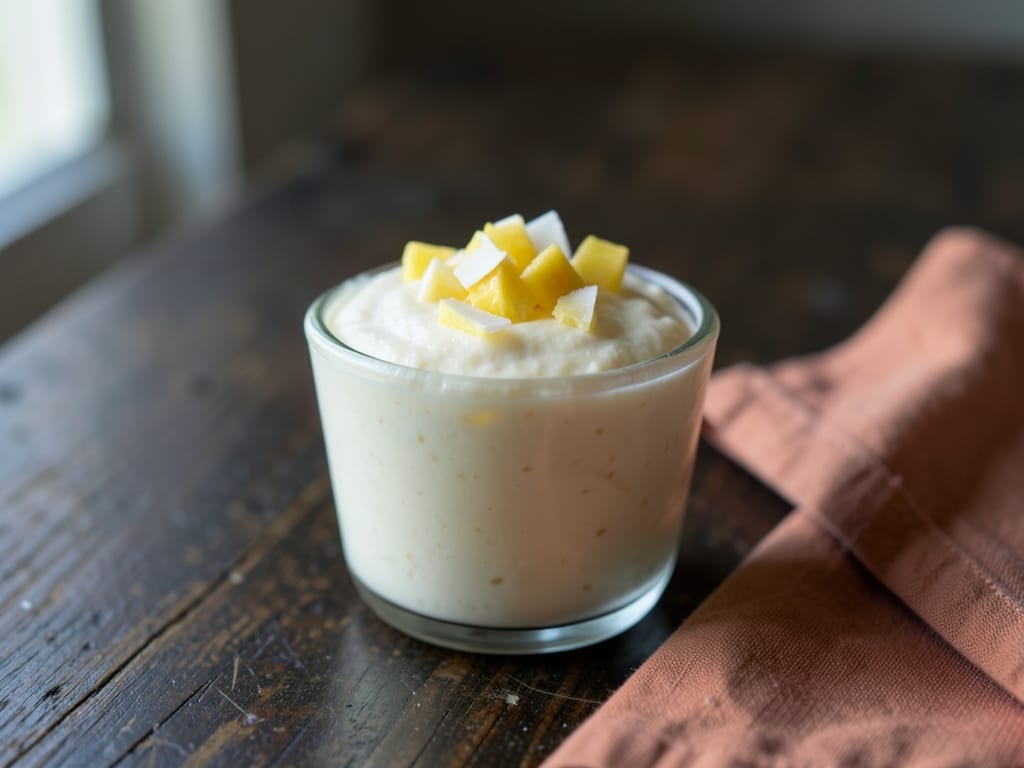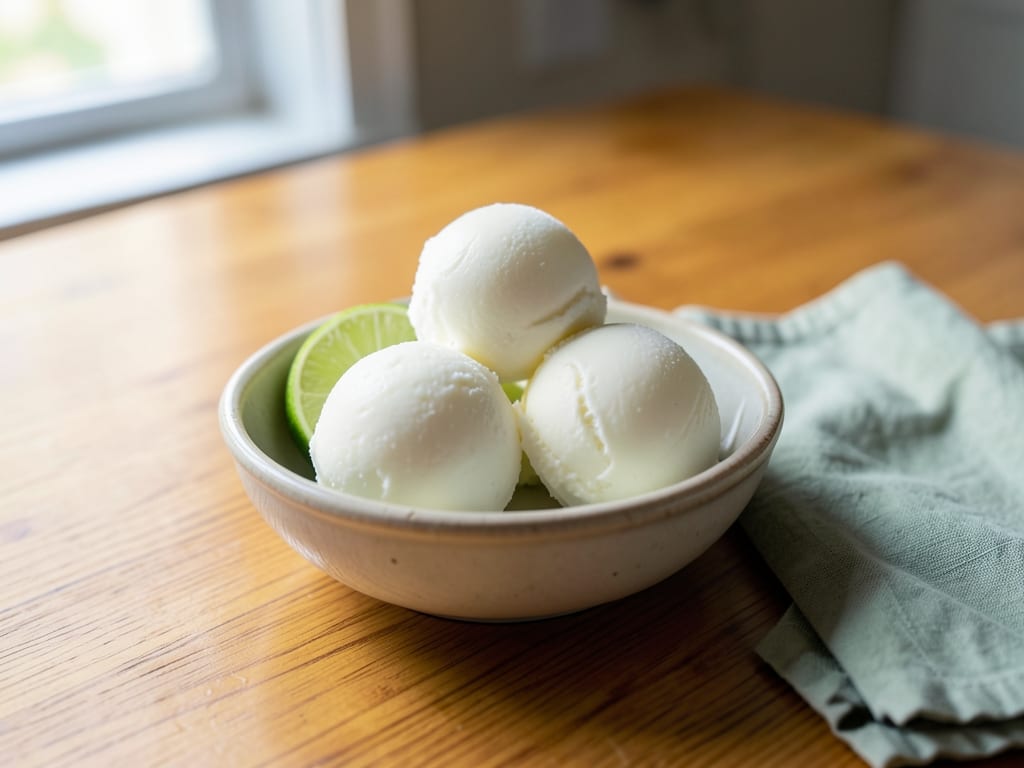
Coconut Lime Popsicles
Tropical, creamy popsicles that balance the bright tartness of fresh lime with the mellow sweetness of coconut milk and condensed milk. This no-cook recipe combines just five simple ingredients and requires minimal hands-on time, making it perfect for hot days and advance preparation. Ready to eat in about 6 hours.
Steps
Before you start
- Make sure your freezer has at least 1.5 inches of clear space to fit your popsicle mold
- Check that all popsicle molds are clean and completely dry before using
- Use fresh limes for the best flavor—bottled lime juice loses its bright, aromatic quality
- Have all ingredients at room temperature so they mix smoothly together
Combine the milks
- Pour 1 can (13.5 fl oz / 400 ml) of coconut milk and 7 oz (200 ml) of condensed milk into a medium mixing bowl.
- Whisk together for about 2 minutes until completely smooth with no lumps.
- The mixture should be uniform and pale throughout.
- Don't worry if a few small flecks of coconut remain—that's fine and normal.
+ Show details− Hide details
Ready when: Mixture is smooth, uniform, and free of streaks or visible lumps
Tip: If condensed milk is very thick or sticky, let the bowl sit for 1 minute or dip a spoon in hot water and use it to stir; this softens the condensed milk and makes blending easier.
Add lime juice and water
- Pour 1/2 cup (120 ml) of fresh lime juice (squeezed from about 4 medium limes) into the bowl, followed by 1/3 cup (80 ml) of cold water.
- Stir well for about 1 minute until no streaks remain and all ingredients are fully incorporated.
- The mixture should be smooth and pourable with no separation.
+ Show details− Hide details
Ready when: All ingredients are fully blended; no streaks or separation visible when stirred
Tip: Cold water helps prevent the mixture from separating and keeps the final texture icy and refreshing.
Sweeten and balance flavor
- Add 2 tablespoons (25 g) of granulated sugar to the mixture.
- Stir well for about 1 minute, breaking up any small clumps, until the sugar dissolves completely.
- Taste a small spoonful.
- The flavor should be pleasantly sweet with a bright, tart lime finish.
- If it tastes too tart, add 1 more tablespoon (12 g) sugar; if it's too sweet, add 2 tablespoons more lime juice or water.
- Remember that frozen desserts taste noticeably less sweet than they do at room temperature, so the mixture should taste slightly over-sweet before freezing.
+ Show details− Hide details
Ready when: Sugar is fully dissolved; no grittiness when the mixture is rubbed between your teeth
Tip: Taste and adjust before freezing—this is your only chance. Aim for a flavor that's noticeably sweet to account for how freezing mutes taste perception.
Pour into molds
- Pour the mixture into 8 popsicle molds, filling each to about 3/4 full, leaving roughly 1/2 inch (1.25 cm) of space at the rim.
- This gap allows the mixture to expand slightly as it freezes and provides space for inserting the sticks.
- Use a small measuring cup or ladle to distribute the mixture evenly among the molds.
- Wipe any drips from the outside of the molds with a dry cloth.
+ Show details− Hide details
Ready when: All 8 molds are filled evenly with no spilled mixture on the outside
Tip: Keep the molds level on a flat tray or cookie sheet when filling and moving them to the freezer; this prevents uneven filling.
First freeze—prepare for sticks
- Place the filled molds in the freezer for 2 hours.
- The mixture will be partially frozen with a slushy consistency—firm enough to insert a stick without it sinking all the way through, but soft enough to push a wooden skewer in with gentle pressure.
- Check the consistency after 1.5 hours; if your freezer is very cold (below 0°F / −18°C), it may freeze faster.
+ Show details− Hide details
Ready when: Mixture is slushy and partially frozen; a wooden skewer inserted into the center meets light resistance but slides through without cracking
Tip: If the sticks won't stand upright when you try inserting them in the next step, return the molds to the freezer for another 15–20 minutes before trying again.
Insert sticks
- Remove the molds from the freezer.
- Gently insert a wooden popsicle stick into the center of each popsicle, pushing it down about 2 to 3 inches (5 to 7 cm) into the partially frozen mixture.
- The stick should stand upright on its own without being held.
- If it tips over or sinks too easily, the mixture isn't frozen enough yet—return the molds to the freezer for 15–20 minutes more.
+ Show details− Hide details
Ready when: All 8 sticks are inserted and standing upright in the center of each popsicle, held in place by the partially frozen mixture
Tip: Push the sticks in slowly and steadily; if you meet significant resistance, stop and let the mixture freeze longer rather than forcing the stick, which could crack the popsicle.
Final freeze until solid
- Return the molds to the freezer and freeze for at least 4 more hours, or overnight (about 8 hours) for the best results.
- The popsicles are completely done when they are rock-solid and the sticks don't move or wiggle when you tug on them gently.
- To remove from the molds, run warm (not hot) water over the outside of the molds for 5 to 10 seconds, then gently push or pull the popsicles from the bottom of the mold.
+ Show details− Hide details
Ready when: Popsicles are completely solid and rigid; sticks don't move when gently tugged
Tip: Freezing overnight is ideal and yields the coldest, smoothest texture. Four hours is the minimum for serving, but if you have time, the extra hours make a noticeable difference in quality.
Good to know
Tips
- Use freshly squeezed lime juice, never bottled—bottled juice loses its bright, volatile aromatics and the popsicles will taste flat and one-dimensional.
- For a fun presentation, roll the popsicles in shredded coconut while they are partially frozen (after about 2 hours, when they are slushy but holding their shape). The coconut will stick to the slightly tacky surface and toast lightly in the freezer.
- Adjust sweetness carefully before freezing: frozen desserts taste significantly less sweet than they do at room temperature, so aim for a mixture that tastes slightly over-sweet to your palate before it goes in the freezer.
- For easier removal from molds, run warm water over only the outside of the molds for 5–10 seconds rather than dunking them; this softens just the outer layer enough to slide the popsicles out smoothly without melting them.
Make ahead
Yes. These popsicles are perfect for advance preparation. Make them up to 3 months ahead and store in the freezer. For the longest shelf life and to prevent freezer burn, wrap each popsicle individually in plastic wrap or parchment paper once fully frozen. They taste best within the first month.
Storage & reheating
Room temperature: Not applicable—popsicles will melt within minutes. Refrigerator: Up to 2 weeks in an airtight container, though the texture will soften and they will eventually leak. Freezer: Up to 3 months. Wrap individually in plastic wrap or parchment after the initial freeze to prevent freezer burn. To serve, allow popsicles to sit at room temperature for 2–3 minutes for easier removal, or run warm water over the molds for 5–10 seconds.
Substitutions
- Fresh limes → Lemon juice. Use the same amount (1/2 cup / 120 ml). Lemon juice is slightly less tropical and more universally tart; it works beautifully if you prefer a less exotic flavor or don't have fresh limes on hand.
- Sweetened condensed milk → Evaporated milk + sugar. Whisk together 7 oz (200 ml) evaporated milk with 3–4 tablespoons (40–50 g) additional sugar. Evaporated milk is less sweet than condensed milk, so this combination is less rich but still creamy and delicious.
- Full-fat canned coconut milk → Coconut cream. Use 1 cup (240 ml) coconut cream instead of 1 can coconut milk, and reduce the water to 2–3 tablespoons (30–45 ml) for a richer, more luxurious texture.
- Water → Coconut water. Use the same amount (1/3 cup / 80 ml). Coconut water adds subtle tropical flavor and natural electrolytes; the result will taste slightly less sweet but more refreshingly thirst-quenching.