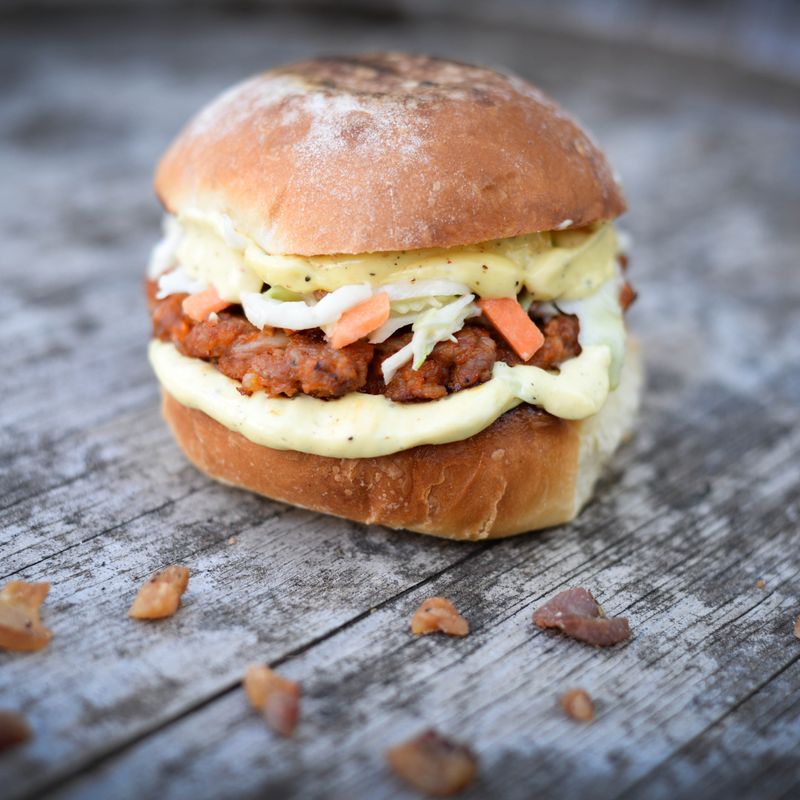
Classic Sloppy Joe Sandwiches
Tender ground beef simmered with onion, bell pepper and a tangy-sweet tomato sauce until thick and spoonable, then piled onto toasted buttered buns. A quick weeknight classic that is messy in the best way.
- Prep
- 15 min
- Cook
- 30 min
- Total
- 45 min
- Makes
- 6 sandwiches (about 3 cups / 720 ml filling)
Steps
Before you start
- Chop the onion, bell pepper and garlic before turning on the heat; the cooking moves quickly.
- Use 80/20 ground beef for the best flavor; if using leaner beef, add 1 tablespoon of oil to the pan.
- Measure the sauce ingredients into one bowl first so you can add them all at once.
- Have a splatter screen or lid nearby, because the simmering sauce bubbles and spits.
Mix the sauce
- In a medium bowl, whisk together the tomato sauce, ketchup, brown sugar, mustard, Worcestershire, cider vinegar, chili powder, smoked paprika, salt, pepper and water until the sugar dissolves and no streaks of mustard remain.
- Set aside.
+ Show details− Hide details
Ready when: Sauce is smooth and uniformly red-brown
Brown the beef
- Heat a 12-inch (30 cm) deep skillet over medium-high heat for 1 minute.
- Add the ground beef and break it into small crumbles with a wooden spoon.
- Cook, stirring occasionally, for 7 to 9 minutes.
+ Show details− Hide details
Ready when: No pink remains and the beef has browned in places with fat pooling in the pan
Tip: Don't stir constantly; letting the meat sit for 1 to 2 minutes at a time builds browned flavor.
Drain excess fat
- Tilt the pan and spoon off all but about 2 tablespoons of the rendered fat into a heatproof container (not down the drain).
- Leave the browned bits in the pan.
+ Show details− Hide details
Ready when: Only a thin glossy layer of fat remains
Tip: Leaving a little fat carries flavor and helps the vegetables soften.
Soften the vegetables
- Reduce the heat to medium.
- Add the onion and bell pepper to the beef and cook, stirring often, for 4 to 5 minutes.
- Stir in the garlic and cook 30 seconds more.
+ Show details− Hide details
Ready when: Onion is translucent and soft, and the garlic smells fragrant but is not browned
Tip: Add the garlic last so it doesn't burn and turn bitter.
Add sauce and simmer
- Pour the sauce mixture into the skillet and scrape up any browned bits from the bottom.
- Bring to a gentle bubble, then reduce the heat to medium-low.
- Simmer uncovered, stirring every 3 to 4 minutes, for 15 to 18 minutes.
+ Show details− Hide details
Ready when: Sauce is thick enough that a spoon dragged across the bottom leaves a trail that fills in slowly, and the mixture mounds on a spoon
Tip: If it gets too thick or starts to stick, stir in 2 to 3 tablespoons of water.
Taste and adjust
- Remove from the heat and taste.
- Add a pinch more salt if flat, a splash of vinegar if too sweet, or a pinch more brown sugar if too tangy.
- Cover to keep warm.
+ Show details− Hide details
Ready when: Flavor is balanced between sweet, tangy and savory
Tip: Check that the beef reads at least 160°F (71°C) in the thickest part of the mixture.
Toast the buns
- Spread the softened butter over the cut sides of the buns.
- Heat a large skillet or griddle over medium heat and toast the buns cut side down, in batches, for 1 to 2 minutes each.
+ Show details− Hide details
Ready when: Cut sides are golden brown and slightly crisp
Tip: Toasting creates a barrier that keeps the buns from getting soggy under the sauce.
Assemble and serve
- Place the bun bottoms on plates and spoon about ½ cup (120 ml) of the hot filling onto each.
- Top with pickle slices if using, add the bun tops, and serve right away with napkins.
+ Show details− Hide details
Ready when: Filling is steaming hot and generously mounded
Good to know
Tips
- Simmer uncovered; a lid traps steam and leaves the filling too loose and soupy.
- Dice the onion and pepper small so they melt into the sauce rather than sitting in big chunks.
- For a spicier version, add ¼ teaspoon cayenne or a few dashes of hot sauce with the sauce.
- Serve with a fork and extra napkins for any filling that escapes.
Make ahead
"The filling keeps well and tastes even better the next day. Cook through step 6, cool, and refrigerate in an airtight container for up to 4 days. Reheat and toast the buns just before serving."
Storage & reheating
"Room temperature: no more than 2 hours. Refrigerator: store the filling separately from the buns in an airtight container for up to 4 days. Freezer: freeze the filling flat in zip-top bags for up to 3 months; thaw overnight in the refrigerator. Reheat in a saucepan over medium-low heat, stirring often, with a splash of water, until steaming and at least 165°F (74°C)."
Substitutions
- ground beef, 80/20 → ground turkey or ground pork. Add 1 tablespoon of oil when browning turkey, as it is leaner and can dry out.
- light brown sugar → maple syrup or honey. Use 1½ tablespoons; the flavor will be slightly different.
- apple cider vinegar → white vinegar or lemon juice. Use the same amount.
- hamburger buns → brioche buns or toasted sandwich bread. Sturdier bread holds up better to the saucy filling.